Haigney Restoration from Drogheda made the 35km journey to Dundalk for four separate visits, to get the stairs ceiling finally plastered. As per the original ceiling, it's comprised of laths and lime plaster.
Once the laths were nailed in place, the plastering could being in three seperate stages, the scratch coat, the float coat and the skim coat. There was about one week in between the coats and I kept the plaster wet with a water sprayer for a few days after each coat to stop it drying out too quickly.
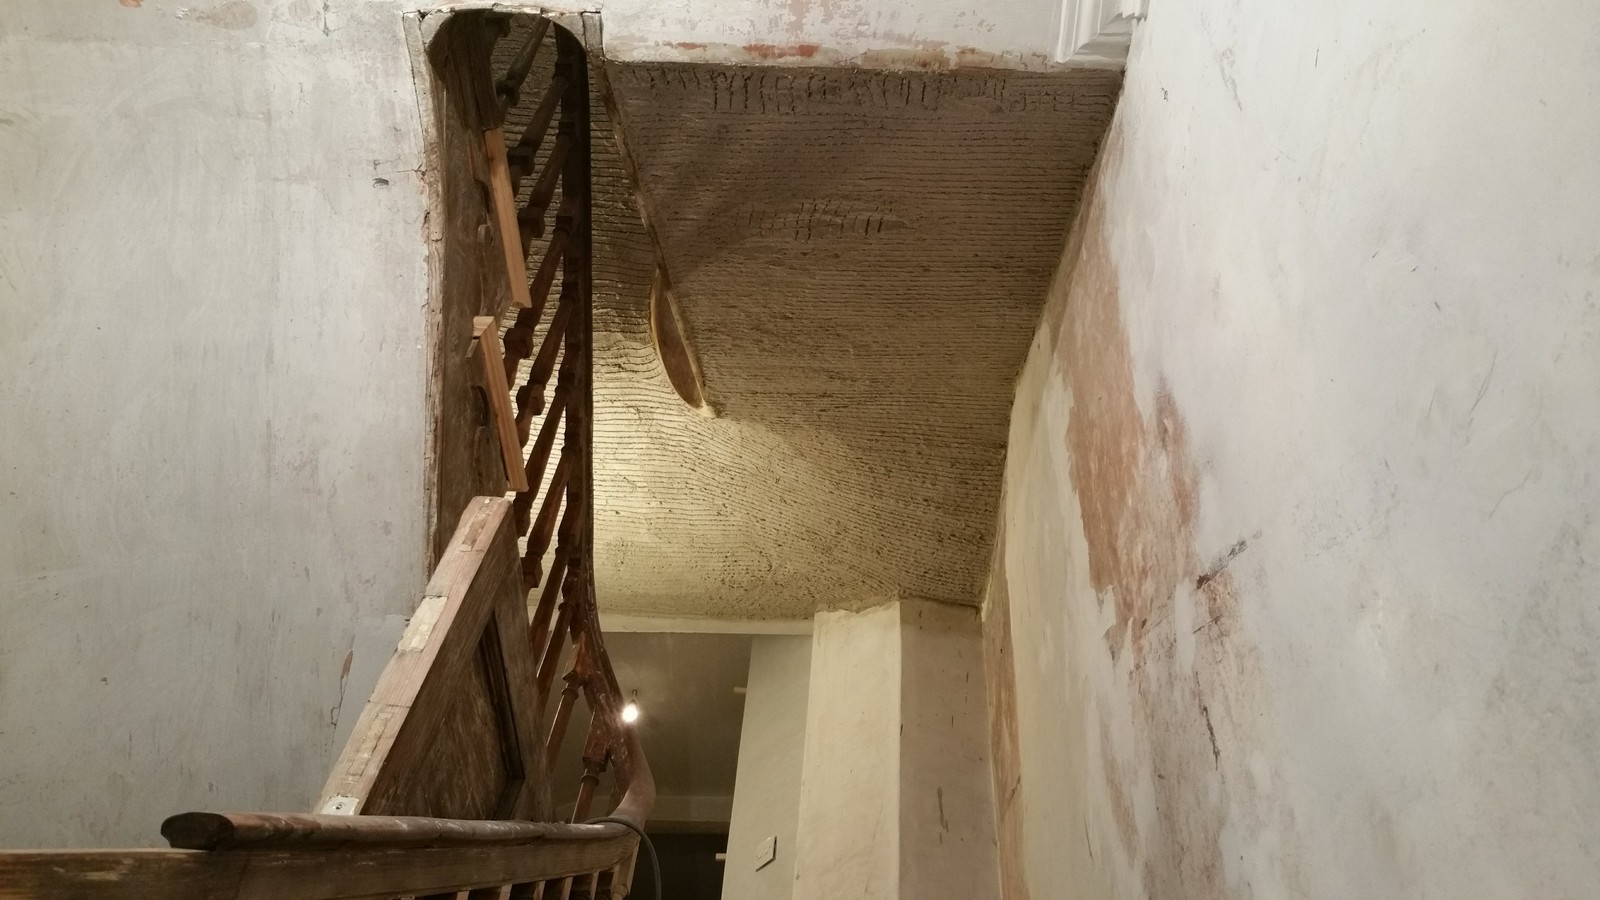


A week later, the float coat was applied:


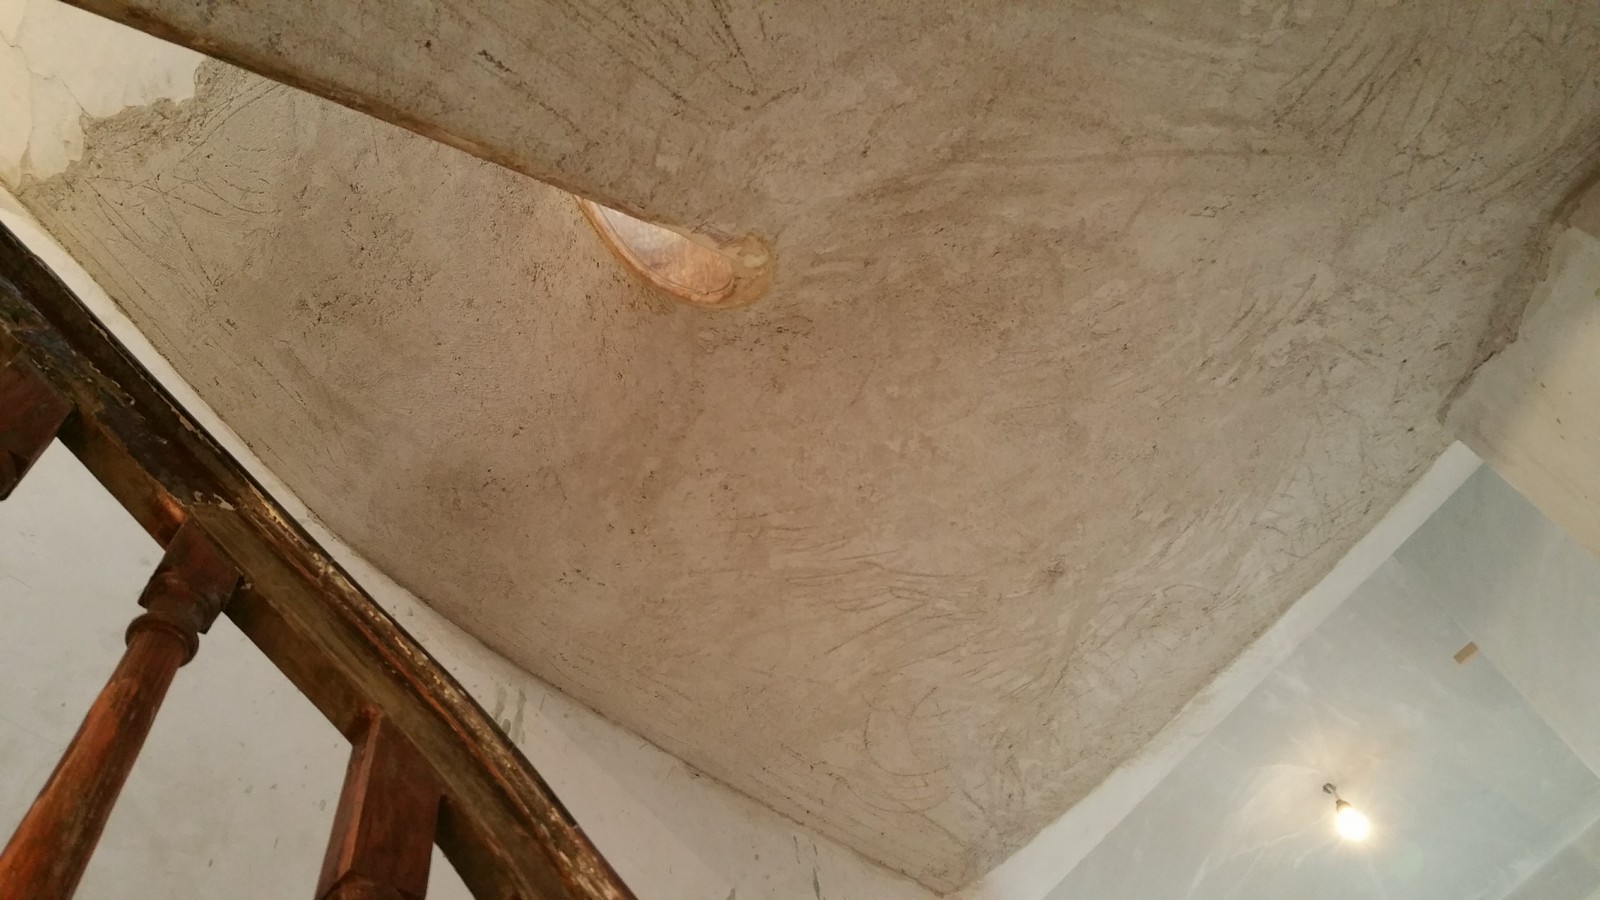


Finally, the skim coat could be applied. The finish is phenomenal!


I absolutely love this curve in the ceiling, try getting this past modern planning!


A small hairline crack has appeared as seen below, which is an easy fill and to be expected with initial drying:


Ireland was hit with some very rare heavy snowfall last month, this was Dublin just 80km away. Thankfully the plaster dried in time!

I have two more original interior doors downstairs that need attention, both providing entry to the kitchen and dining area downstairs. Once more, the original moldings had been lost so i've begun the painstaking process of reapplying several meters of it to each side of the door panels, after lots of filling and minor repairs:


This door was covered in little pins, which held on some 3mm board that someone used to cover up the entire door, which would have been the done thing in the late 1900s to "modernise" the house:


The door was also covered in a huge amount of scratches:


The moldings are cut to length and joined with simple 45 degree mitres:

I always this super strong mitre uper glue, which bonds in seconds:


Just a small bit of test fitting below, as the door hasn't stood in this frame in about 3 years. The odd shape of the door is likely the result of alterations made to it over the years to ensure it continues to fit the opening, as the frame has a tendency to change shape. The opening was likely square when the house was built, but there is always settling of masonry and brick so the opening has changed shape over time:


This is the other door which needs work, so much work in fact that I've left it with a local joiner to refurbish the cracked panels throughout, as it's beyond my skill-set. More in this later.

Finally, I had smart heating controls installed, its the Honeywell Evohome system. It has the ability to control all 3 underfloor zones on the ground floor and the two upper floors independently, as well as remotely via the Honeywell app. It's all controlled by one wireless LCD panel:


One of three wireless thermostats on the ground floor, with a third on the second floor and the LCD controller (which acts as its own thermostat) located on the first floor.

It has one little teething problem communicating with one of the receivers in the attic, but so far so good. It offers a huge amount of control which is exactly what I need considering how spread out the five zones are.
More to come!