The blog has been disappointing of late, I am well aware. The main reason I haven't posted much is because I was trying to get one full task started and seen through to completion, so readers could see the final result, like the refurbishment of a window shutter or skirting etc. Instead of what I normally do; post up random work that gets started, but then the final result not being published for months later.
Alas it's just impossible to do. For example in this ground floor front room, all the paint stripping has to be done at once, followed by all the sanding done at once, then filling all at once, sanding again, then repairs, priming etc. So I inevitably find myself doing 10 tasks simultaneously, like skirting, the window shutters, hinge work, plasterwork, plaster carving, molding installation etc etc. All tasks are interlinked and I often find one job can't progress until another is started, so here follows another post of works completed, with no final result!
The ground floor front room will be the dining room, with the adjoining kitchen located through the archway to the rear. The front of the room is dominated by a large six over six double sash window with shutterbox and shutters.
The shutterbox was covered with 200 years of paint, which rendered any fine detail hard to see.
Same goes for the hallway door architrave; below you can see the original Georgian green colour scheme and the various colours from over the years:
Paint stripping as ever was arduous and soul destroying, with over 30 hours involved:
Slowly but surely detail began to emerge:
Many of the shutter panels were covered in wallpaper and then painted over:
Fully stripped back:
Such a huge expanse of timber had to be stripped:
The plaster and timber molding on the inside of the archway had to be carefully stripped back. The upper section of the arch, much like the identical one upstairs, is made from plaster and is quite delicate. The lower upright sections are timber:

Some of the original molding falls off due to the heat or the tiny tacks used disintegrating. All shall be reattached later on:
Like many of the other shutters in the house, a mixture of ugly hinges had been attached over the years after the originals failed:
Like the upper floors, the window reveals are home to a library of wallpapers that have built up over the years, which will be left in situ, covered over and left for future generations to find:
I began the refurbishment work on the shutters, removing any non-original hinges, latches and various screws and metal work.
The heads of the shutters also required reinforcing:
Chiseling out sections for the new hinges, which will operate along side any remaining original ones:
The original hinge is still in-situ in the picture below, with the ungainly past repair below it:
Once the new brass hinges are fitted, the tacked on hinges are removed:
Two new brass hinges in place, two more to go:

The molding were then reattached to the shutters and the panels below the sills. Any missing or damaged sections are replaced with reproductions I had made by Inniskeen Joinery, bonded to the timber with mitre glue:
New skirting in place at the base, matching the original's height. All molding are removed in this image, about to be reattached:
Whilst the original skirting was put into storage before the floor works began, unfortunately some of it has gone missing. This is all that remained:
I was in two minds as to whether I should bother restoring it at all, but in the end I decided it would nice to have the original skirting in place and went ahead with what remained. Once again it was in awful condition:
I pretty much only had enough for the corner to the right of the fireplace and the corner in which i'm standing:
More of the original green paint:
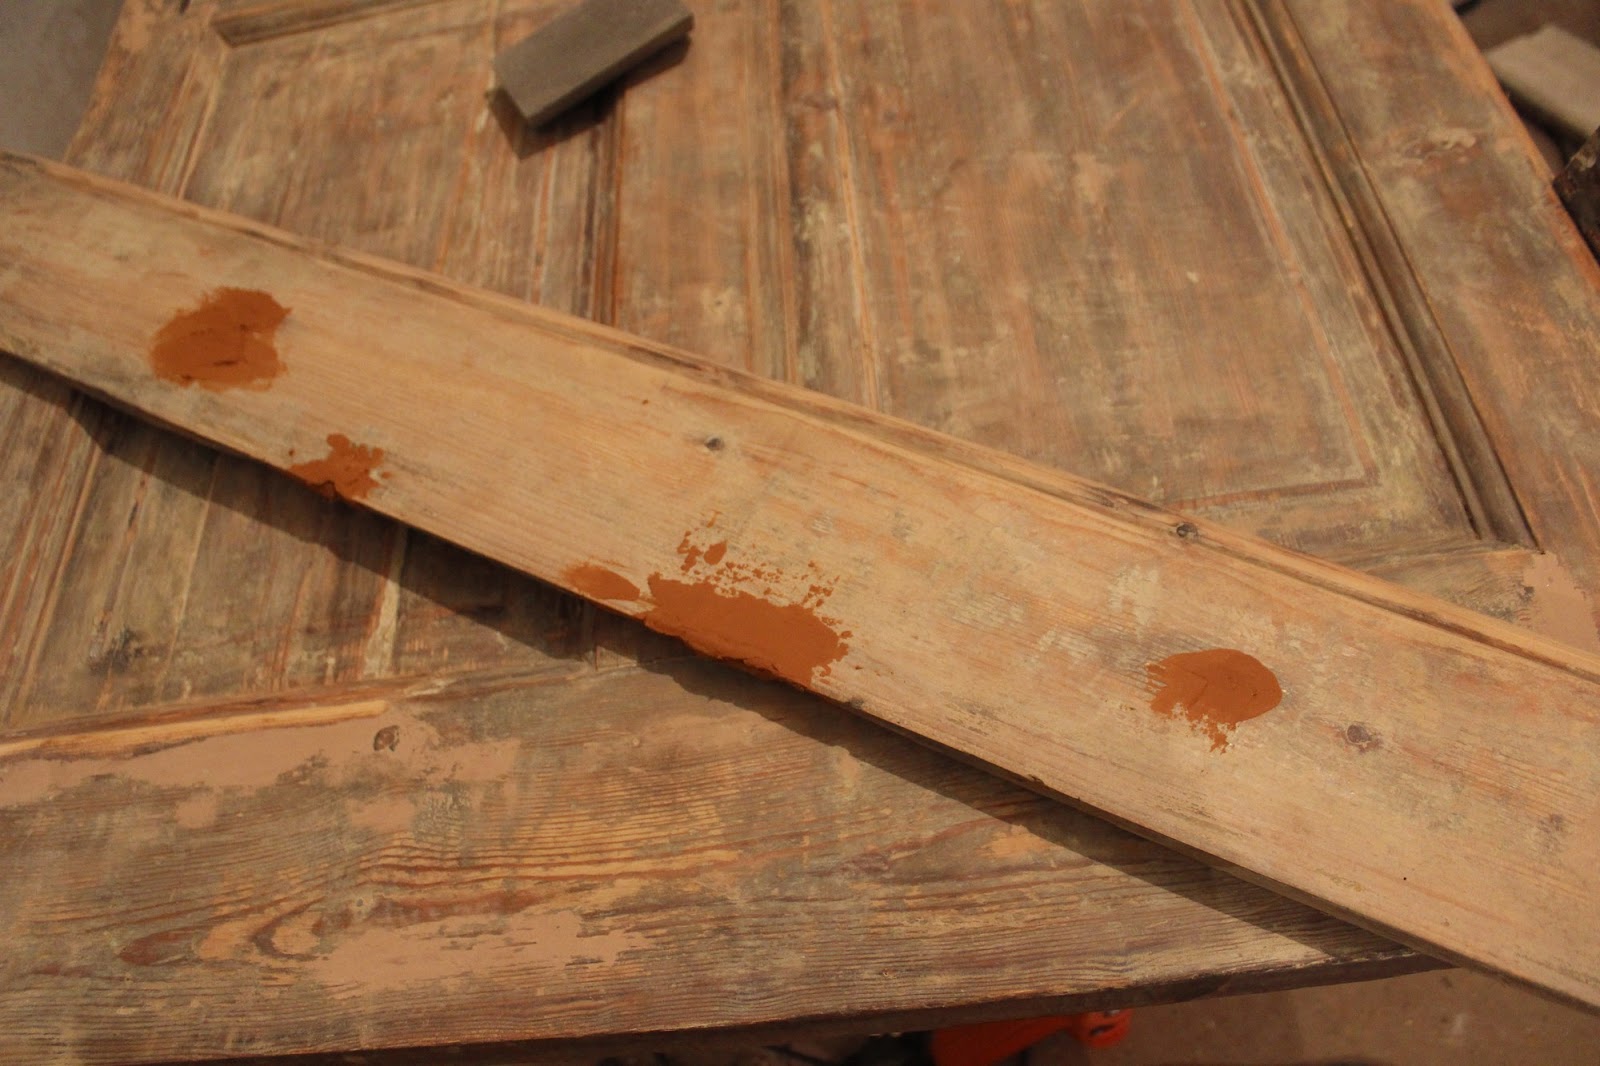
Many of the larger boards had significant damage which required lots of filling, nail removal and sanding:
Filled and sanded:
These are the original plinths that sat below the archway. Because the floor level is now approx 1 inch higher than before, the vertical sections of timber had to be cut shorter:
...and space needed to be made for the plinths to fit back in their original positions, as the walls have since been re-plastered:
The walls being plugged so the skirting has a firm fixing:
More filling and sanding:
This board was in particularly bad condition:
The plinths had lost so much detail and needed to be stripped, filled and sanded:
At this point I had run out of original skirting. Paul Dowdall Joinery cut me some new skirting, with my special bit that is a perfect replica of the original skirting's bullnose:
Coping is tedious but has to be done:
Fitting the last original board to the new board:
A perfect fit:
All screw holes filled:
The large gaping holes in the wall were filled with a lime plaster mix and will be skimmed this week:
Painting is due to be started this coming week.