The kitchen worktops have been installed about 4 weeks now, Twibill Designs returned about a week after the cabinets were installed to install the black granite tops and cabinet and drawer knobs. I chose the brass knobs which look great.


The granite tops have somewhat rough texture; I felt a completely smooth, high shine finish would be a little too modern. The tops were installed first, followed by the small up-stands along the walls.


I went with the stone cut integrated draining groves on both sides of the sink. The small up-stand in front of the window is the perfect height.

There was a slight error in the measuring of the window reveal area, however this will all be covered by the up-stand and timber architrave/shutter box that is being made specially for this window:


The up-stands were then installed a few days later:


Again, the height difference between the two different up-stands will be covered by the new window shutters:

The new gas hob temporarily in place:


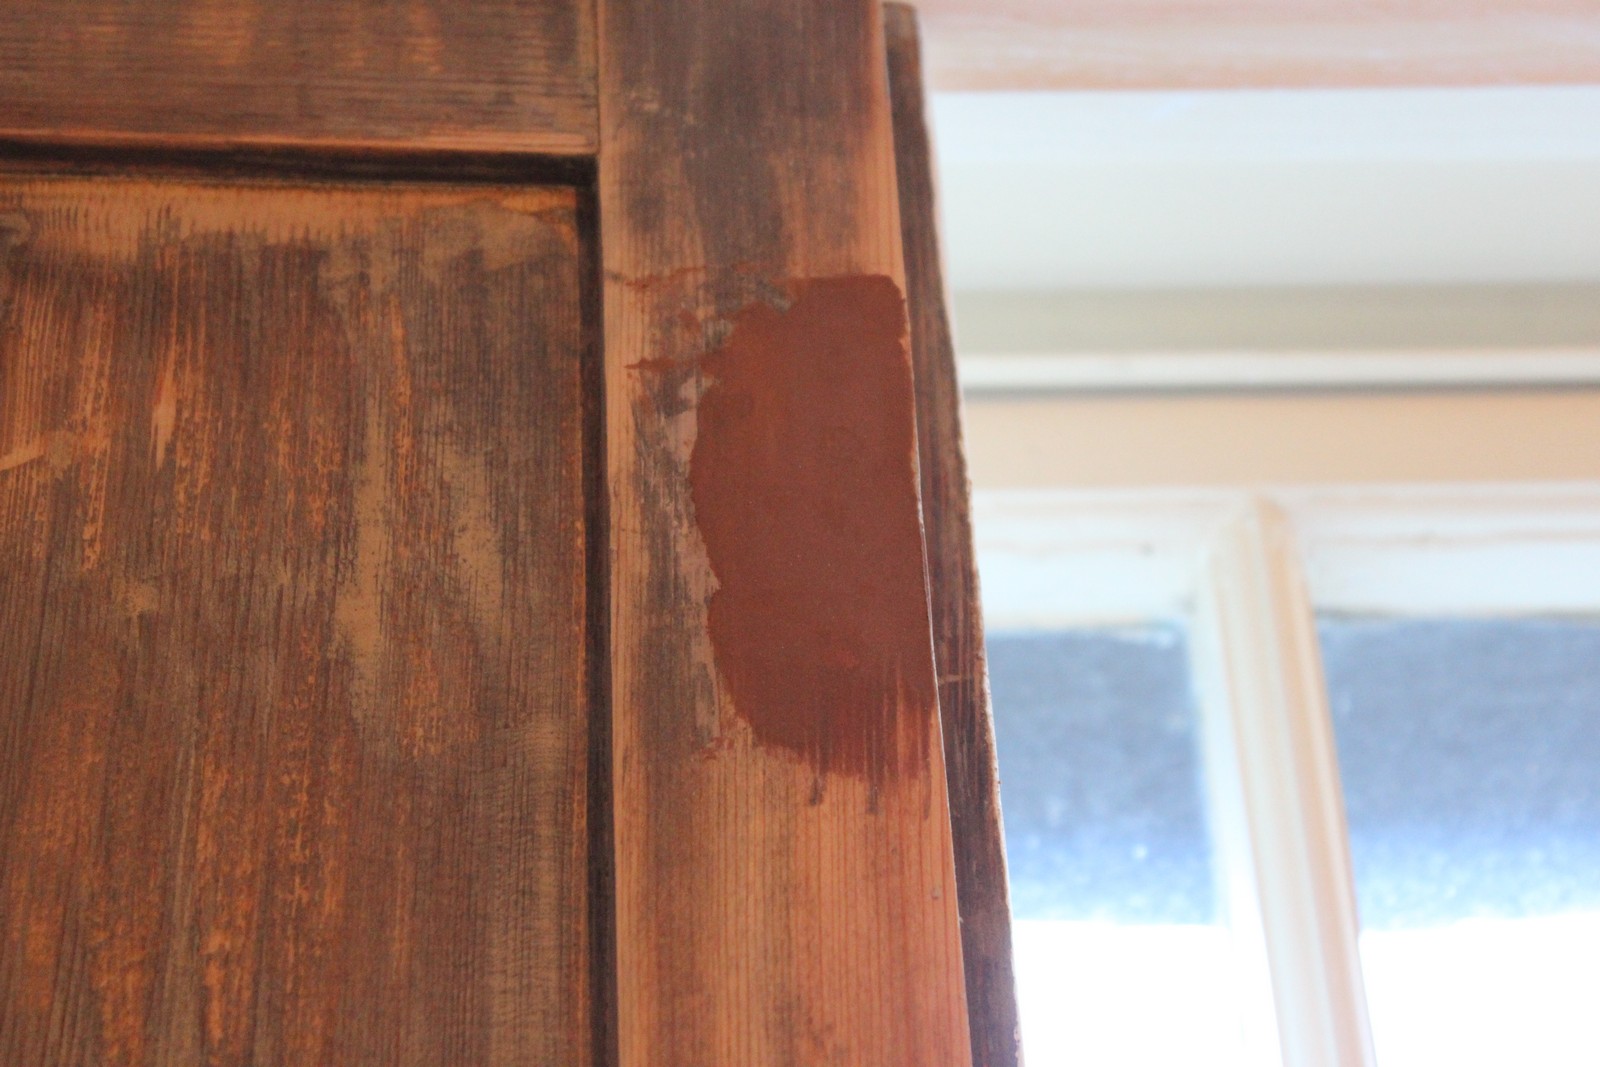
The first floor front room (sitting room) has taken up most of my time during the last few weeks. The window shutters and boxes just eat up the hours in terms of stripping sanding, filling and priming, plus general repairs to hinges, inside the reveals etc.
The boards below were measured and specially cut to fit perfectly inside the window reveals, without interfering with the shutter operation or the 200 year old wallpaper underneath:


The shutters completely stripped back:


Some of the 200 year old wallpaper is below, which will be untouched:


The deeper you go, the older it gets:


I decided to remove the botched hinge repair jobs that have been completed over the years, prying the old (non original) hinges from each leaf of the shutters, filling them and sanding them, with the addition of new brass hinges below them:


I then chiseled out new mortises for the hinges:


These Philips head screws will be swapped out later for flat head screws:


Most of the shutters had large, ugly hinges just bolted onto their faces over the years. Remnants of the original hinges can still be seen, these will be left in place and just painted over:


The two first floor windows:


Examples of the hinge holes left after removal and before filling:


Removing bad hinges was tedious and time consuming:


New hinge mortises below the only original, working hinge, which will be left in-situ.


The kind of horrendous hinges I was dealing with:


Note the grooved molding on the edge of the shutter that had to be carved into the wood filler to match the original:


The only remaining hinge after sanding and filling is the original, 200 year old hinge:


Sanding and painting: