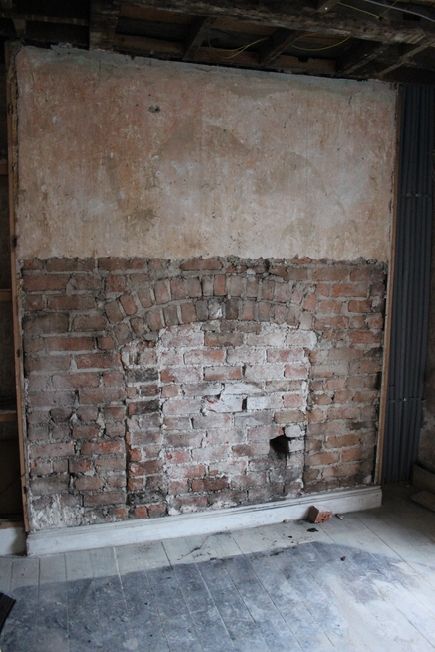
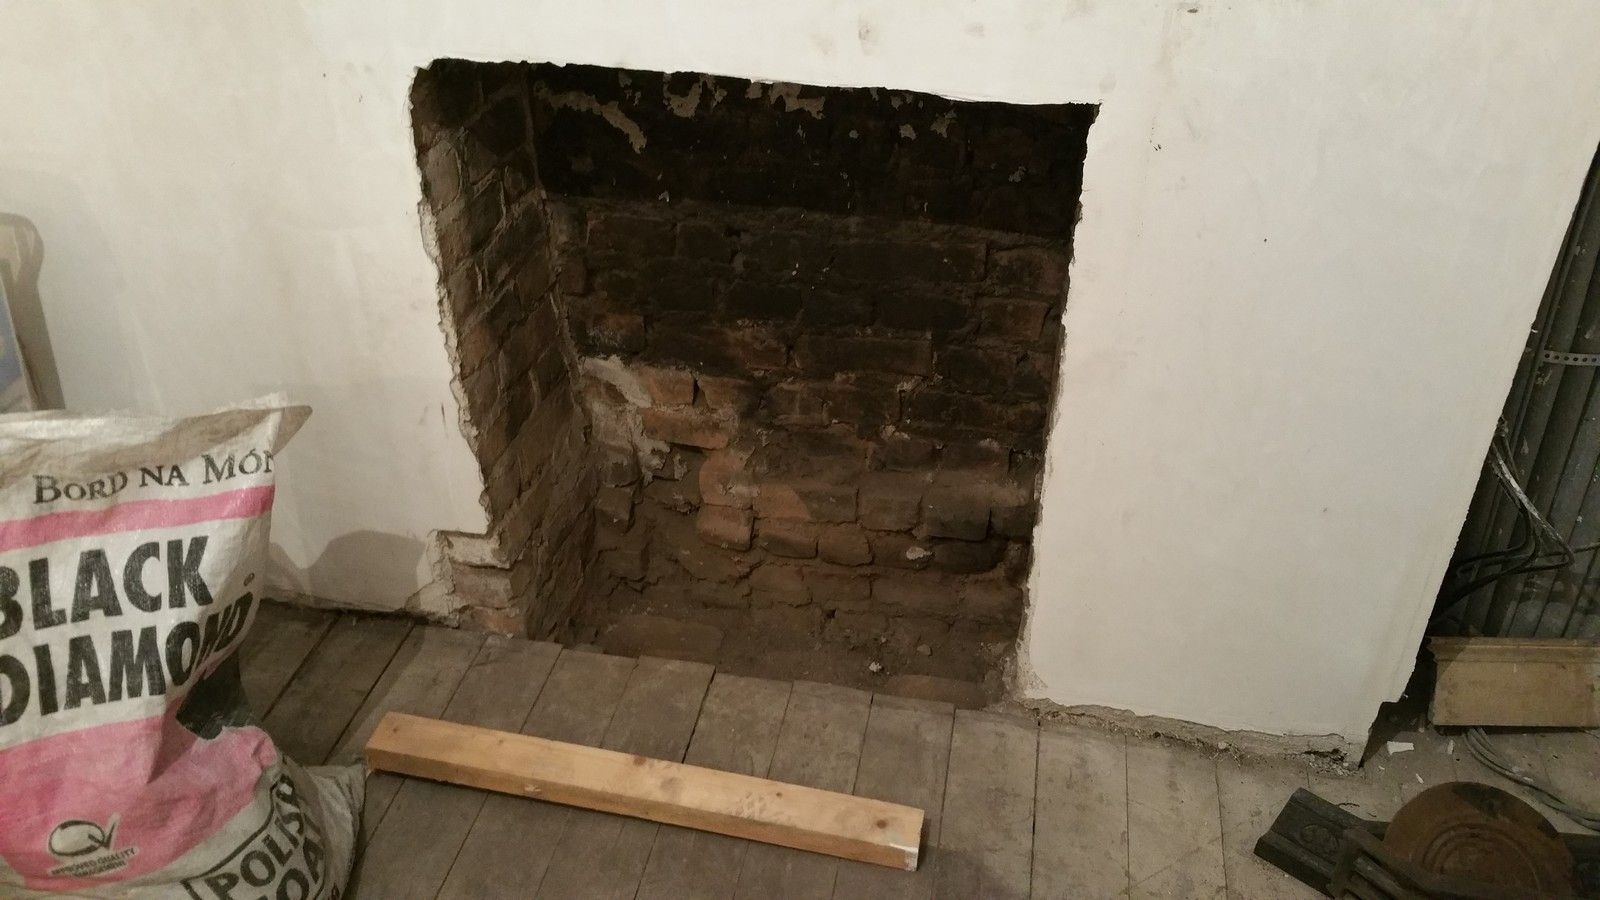
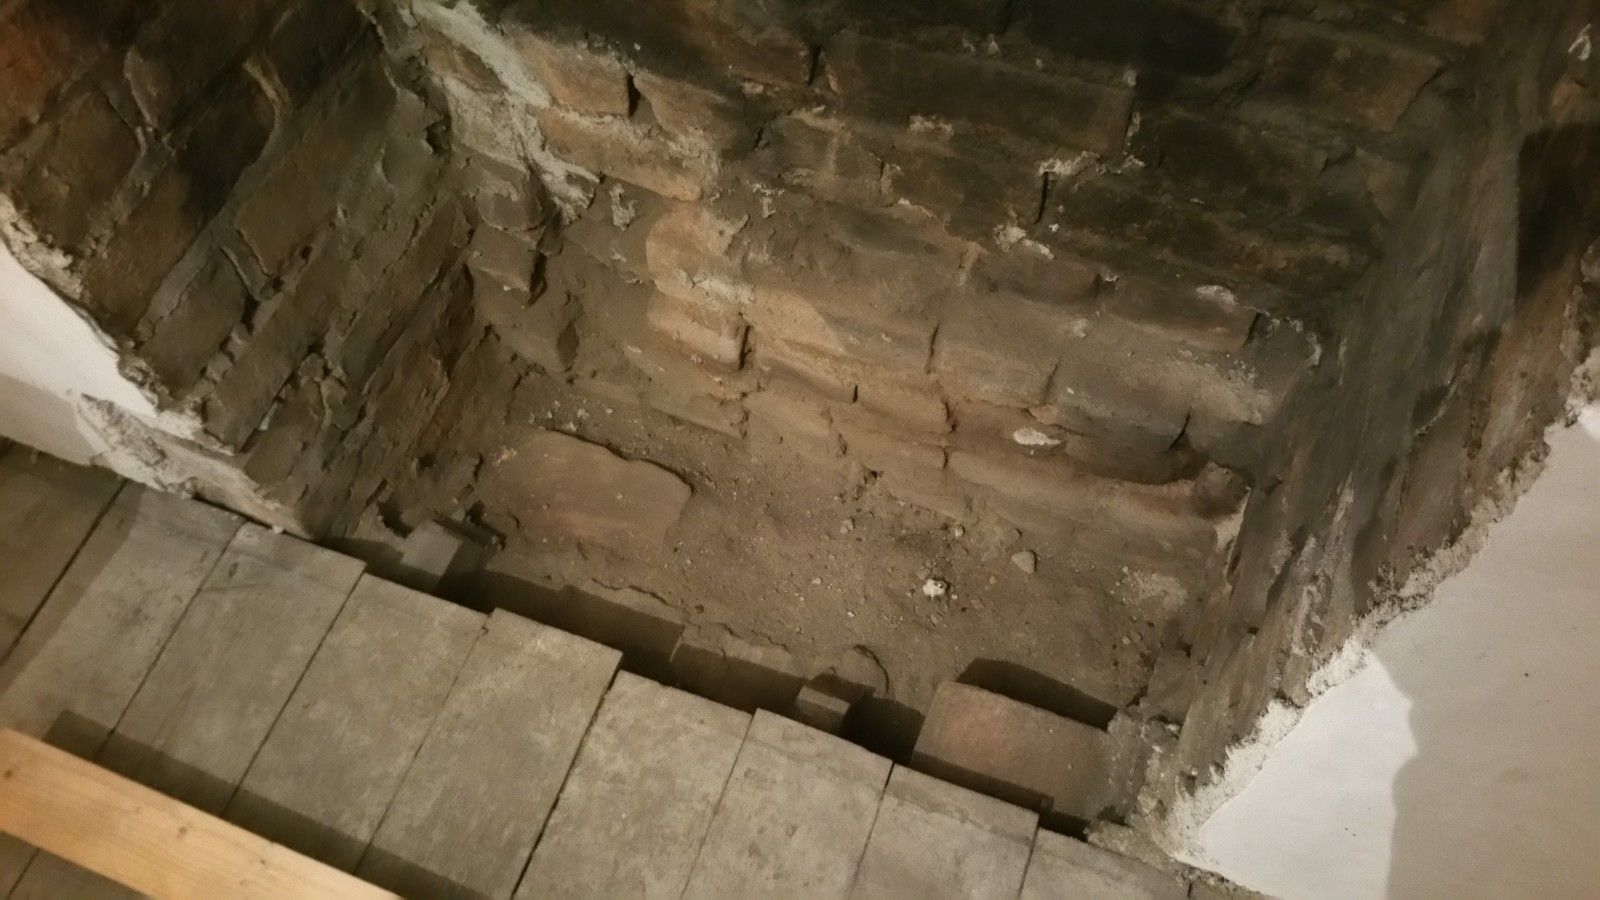
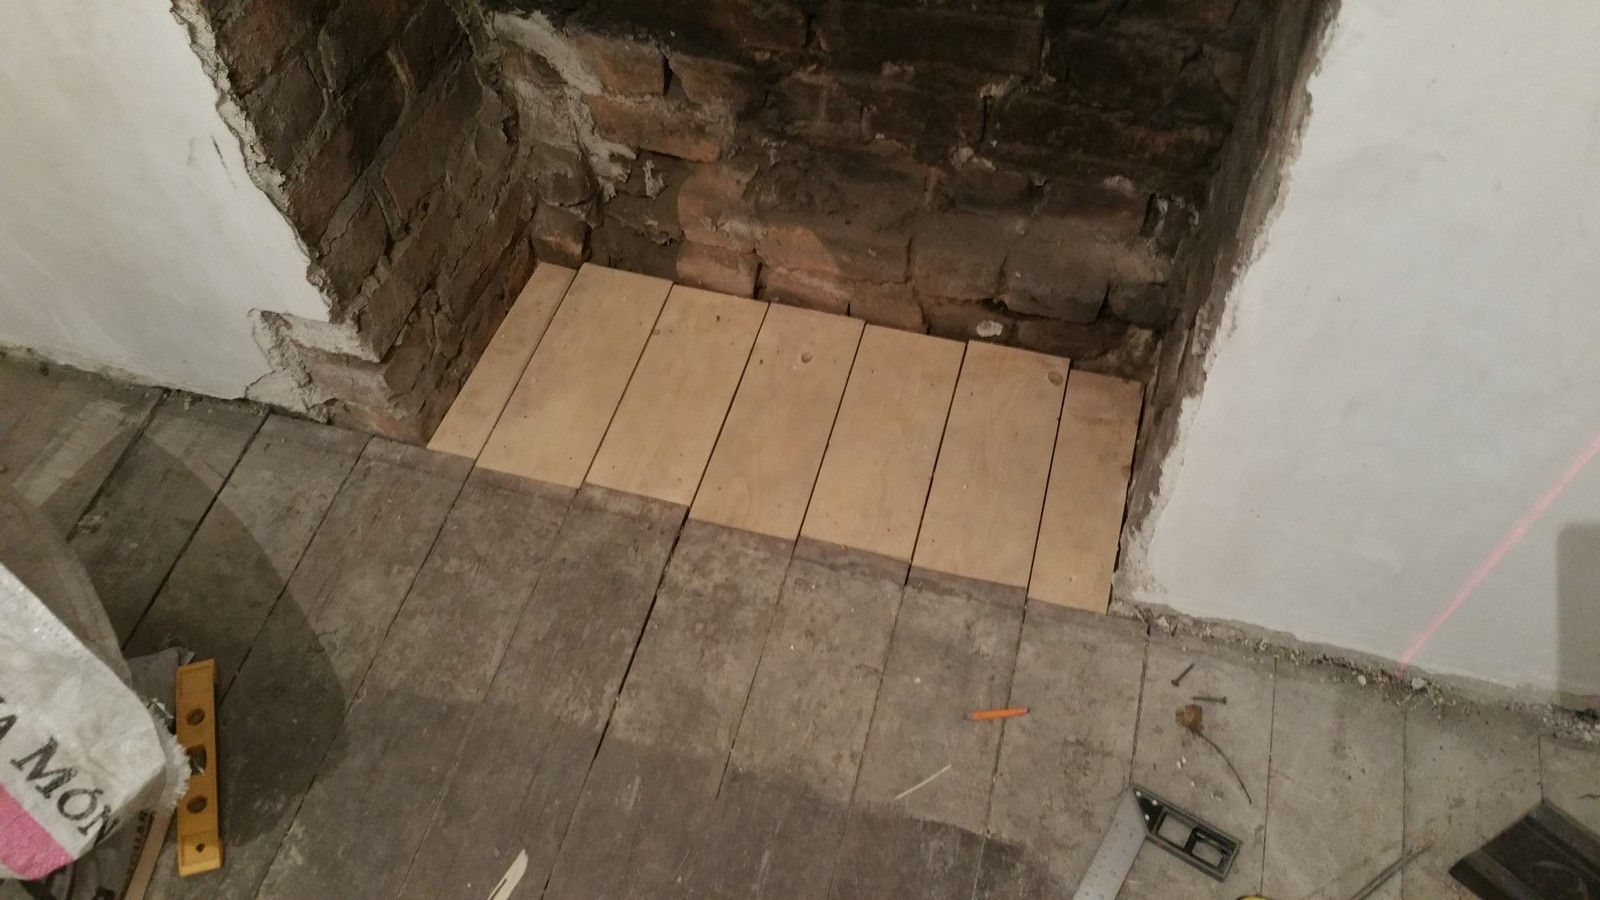
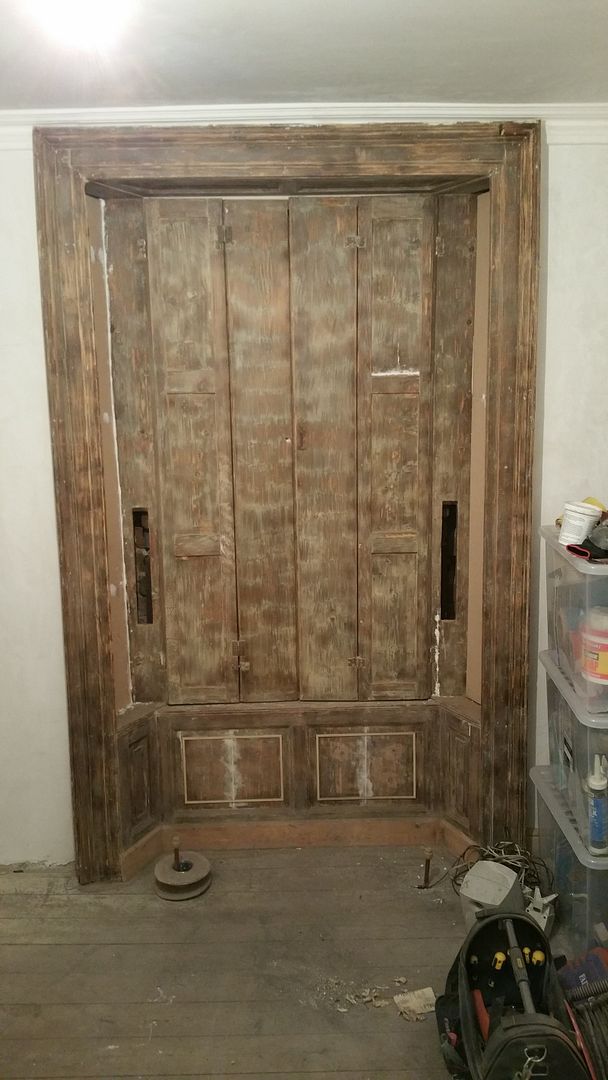
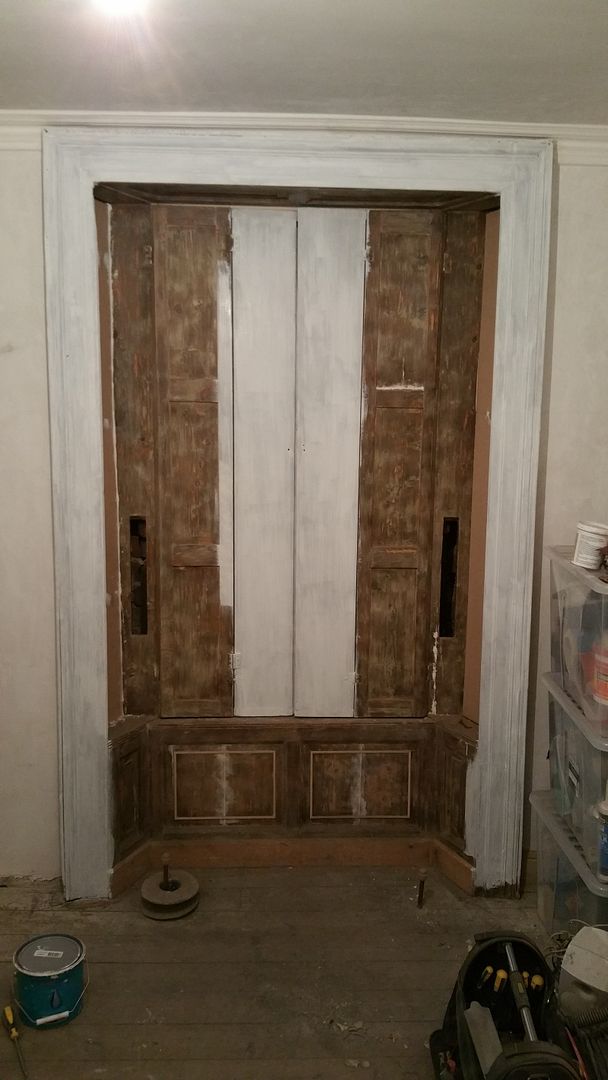
This is how it looked when the failing plaster was removed:
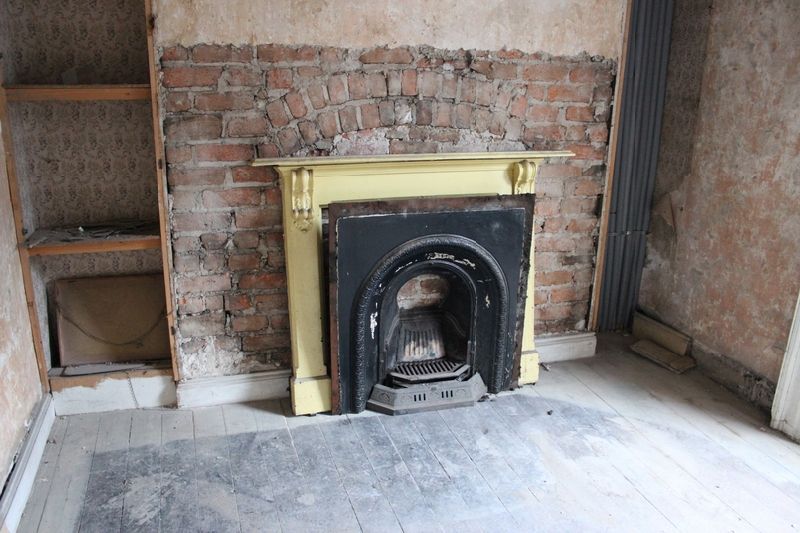
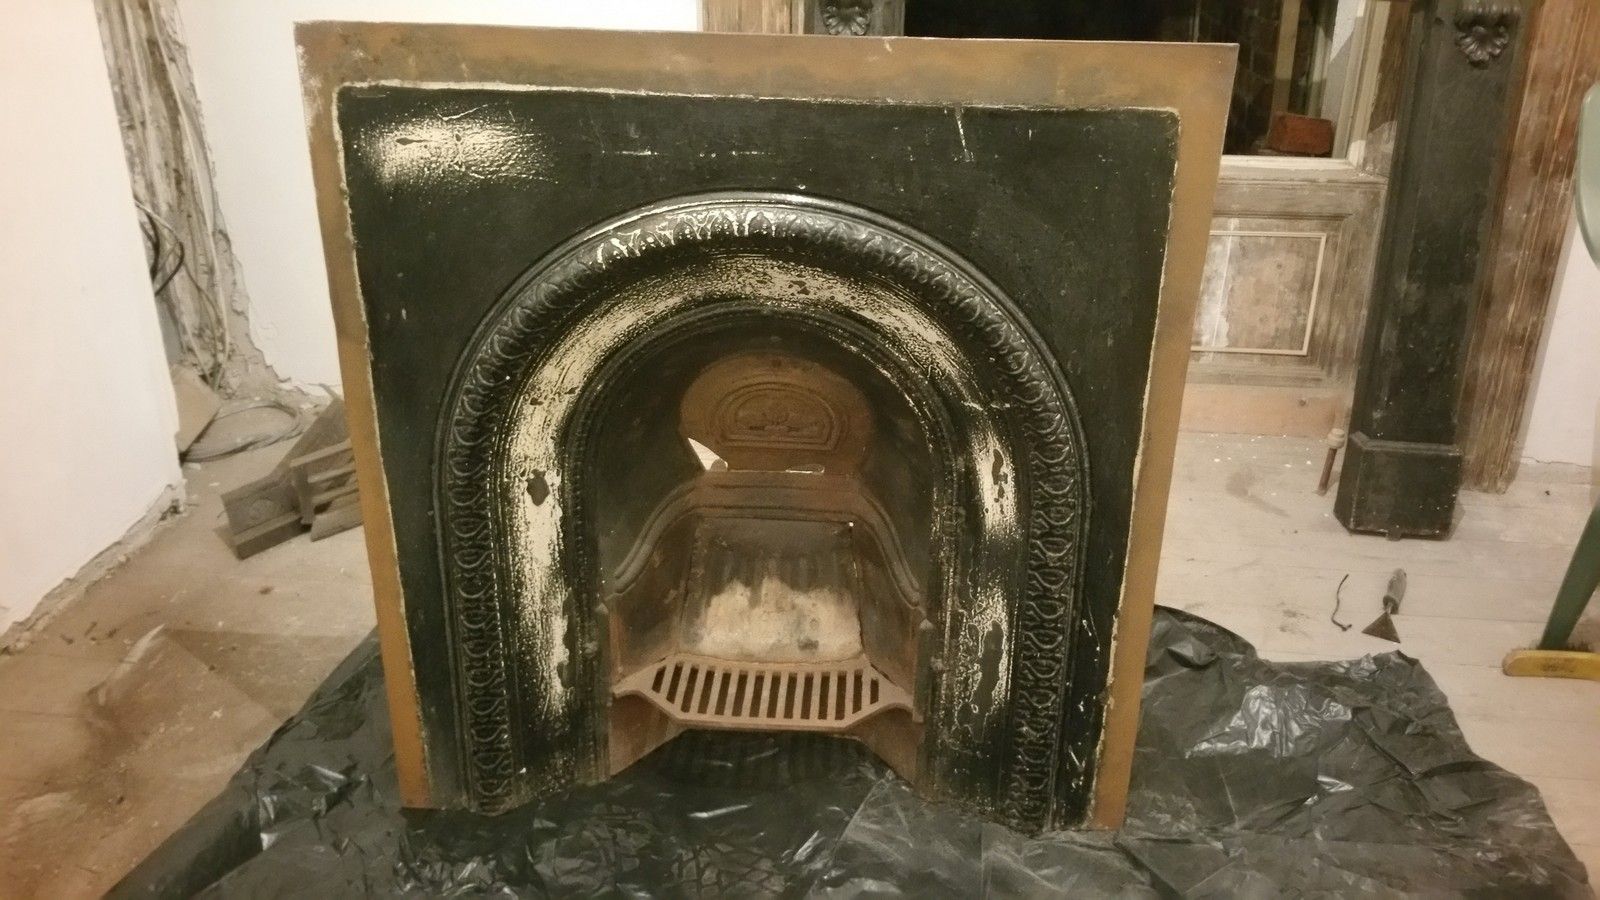
And this is the cast iron fireplace surround (yellow) and insert from the front room, set temporarily in place:
As mentioned in previous posts, the builders spent considerable time and money attempting to re-open the flue of this fireplace, however it transpired much to our disappointment that the entire upper section of the chimney in the attic would have to be dismantled as the whole flue had been bricked over. It just wasn't worth the cost to get a working fireplace in a room that would rarely ever have a lit fire.
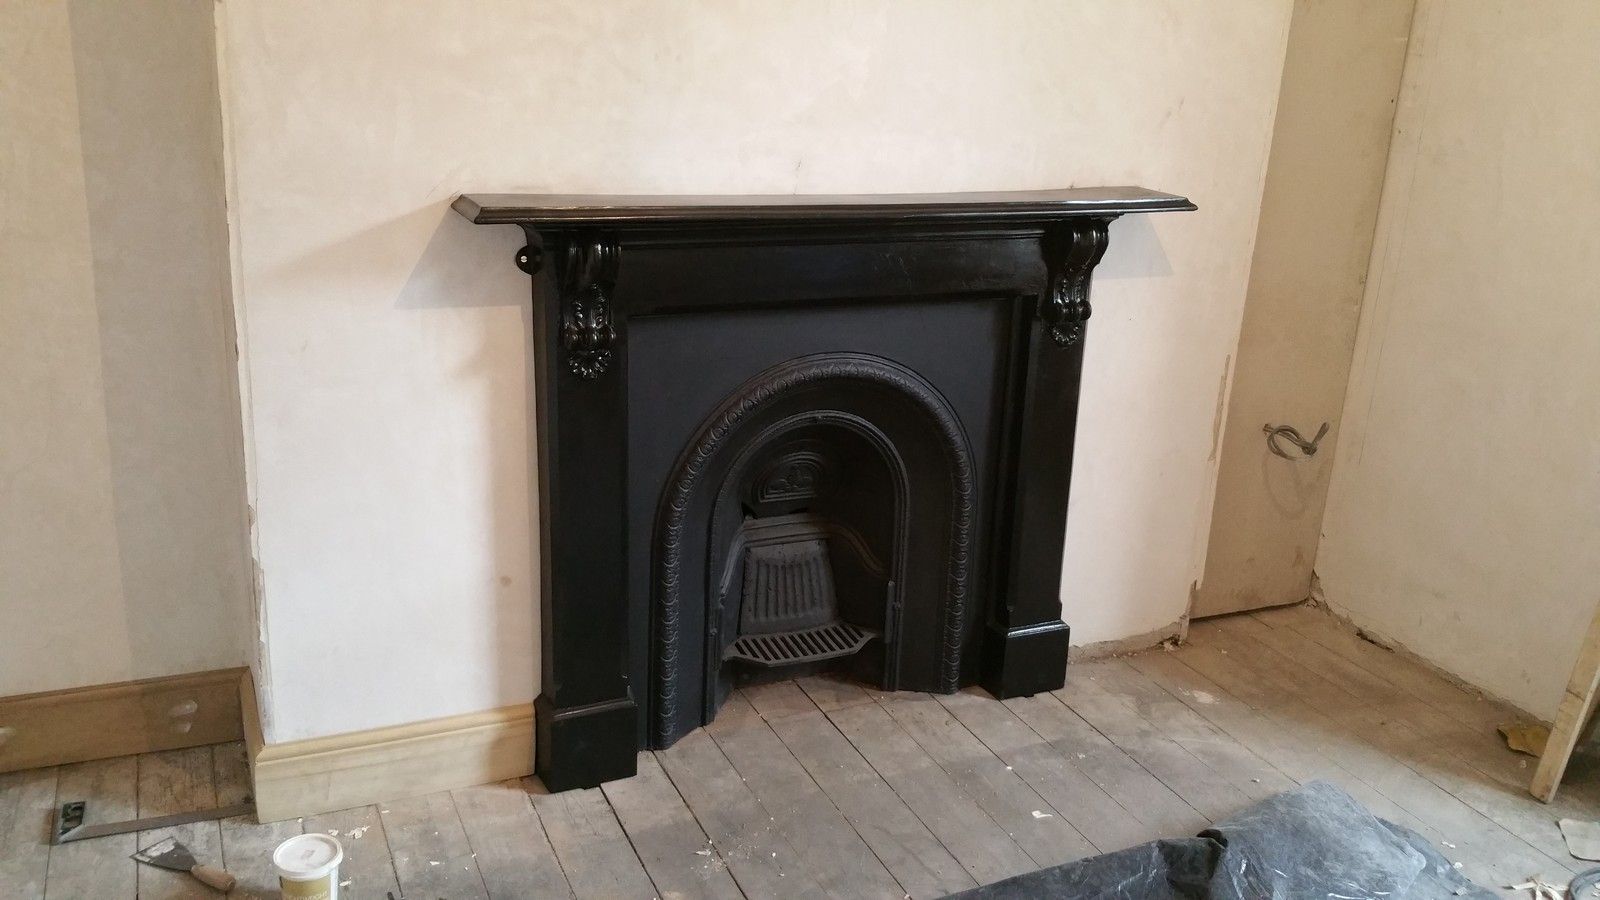
The good news however was that I now had an open fireplace:
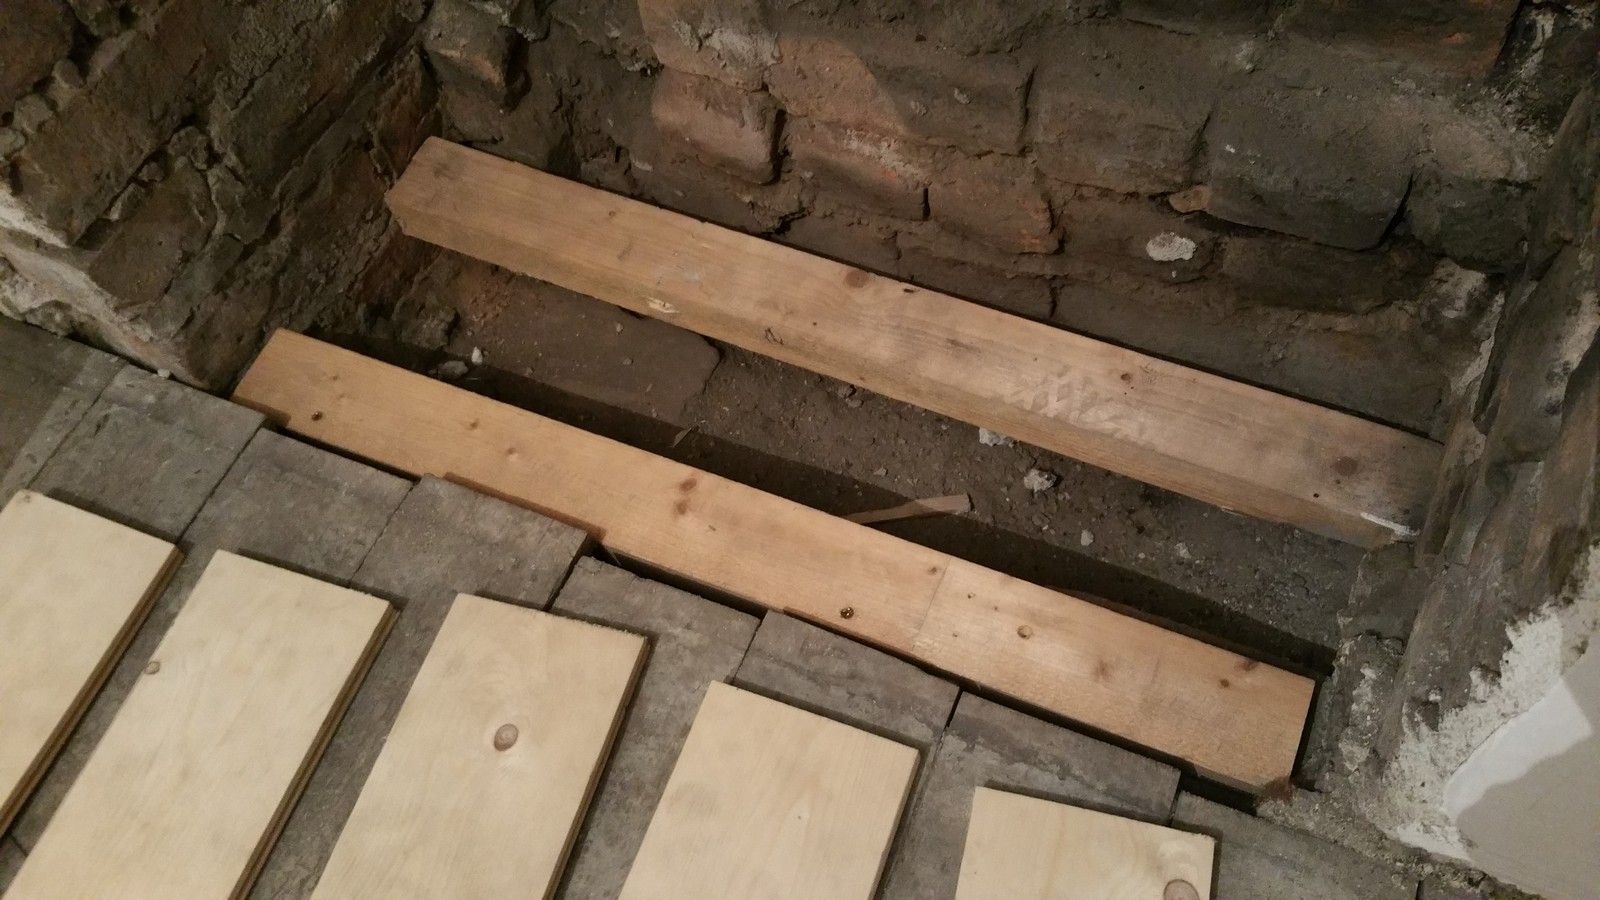
The first step was to run new floor boards right into the hearth area:
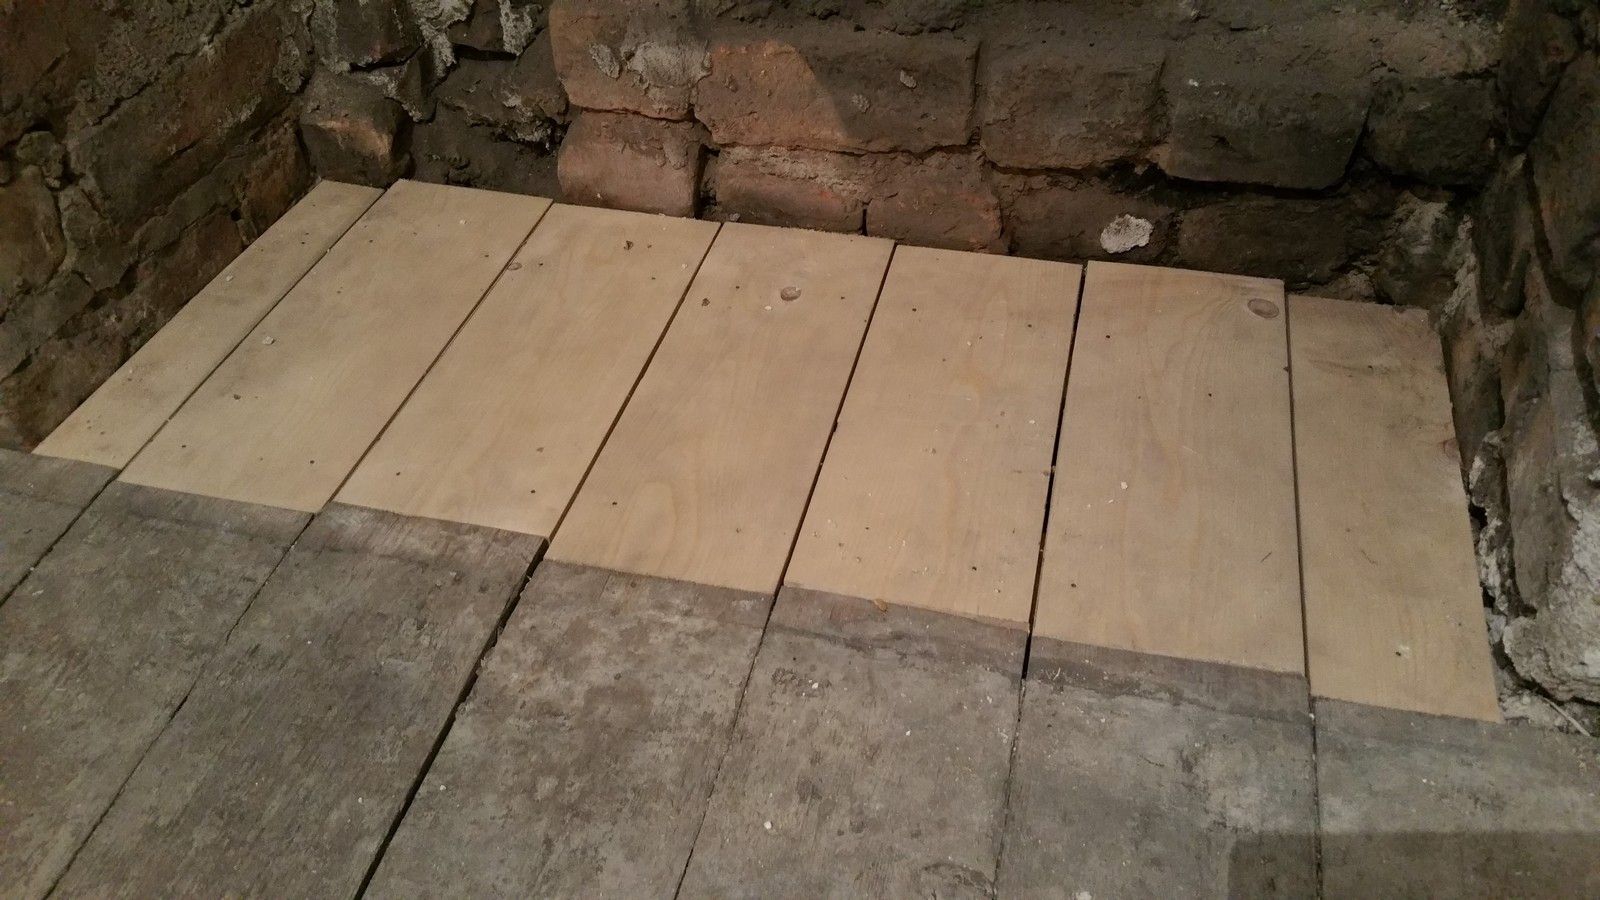
Wedging in some small joists:

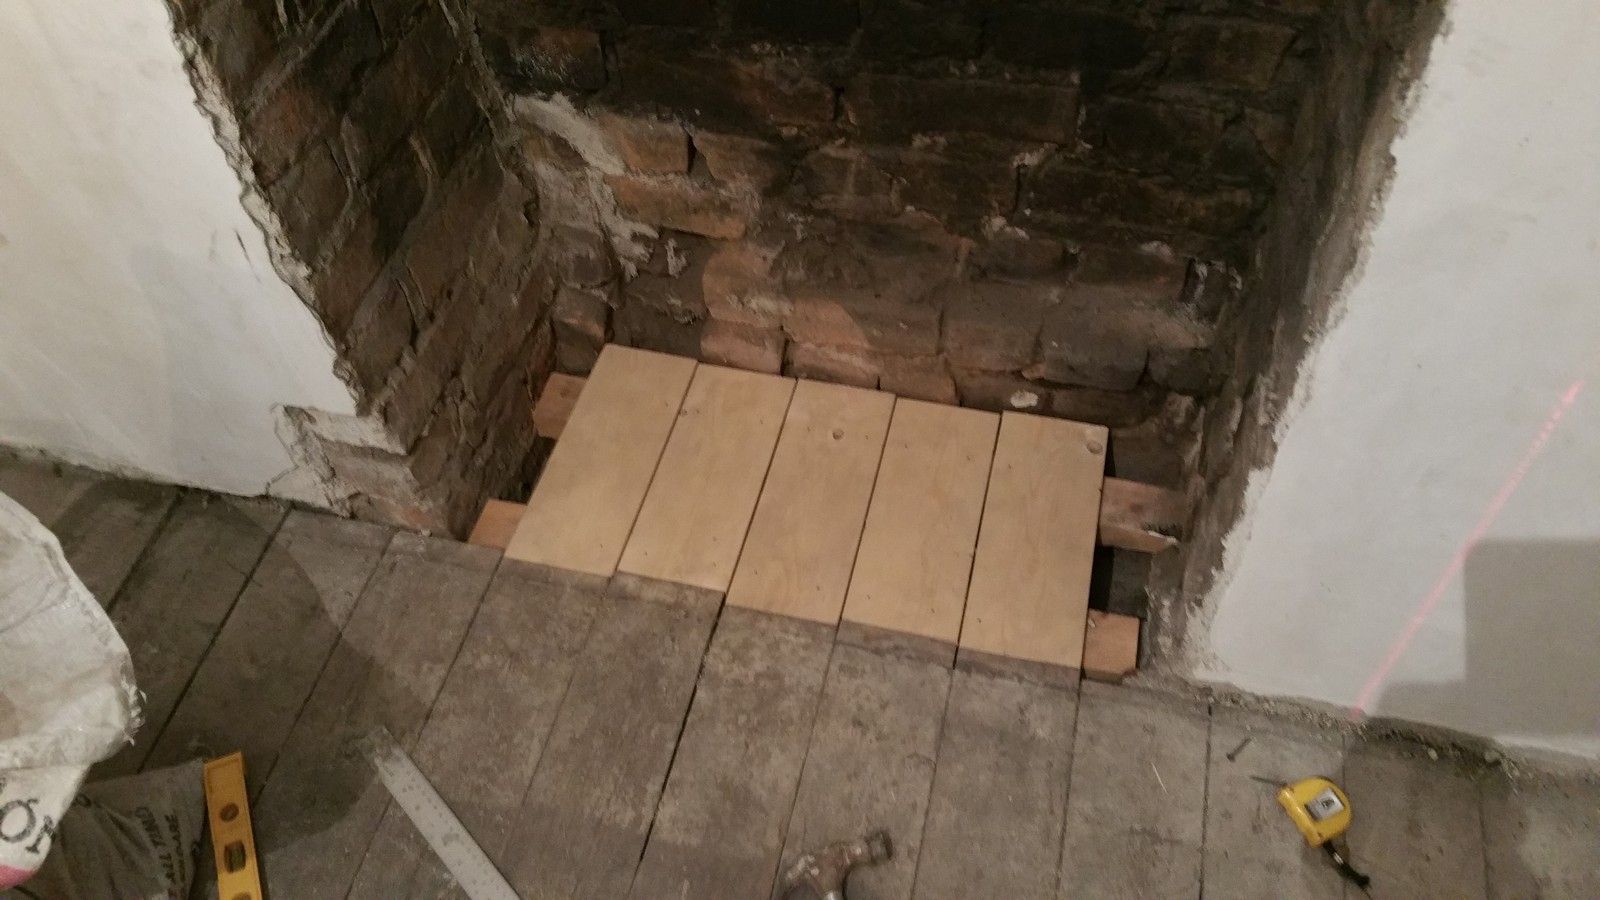
I cut boards to the same size as the 200 year old originals and nailed them down:
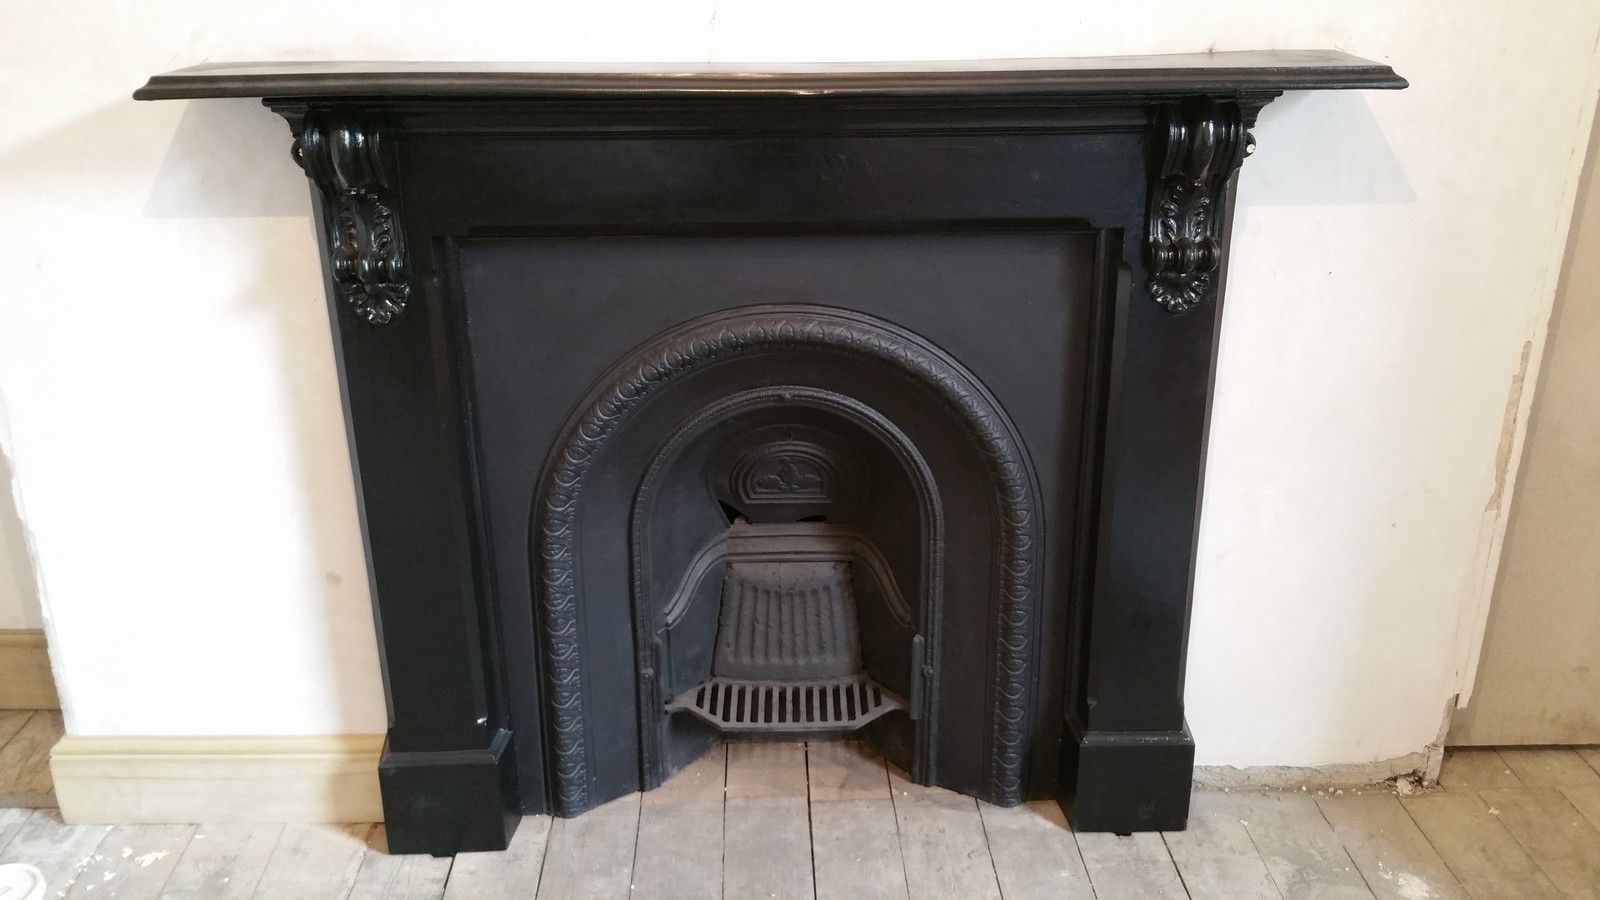
The Victorian fireplace insert was in bad shape and required sanding back and respraying. It came out well with just regular stove spray paint:
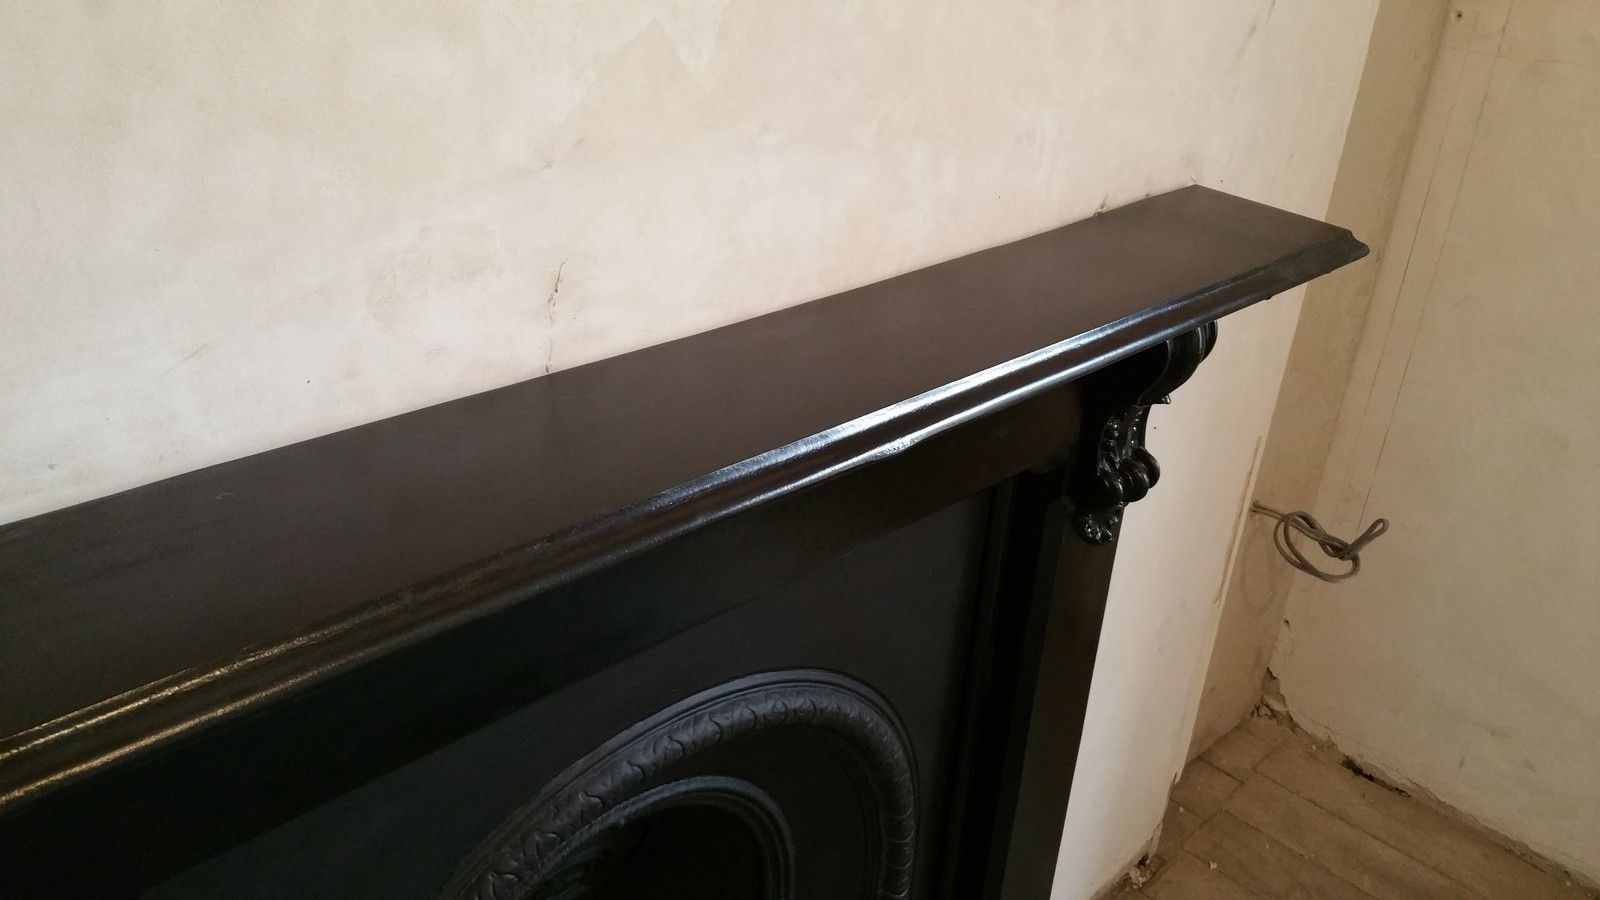
The fireplace surround was also stripped back with a heat gun and lots of elbow grease:
INSERT ADDITIONAL STRIPPING PICTURES
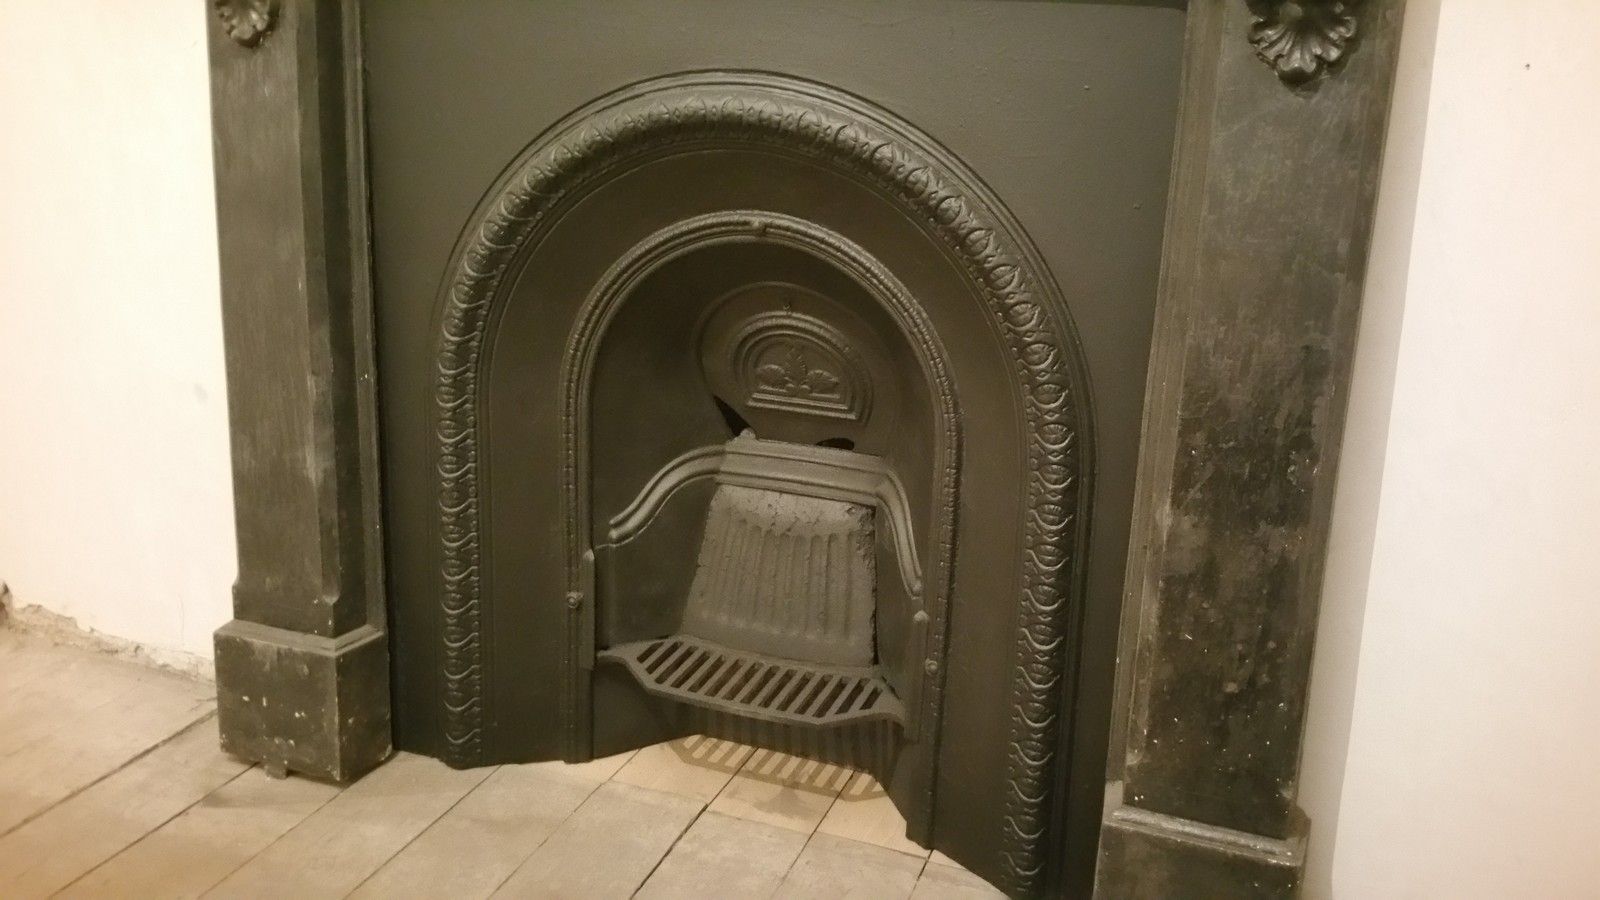
The surround was then sprayed with three coats of satin black spray paint:
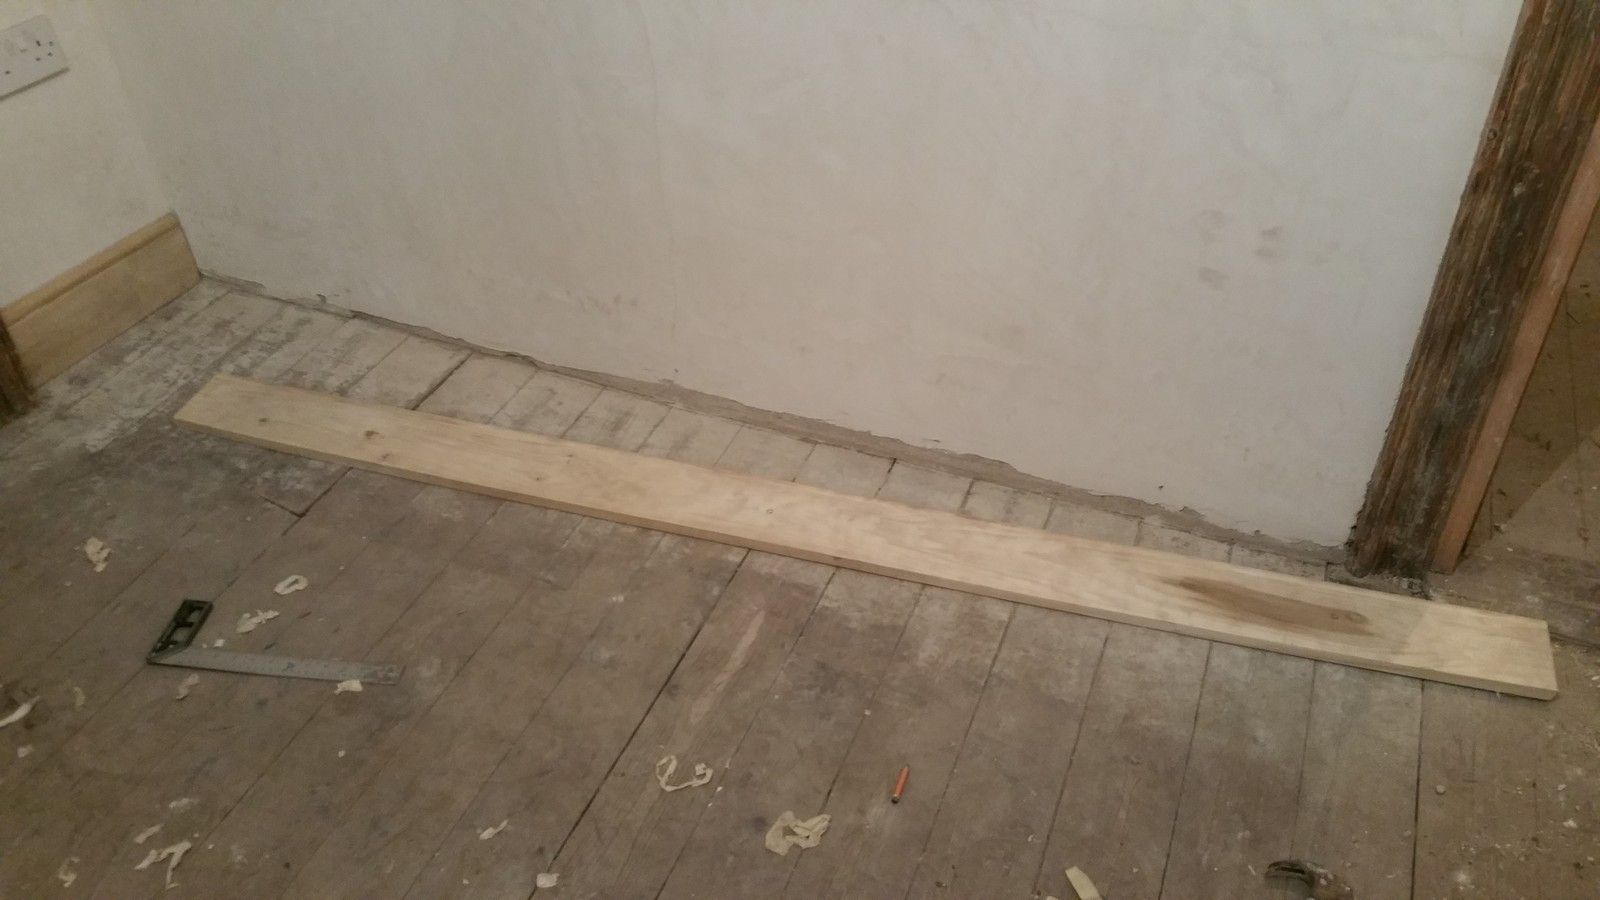
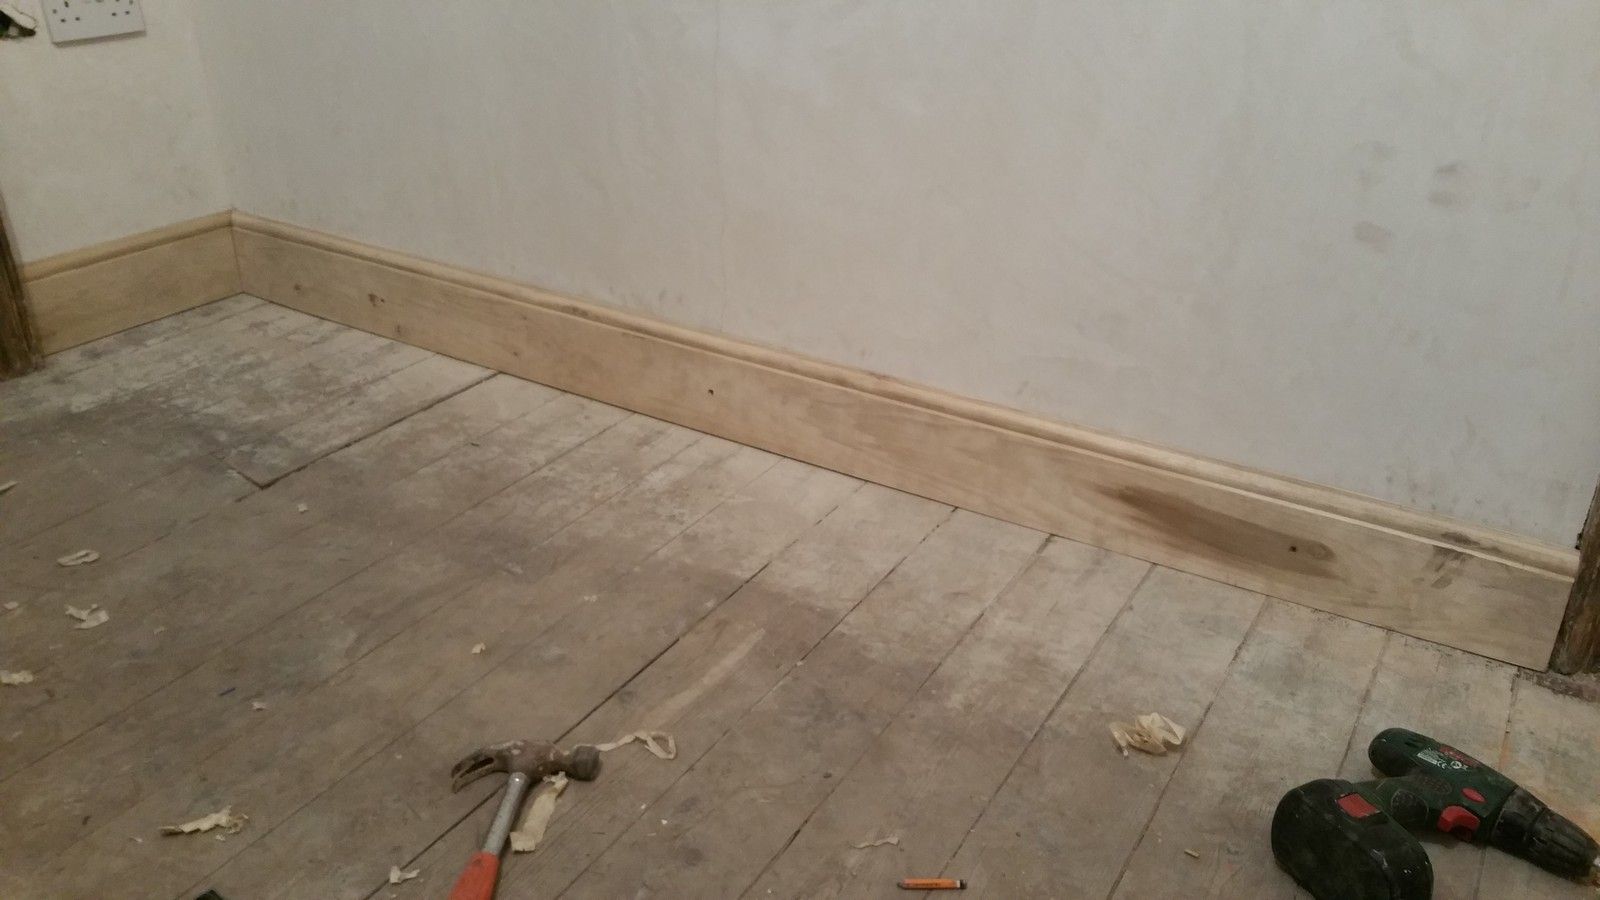
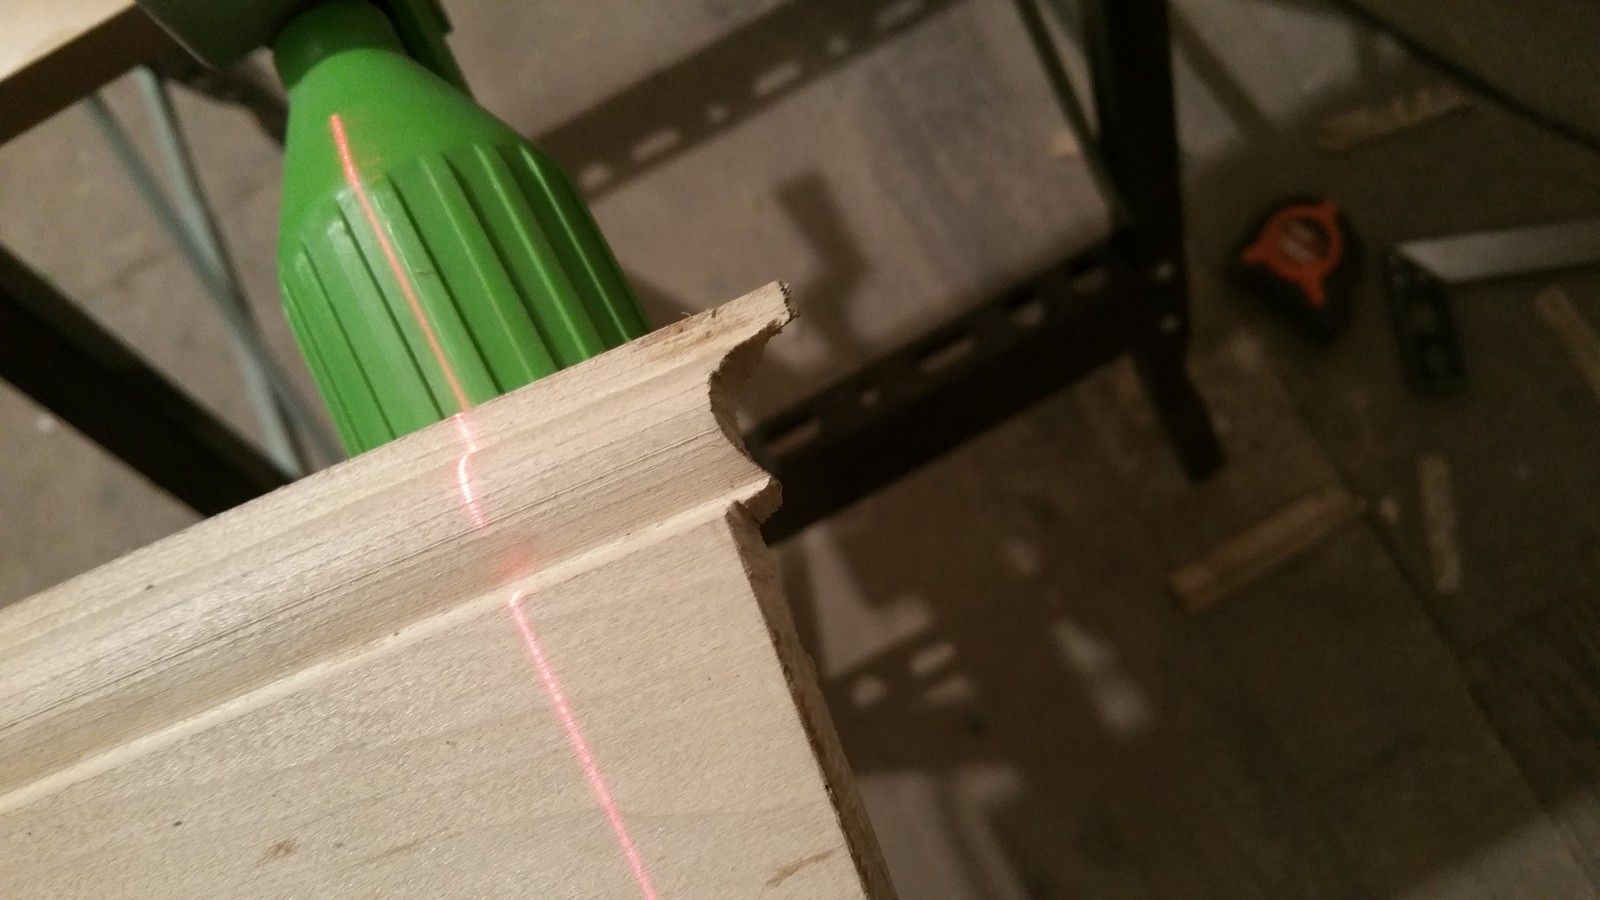
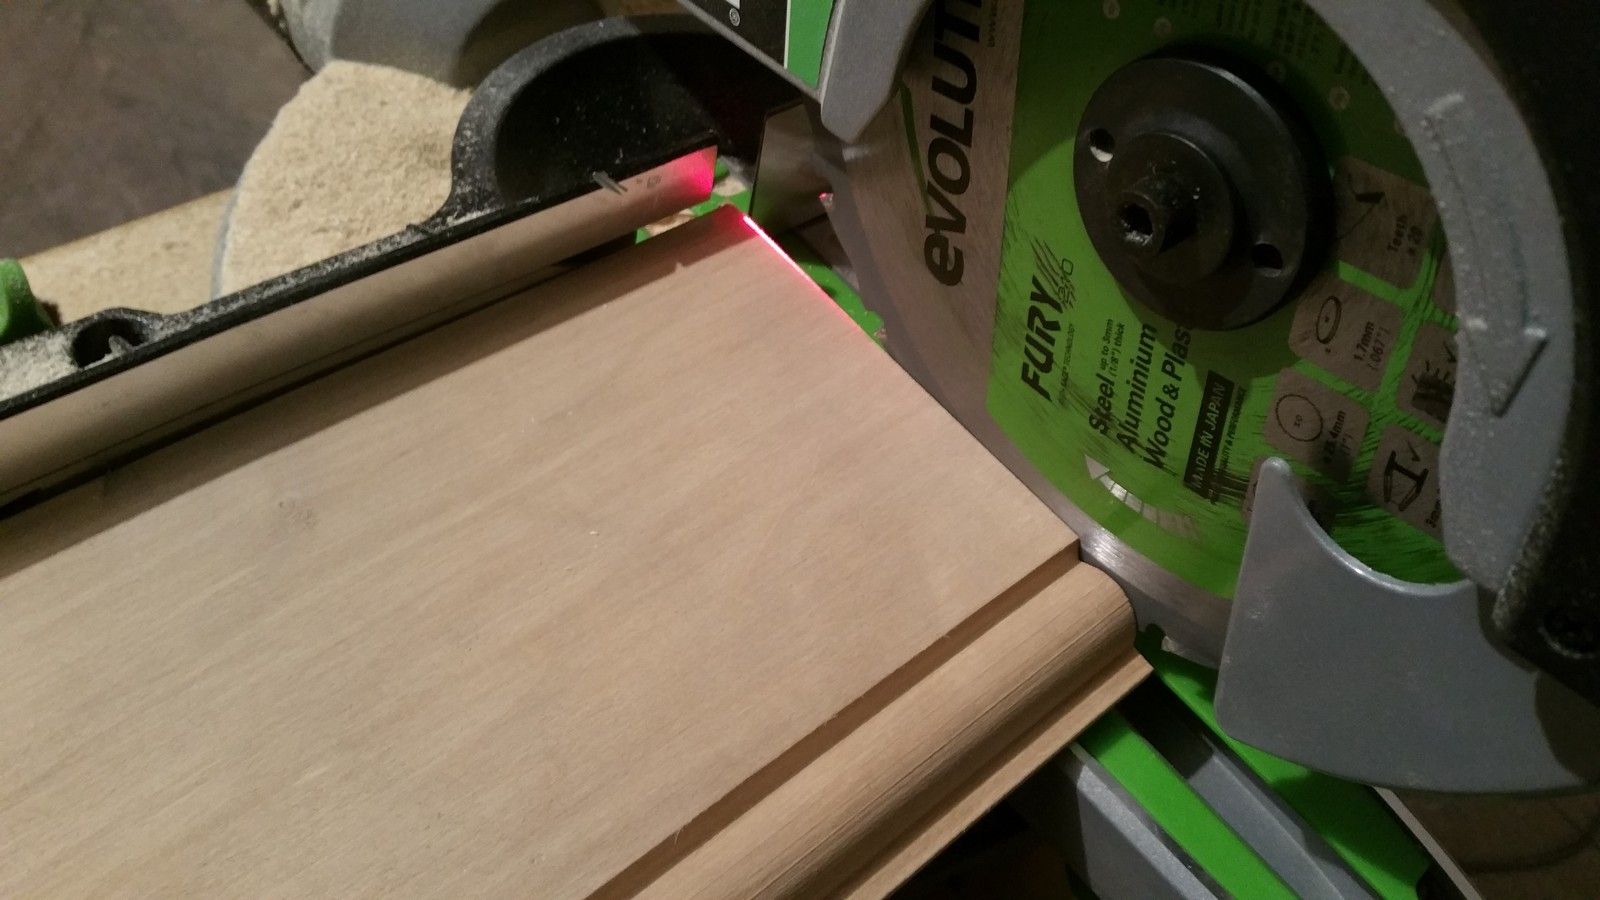
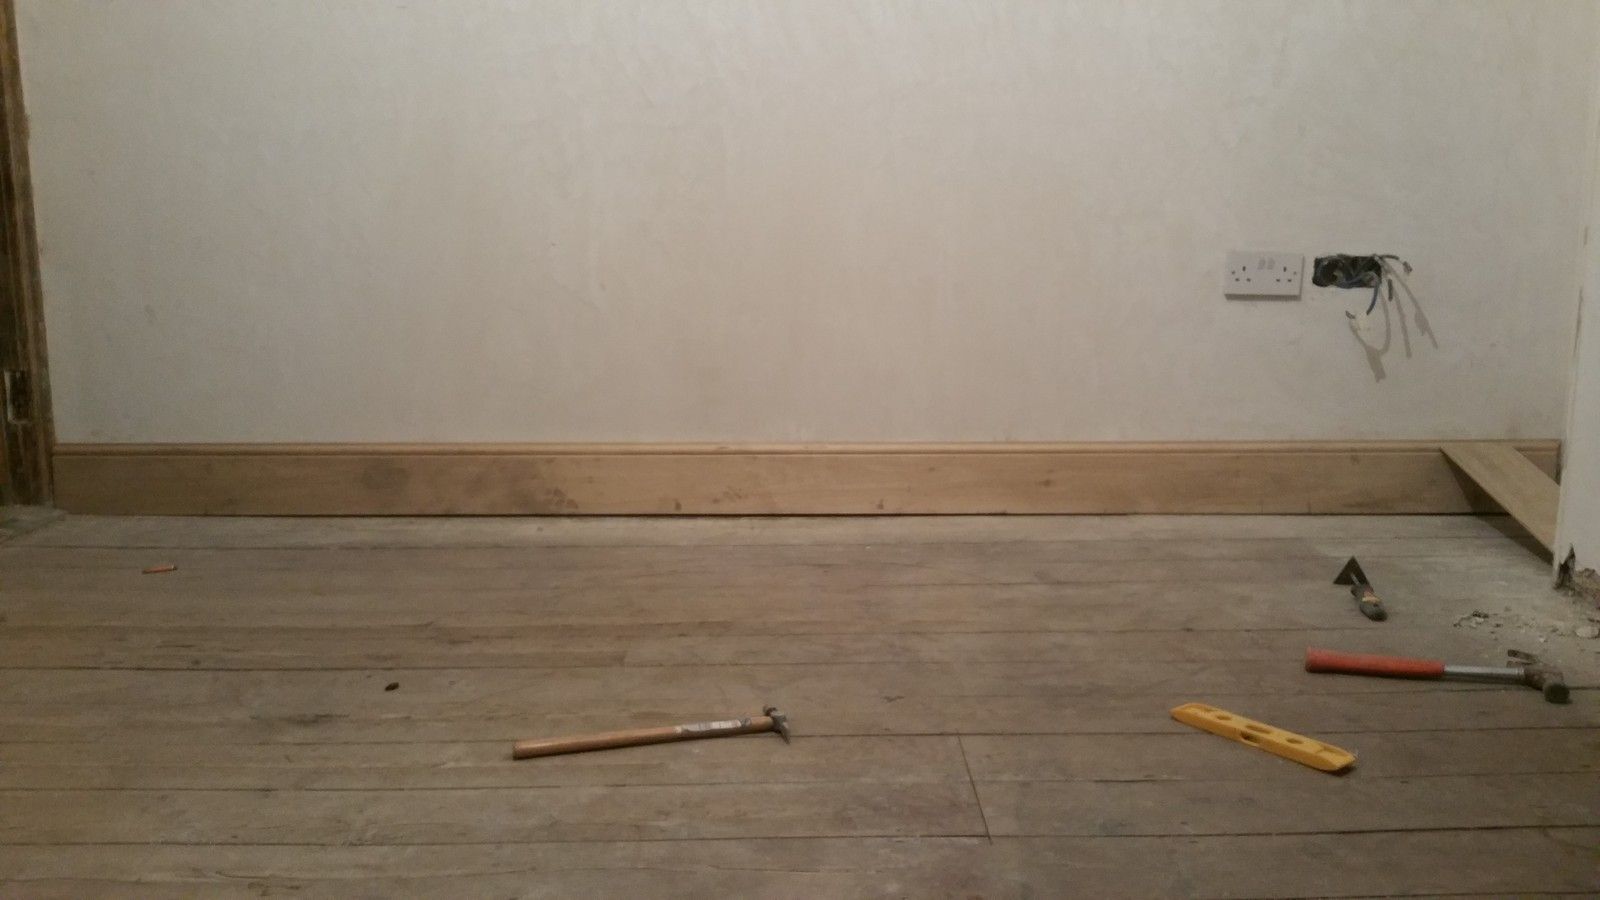
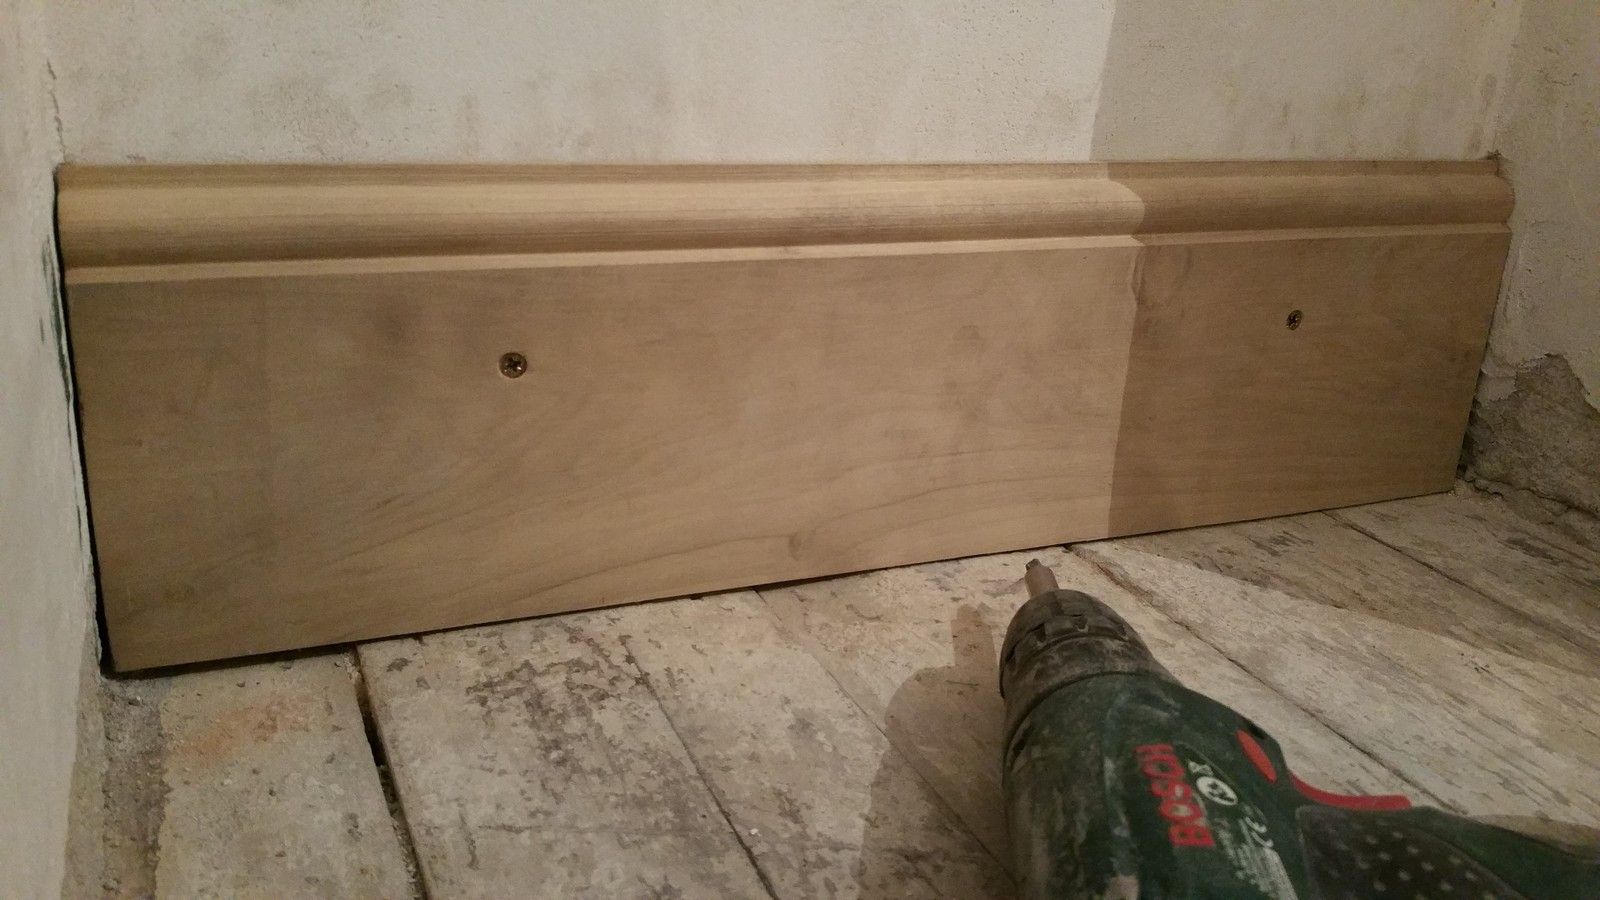
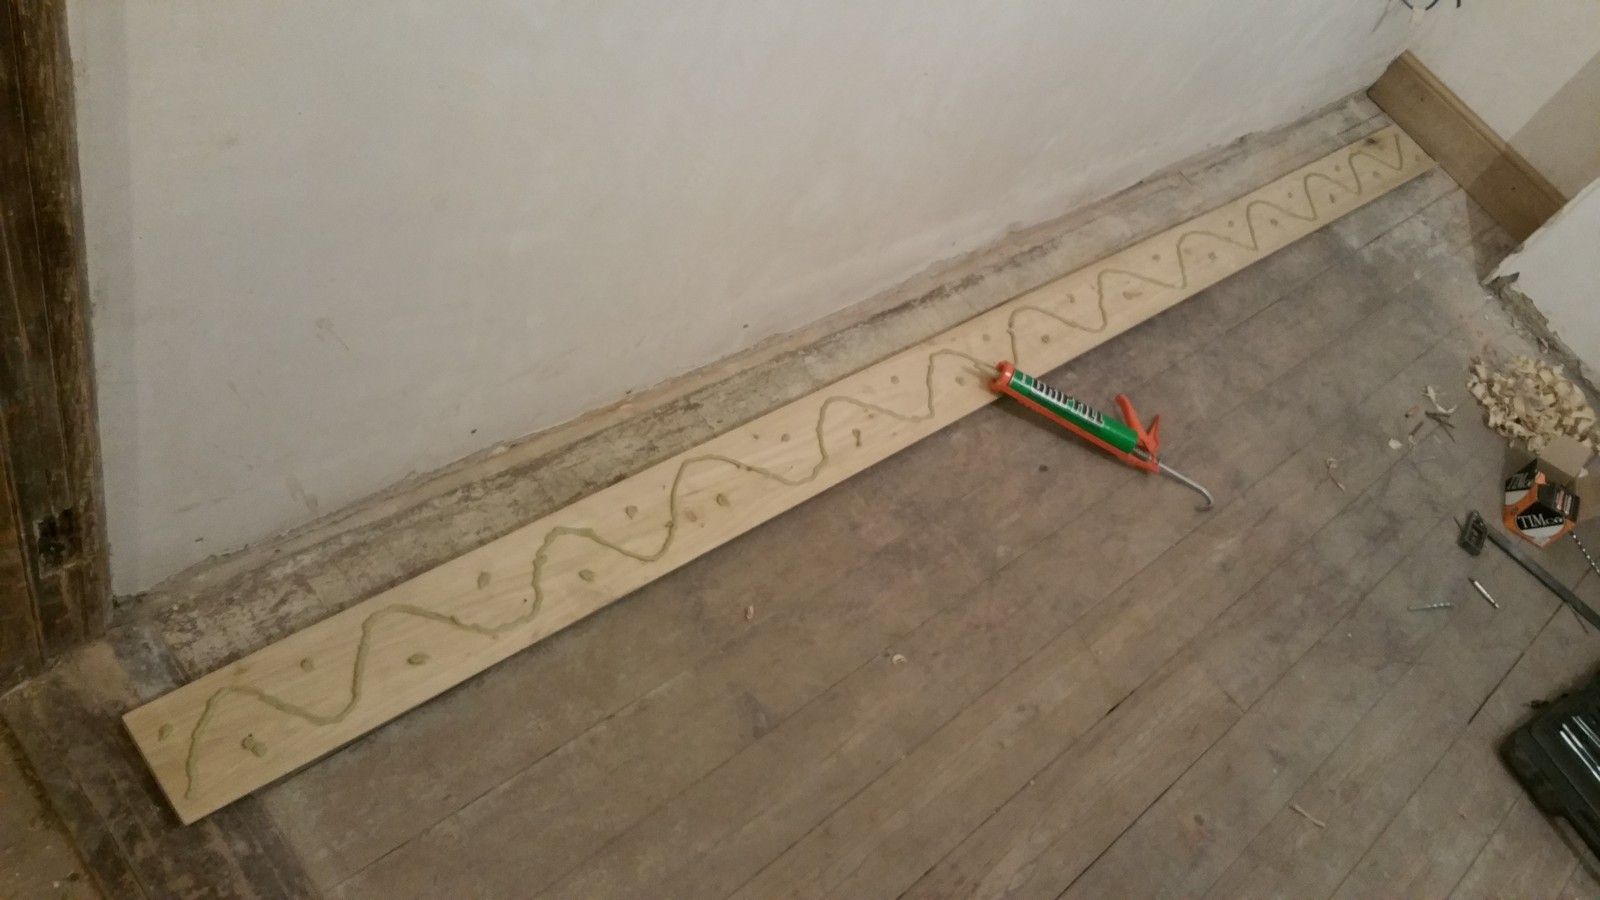
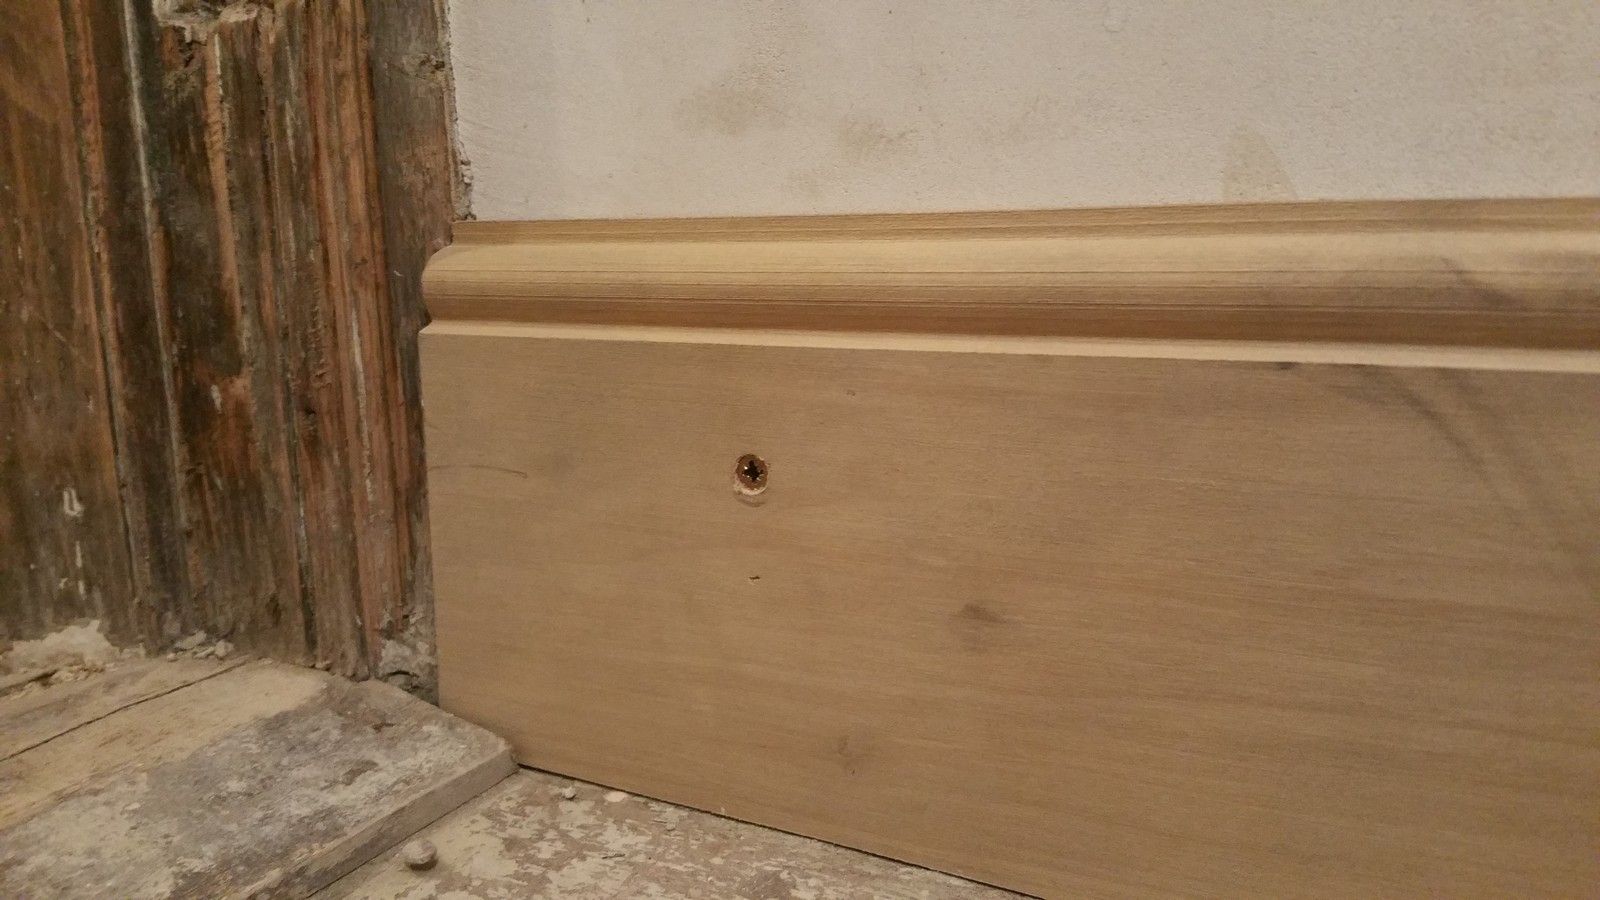
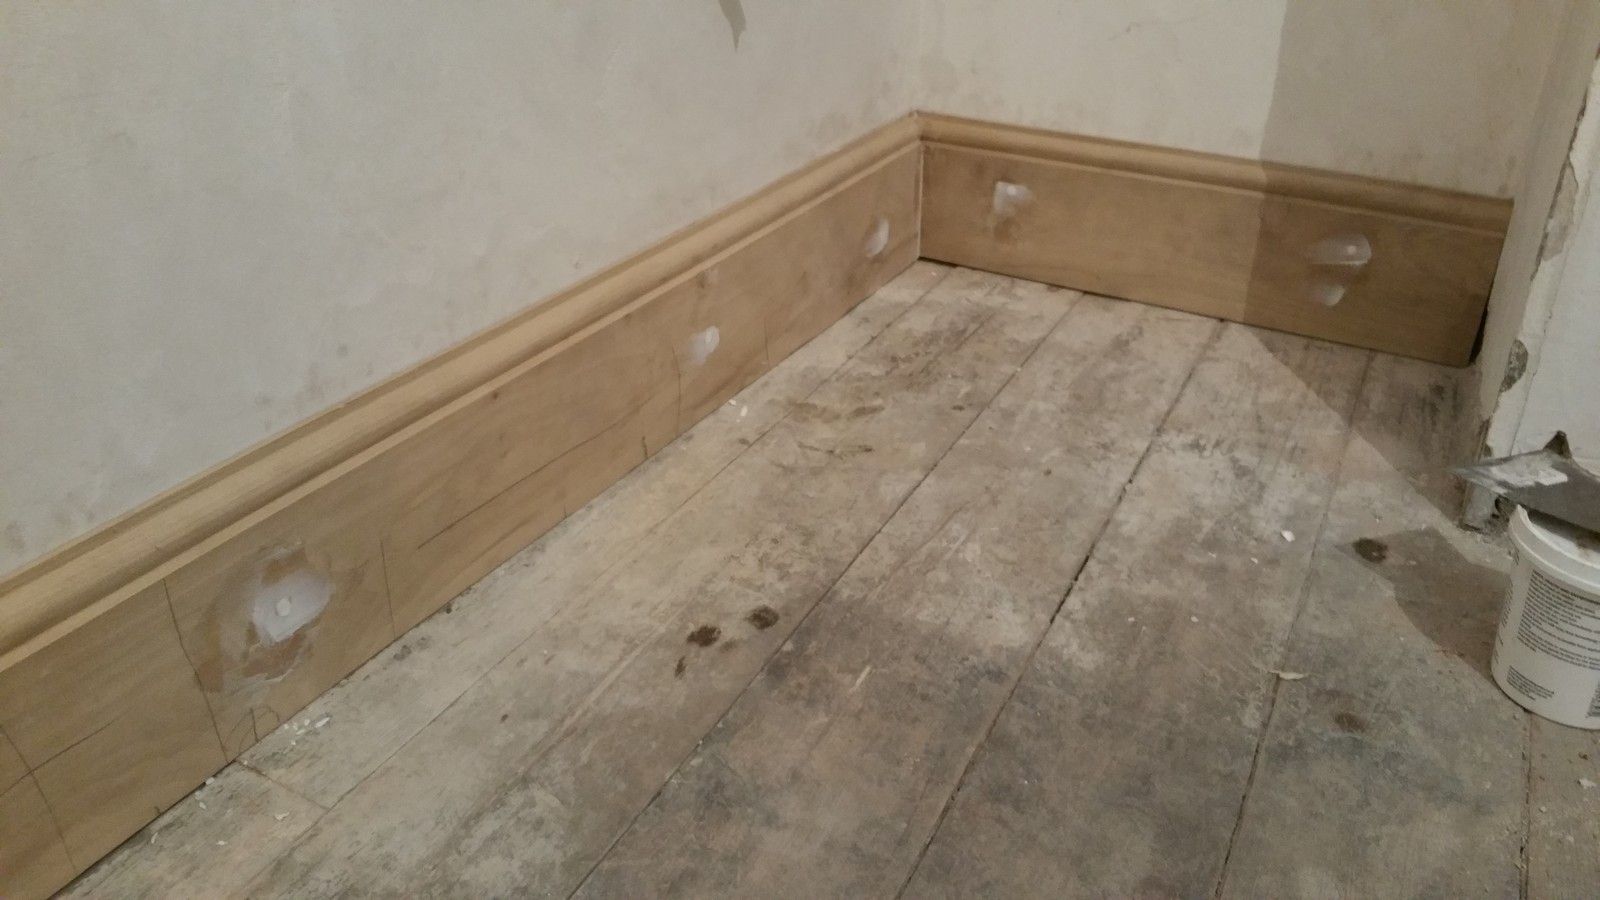
Work continued in this room with new skirting to replace the old damaged sections. It was made up by Paul Dowdall and run to match the exact profile of the original skirting with a custom router bit:
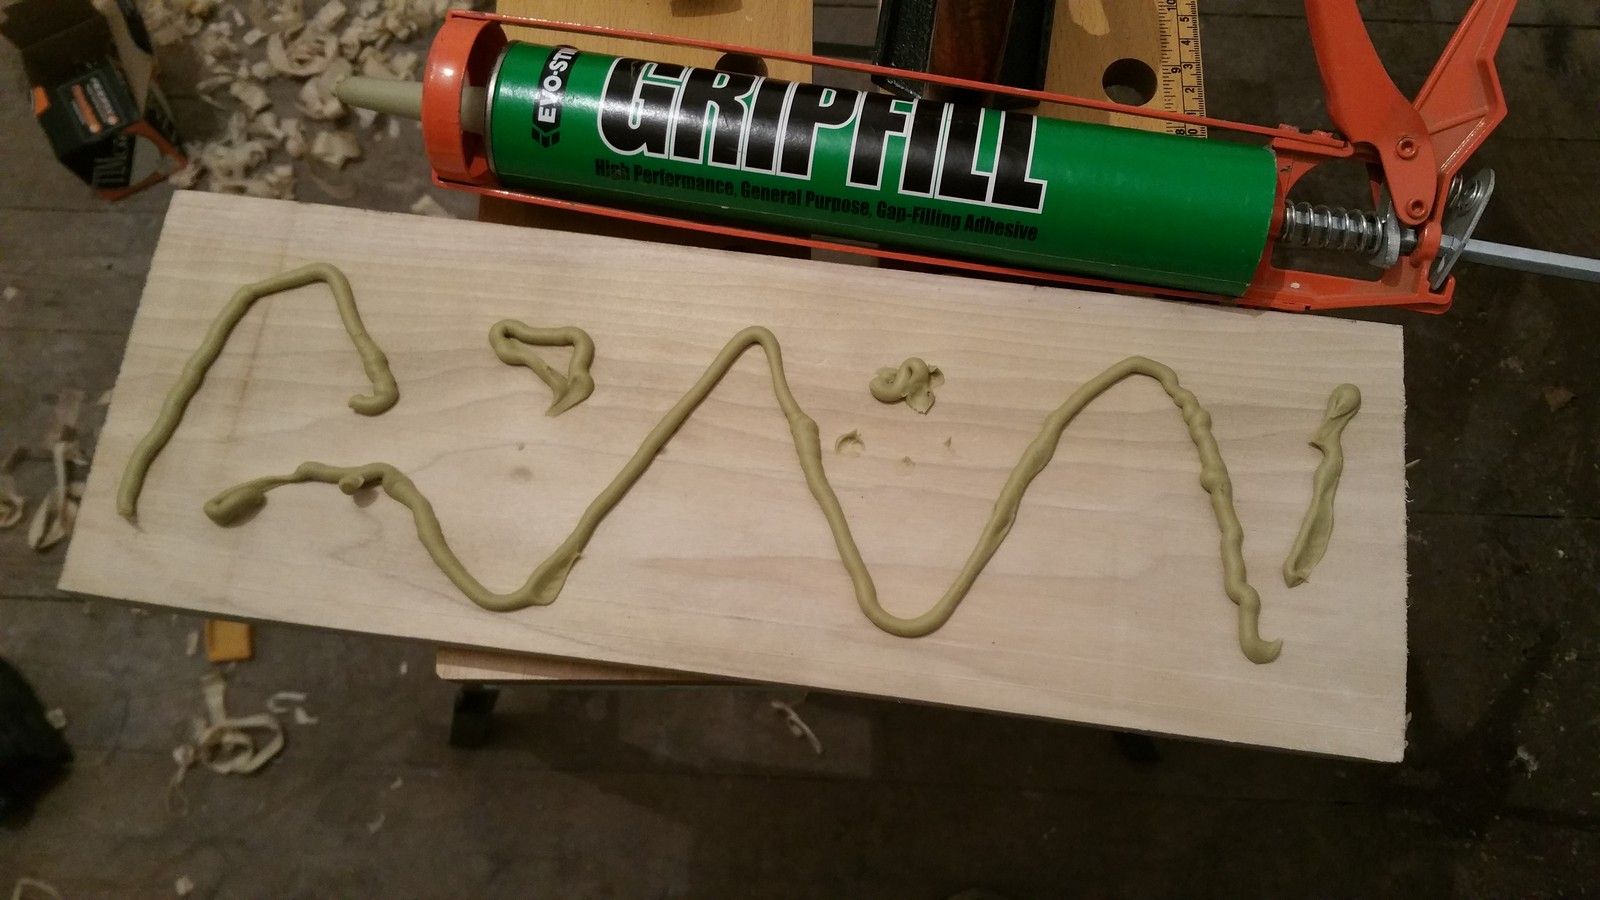
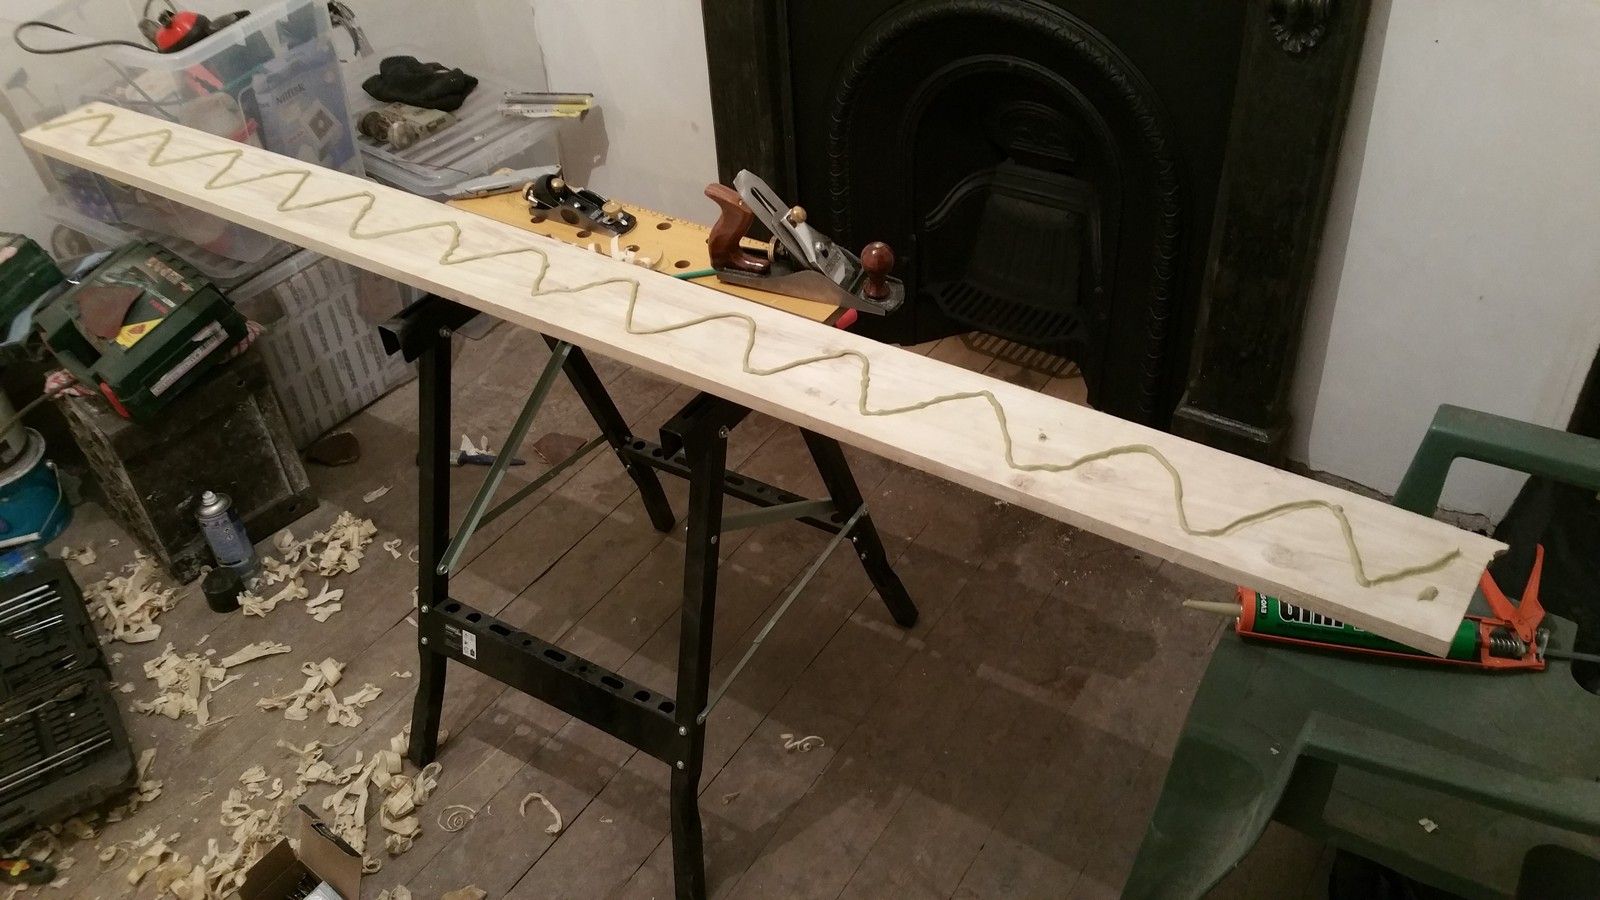
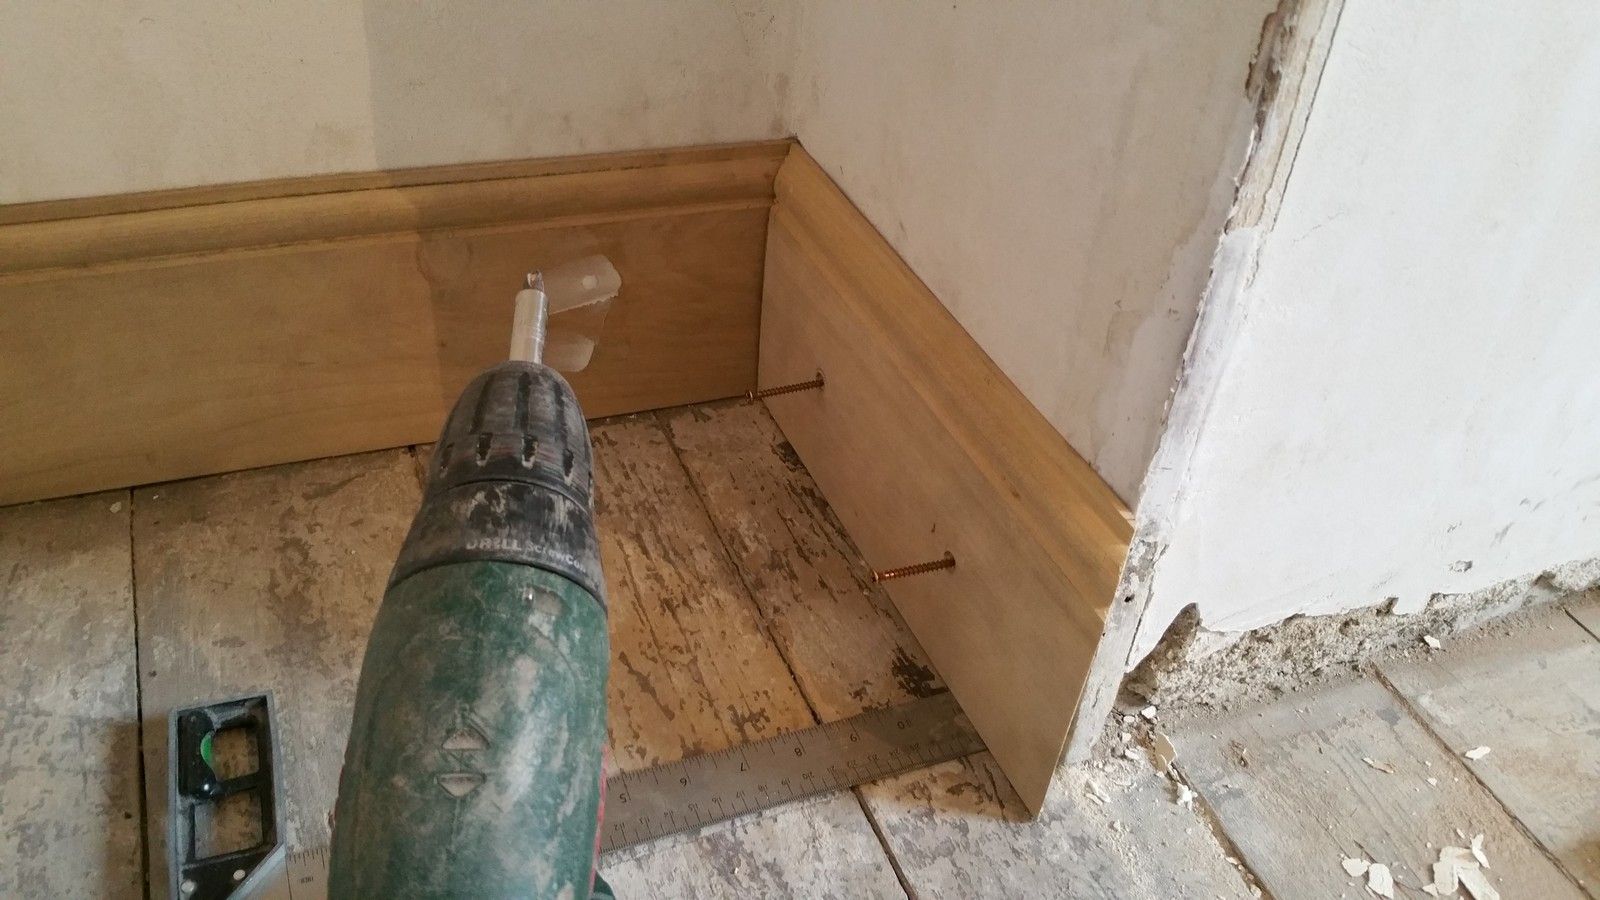
I'm attaching the skirting with a combination of screws, plugs and strong adhesive:
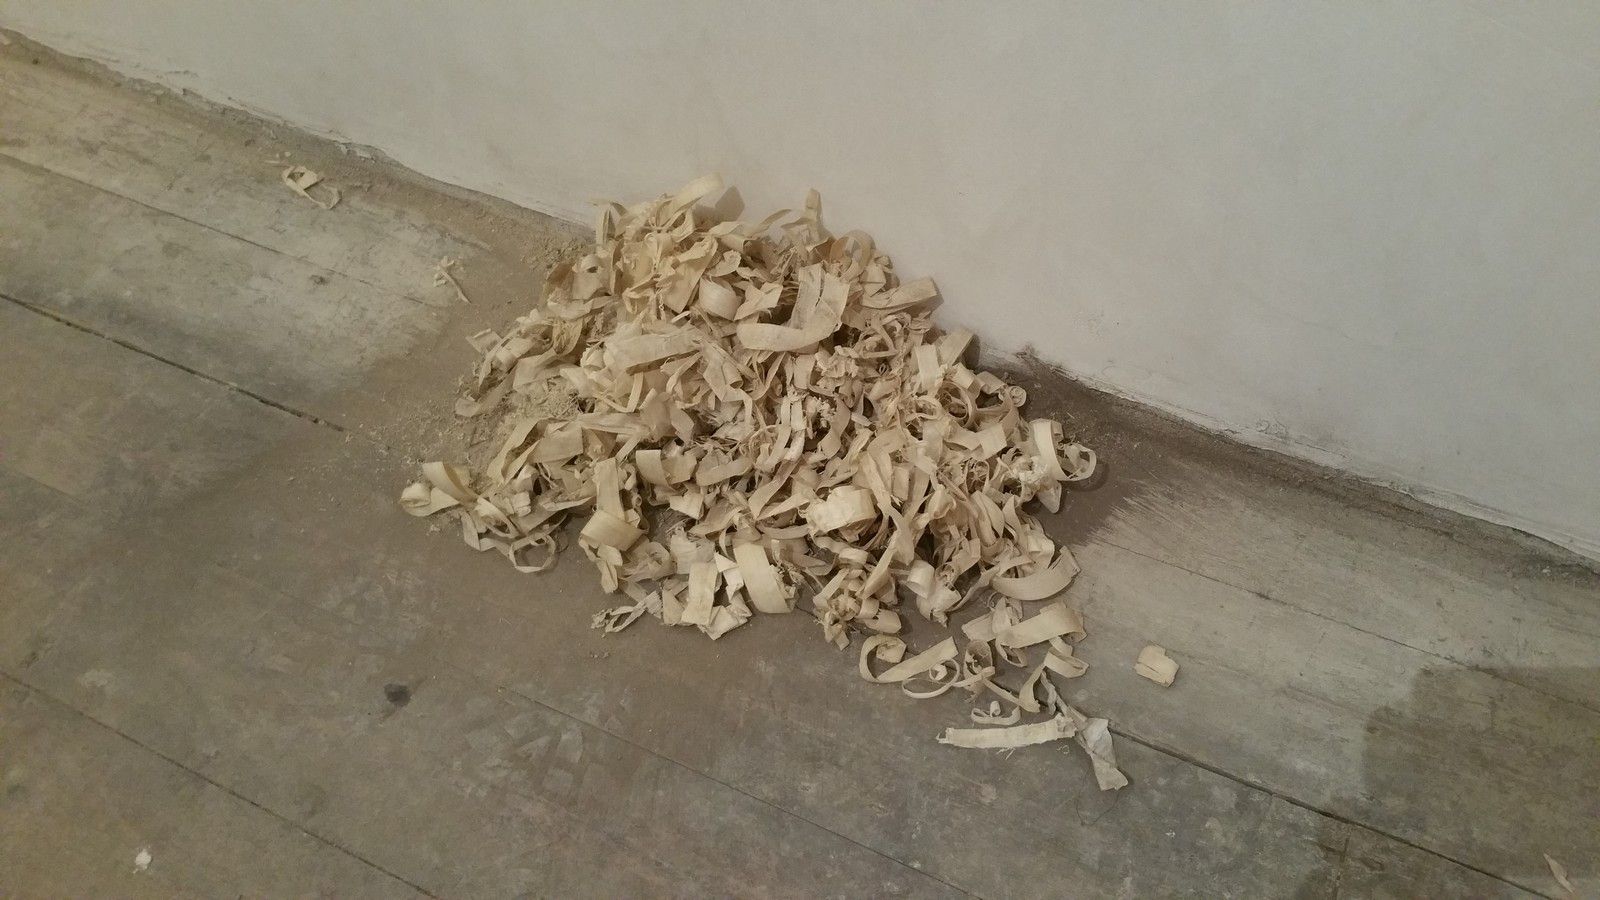
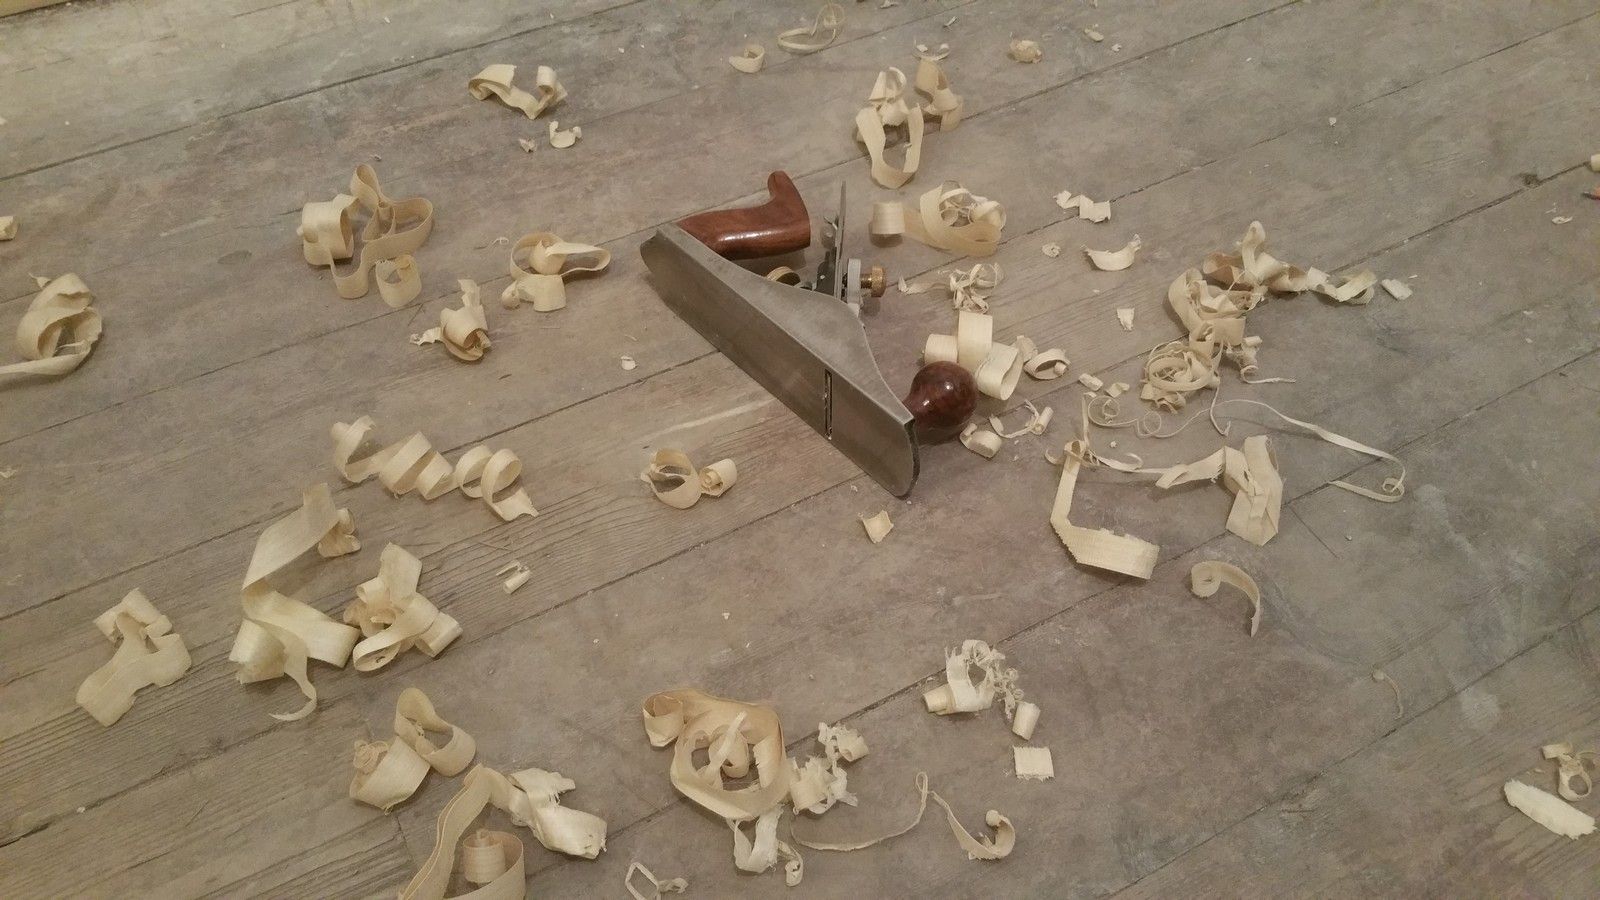
The underside of the boards are also planed to match the uneven profile of the floor:
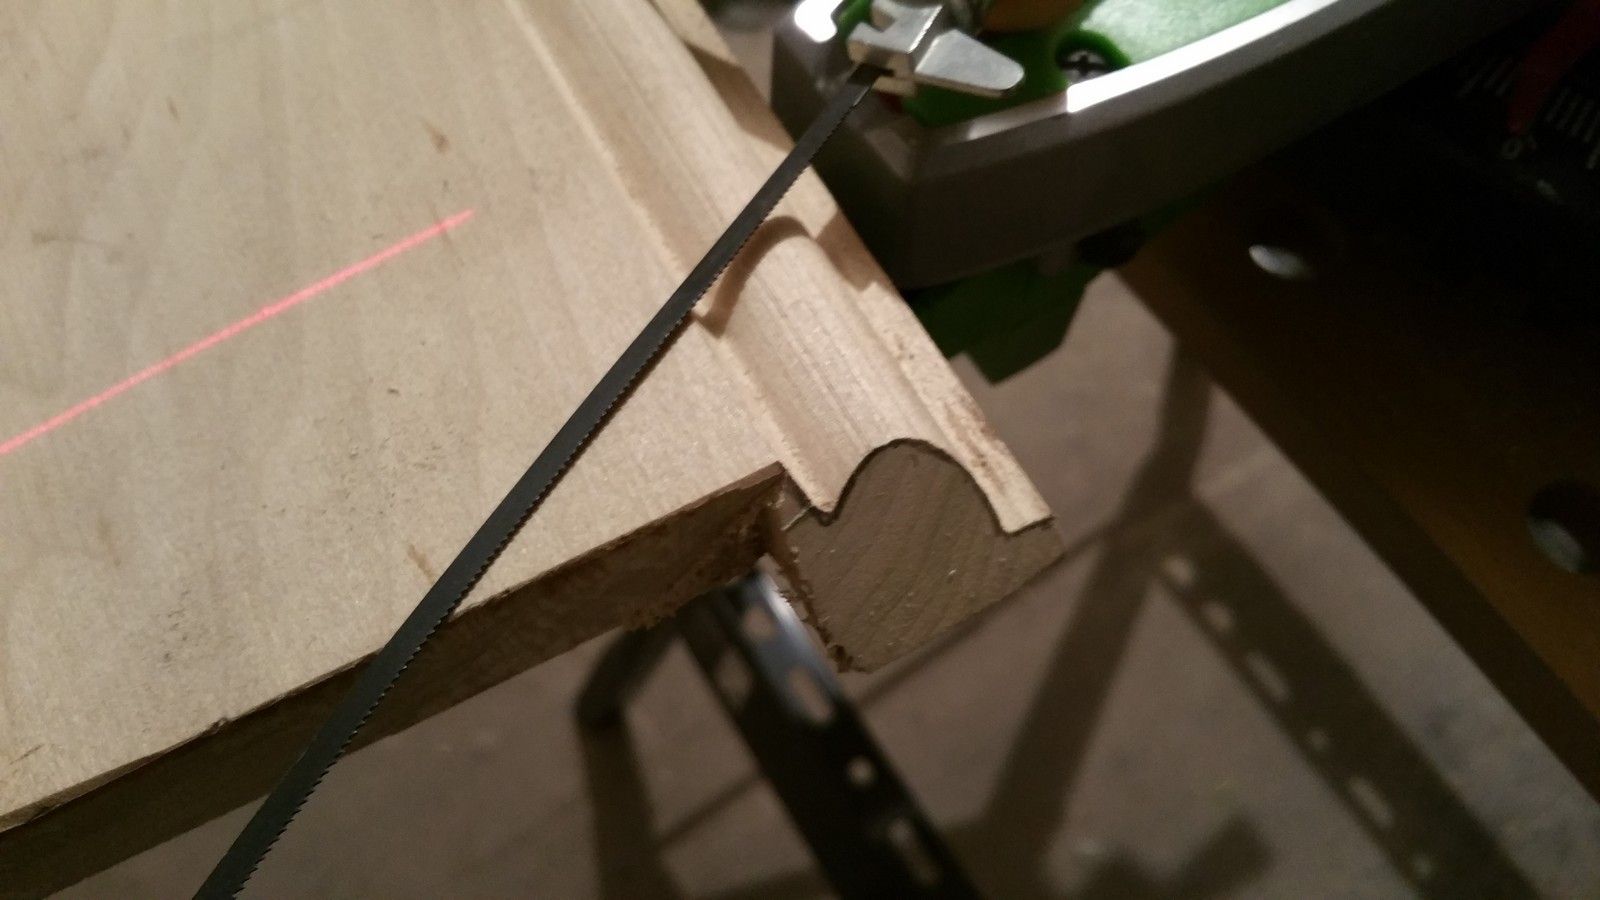
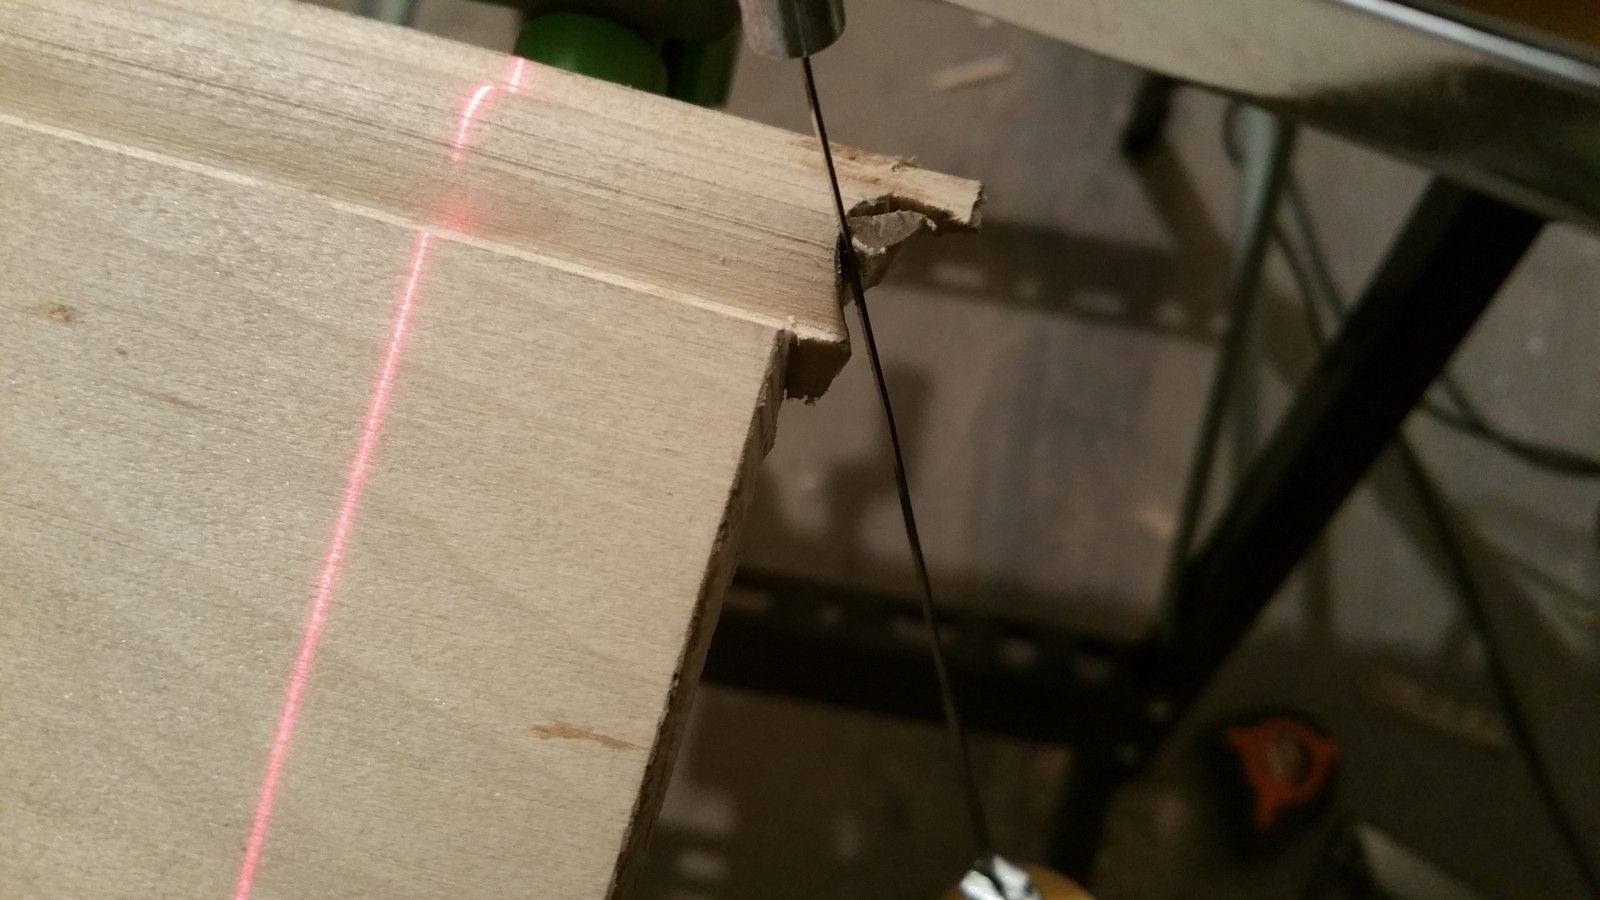
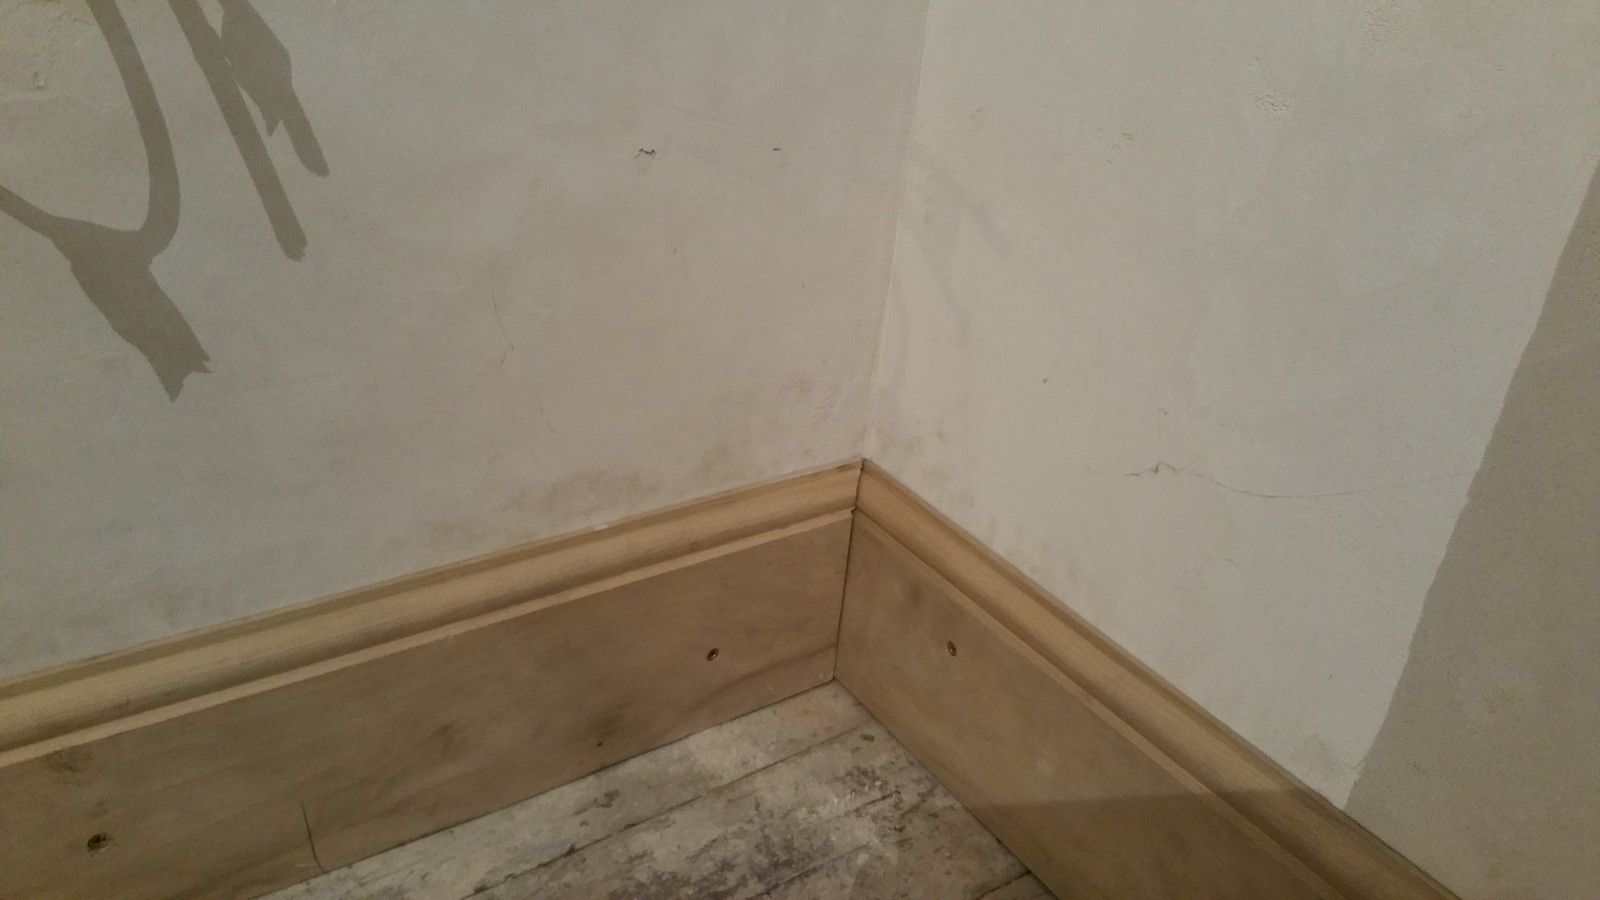
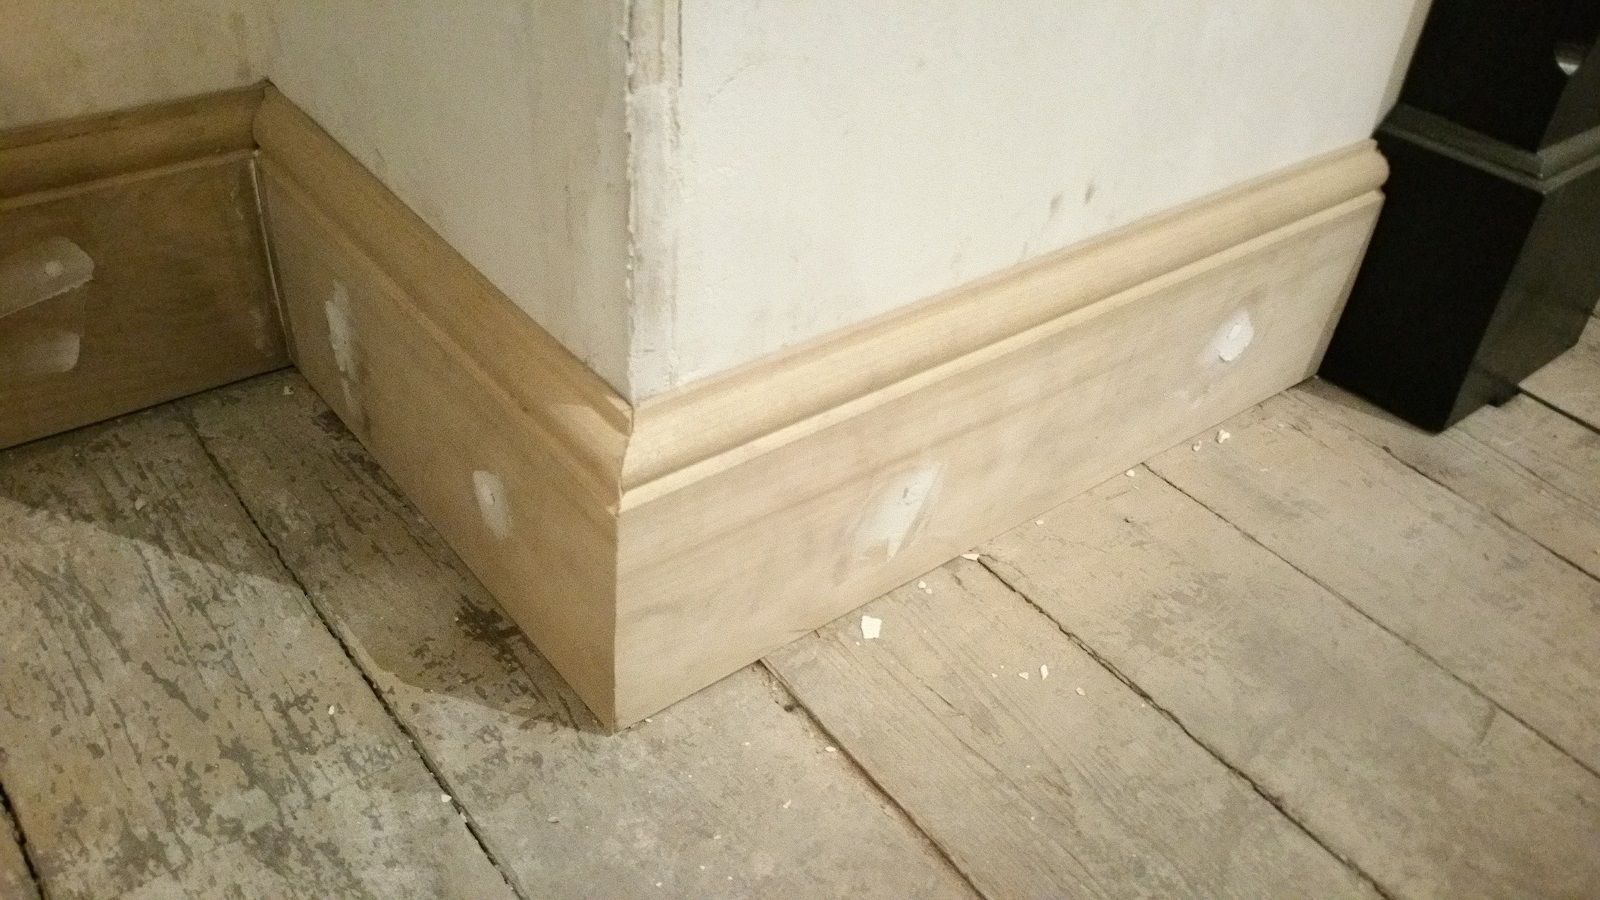
The inside corner joins are made with coped edges, created with a coping saw:
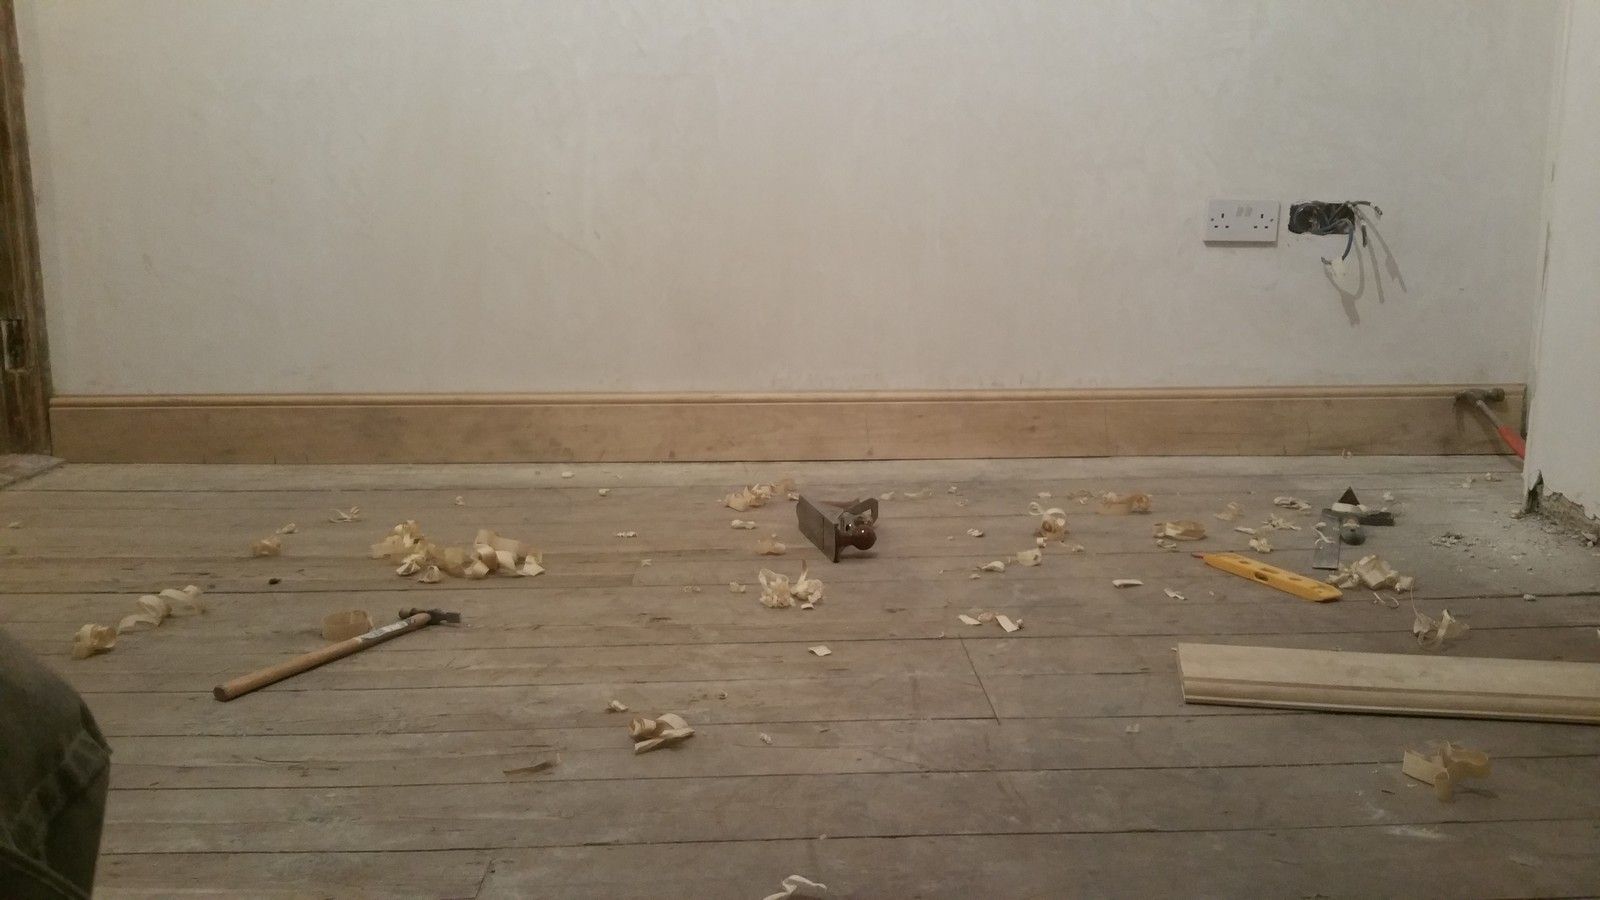
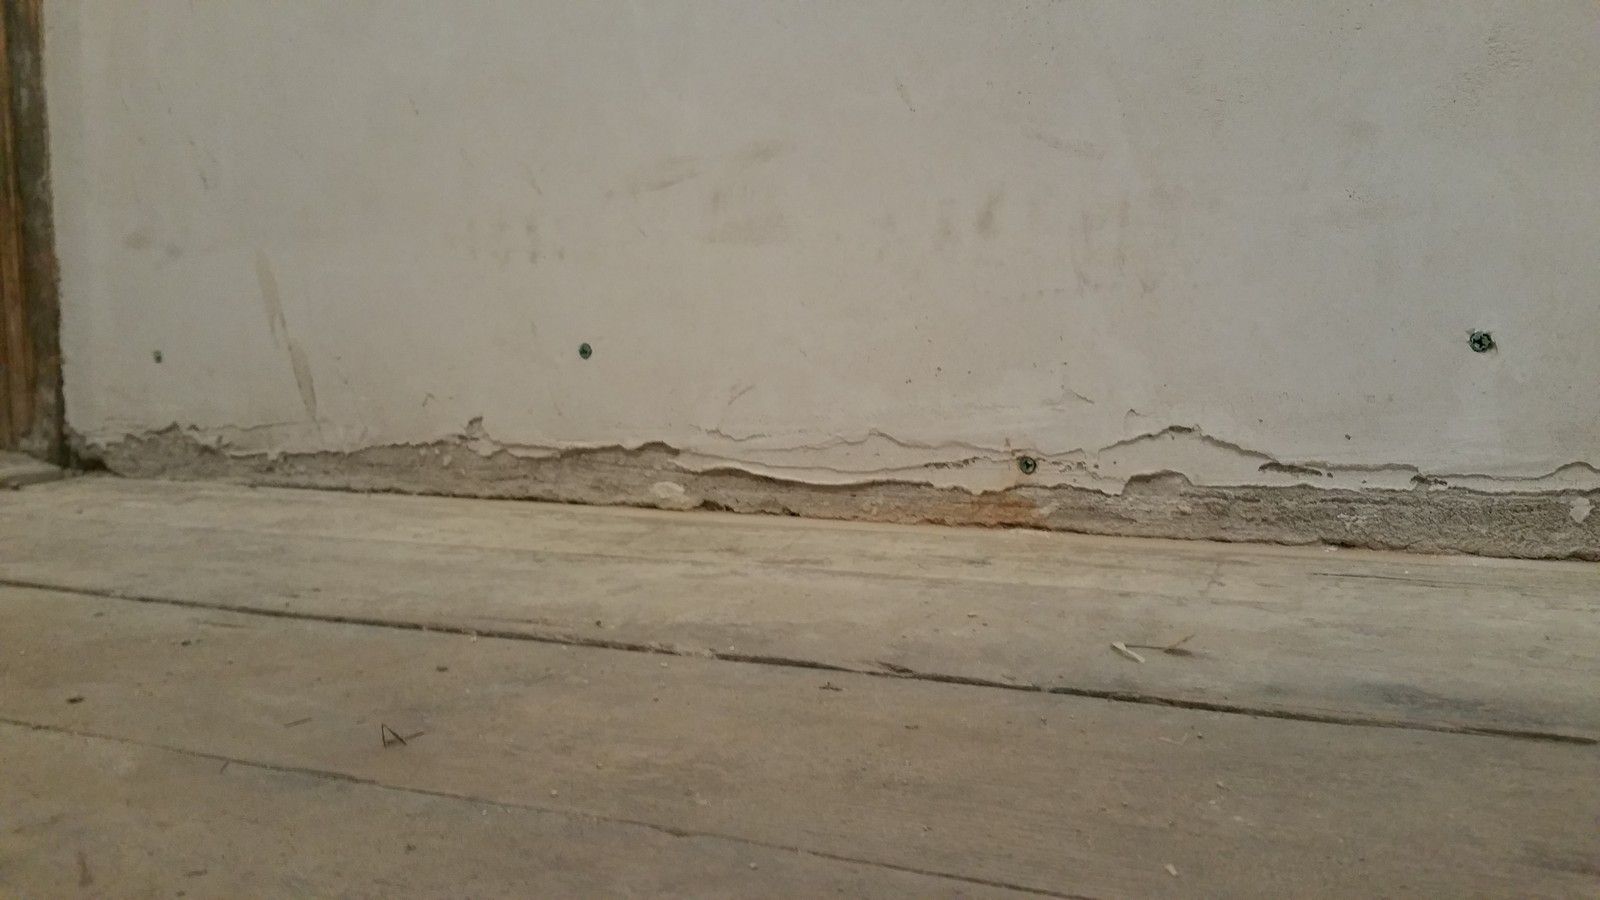
Below is the longest run of skirting in the room before planing, highlighting the dip in the floor:
After planing:
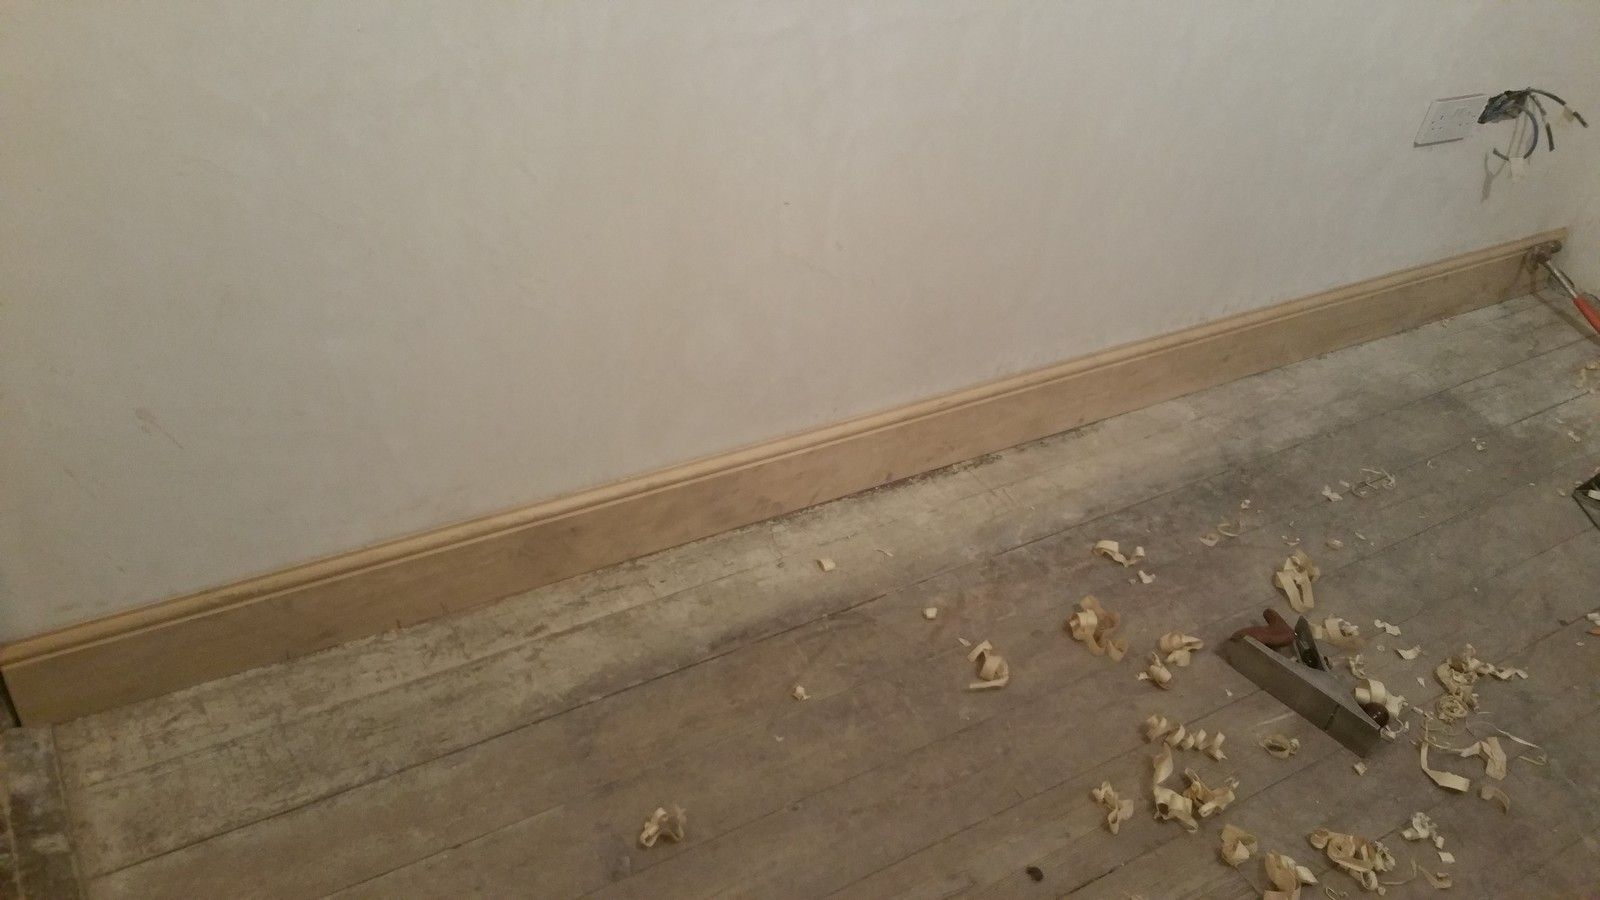
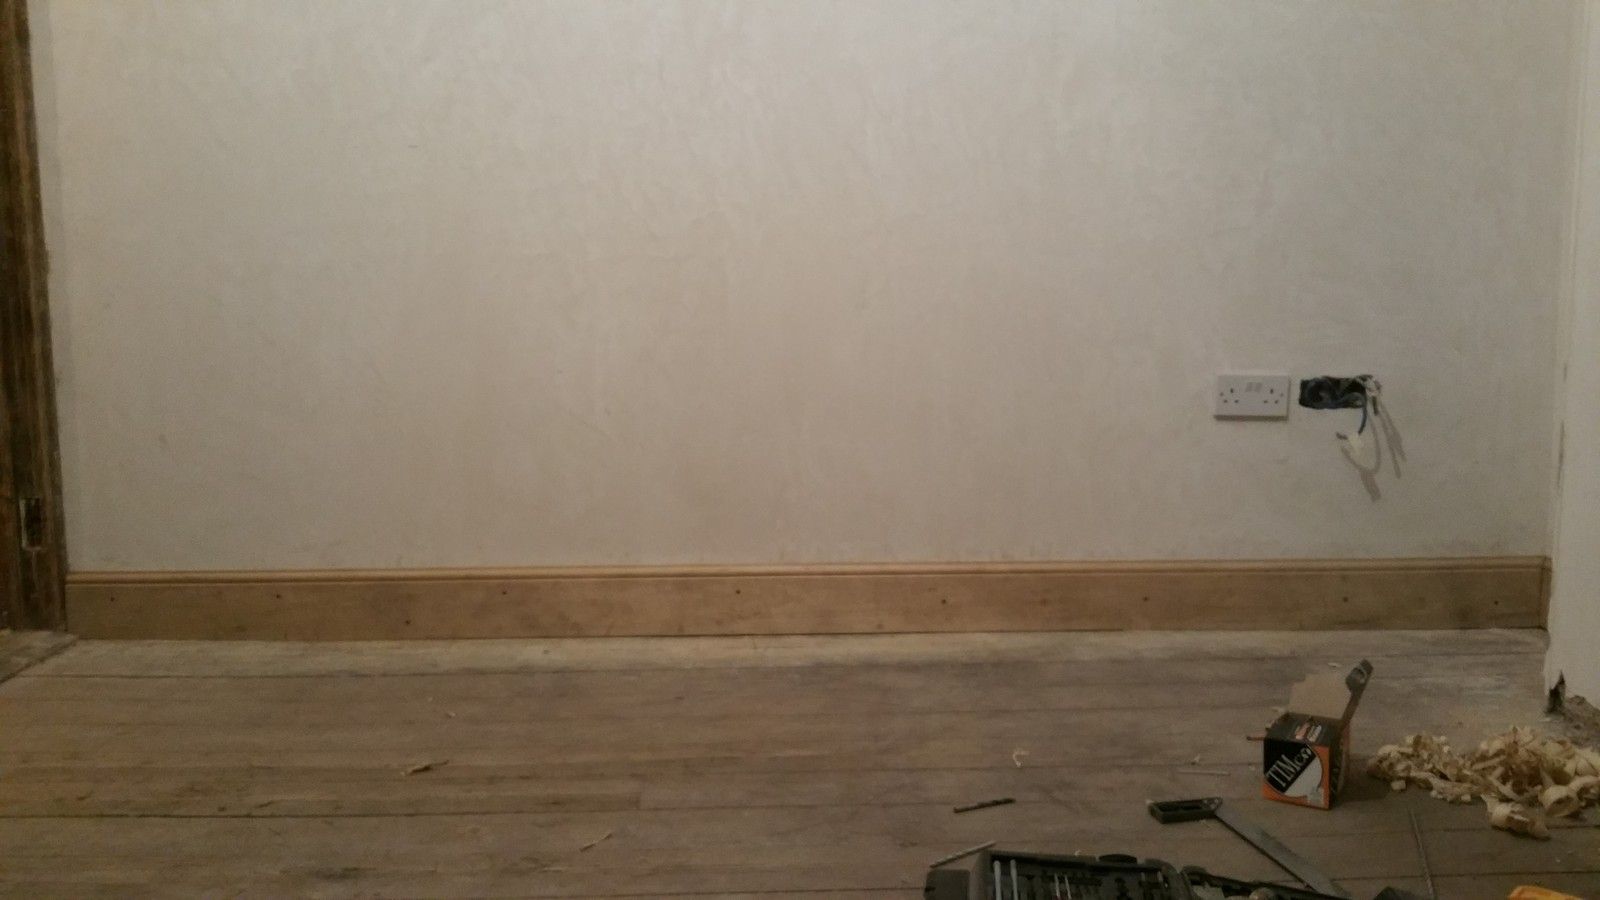
After planing, the boards are then permanently fixed to the walls:
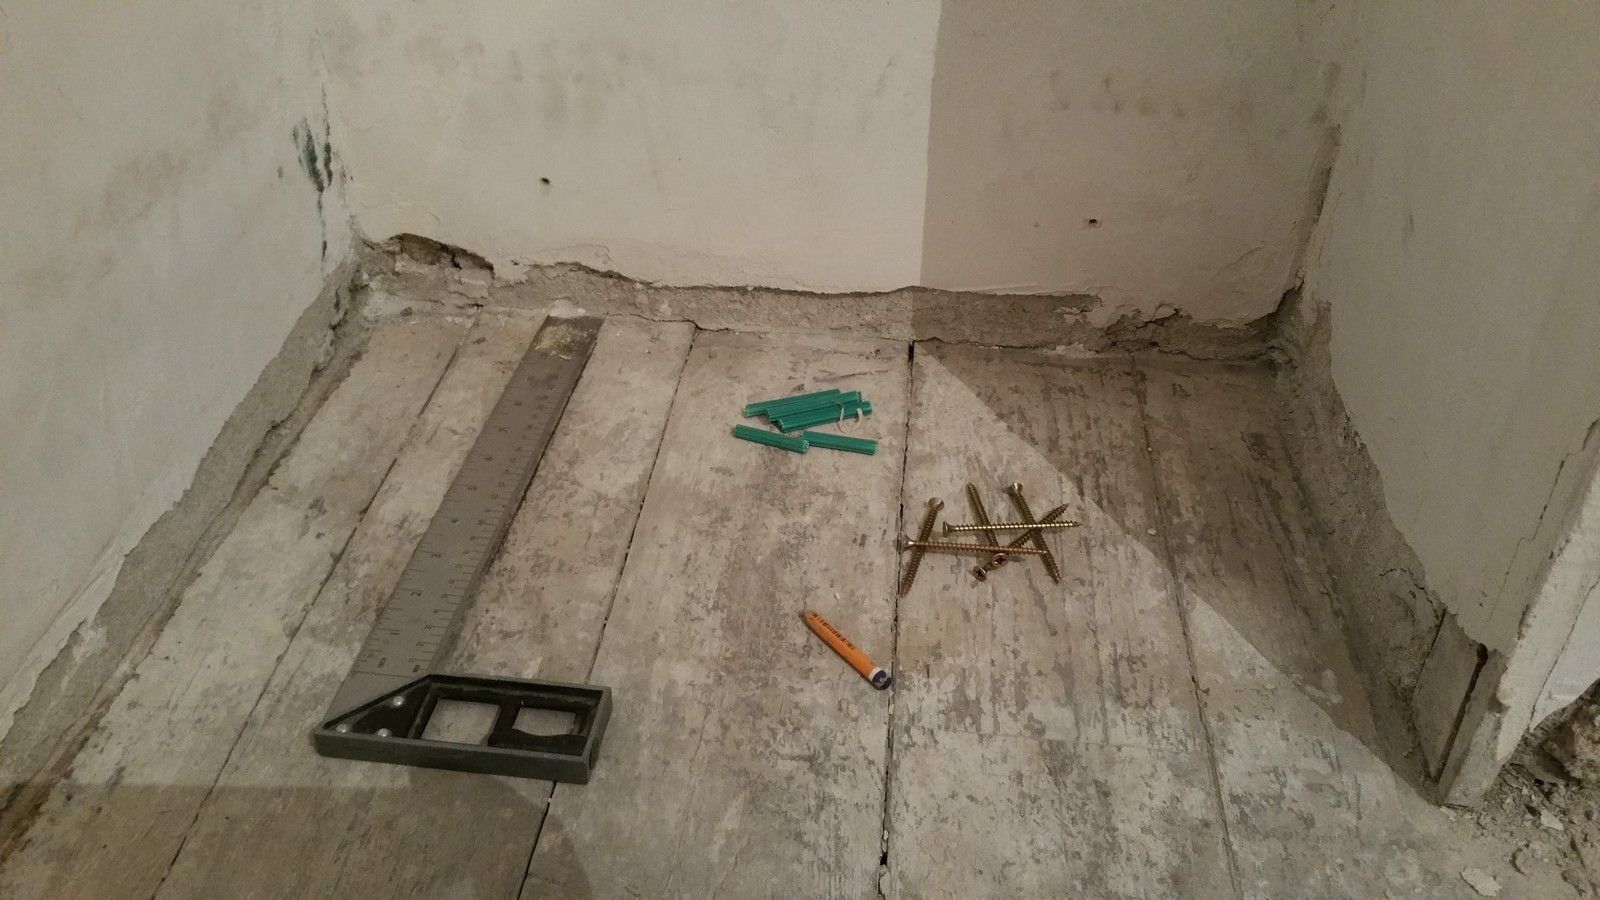
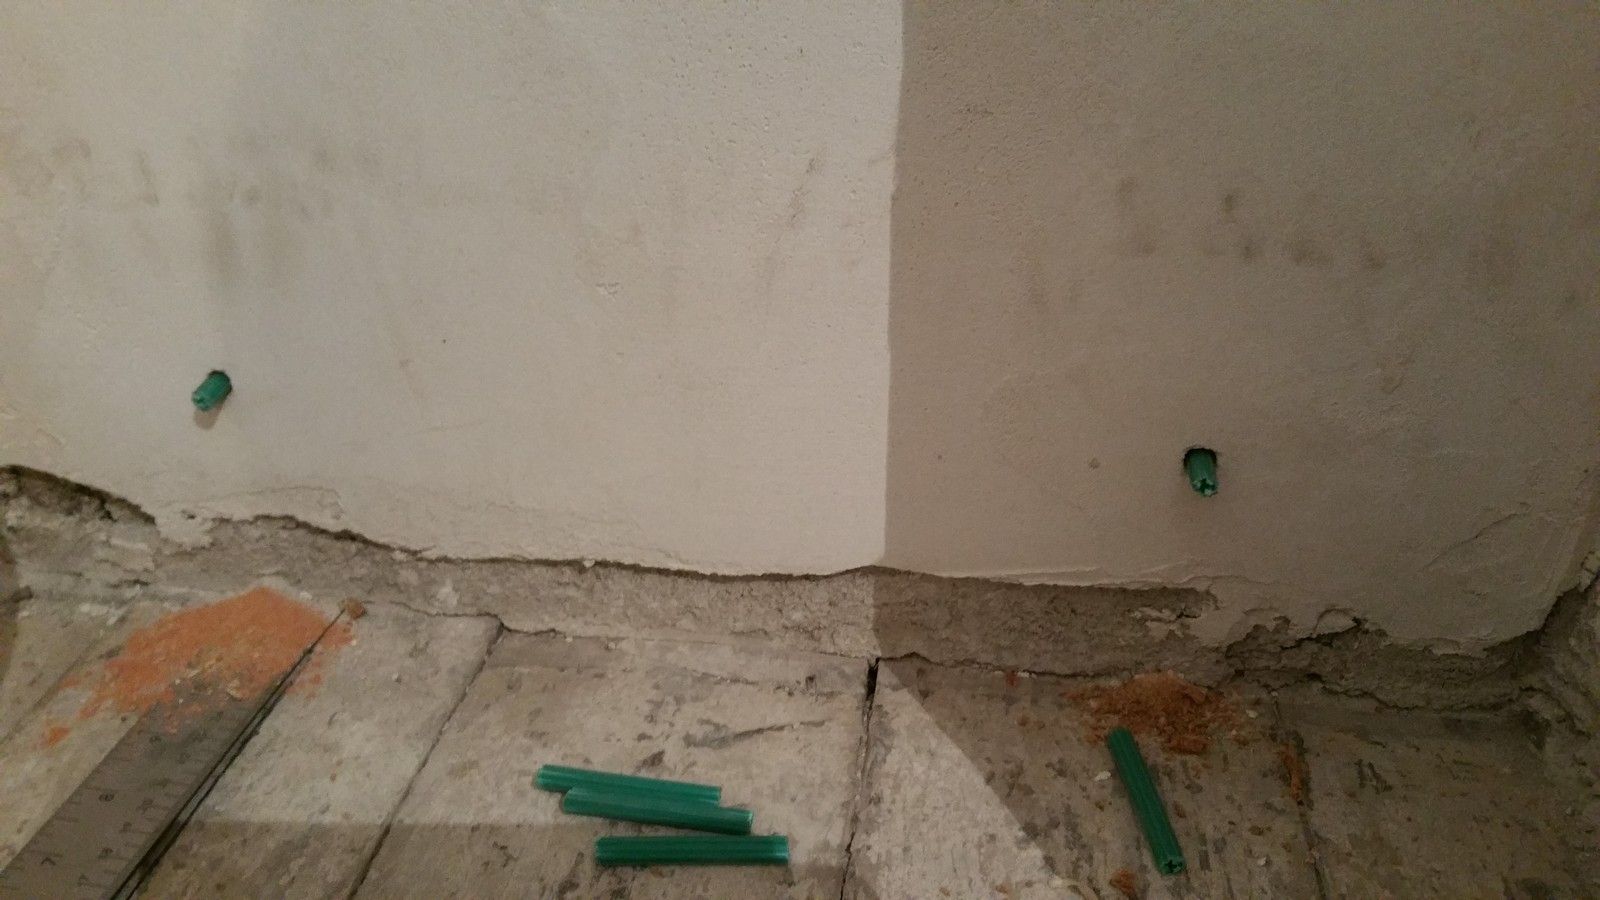


Plugging the interior walls is relatively easy, due to the brick construction and lack of stone:
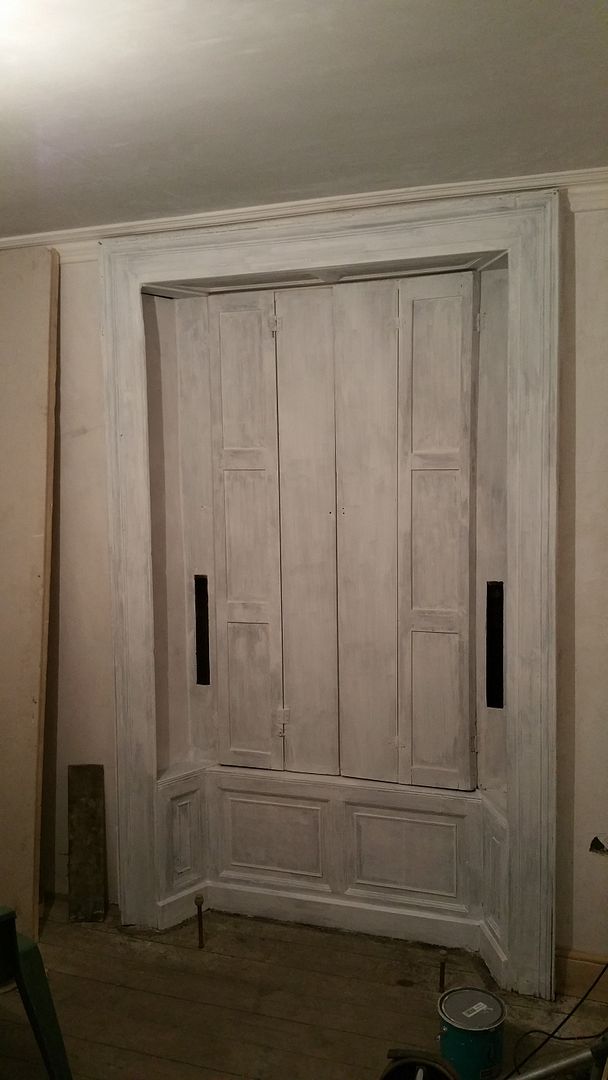
Priming of the joinery has also begun:
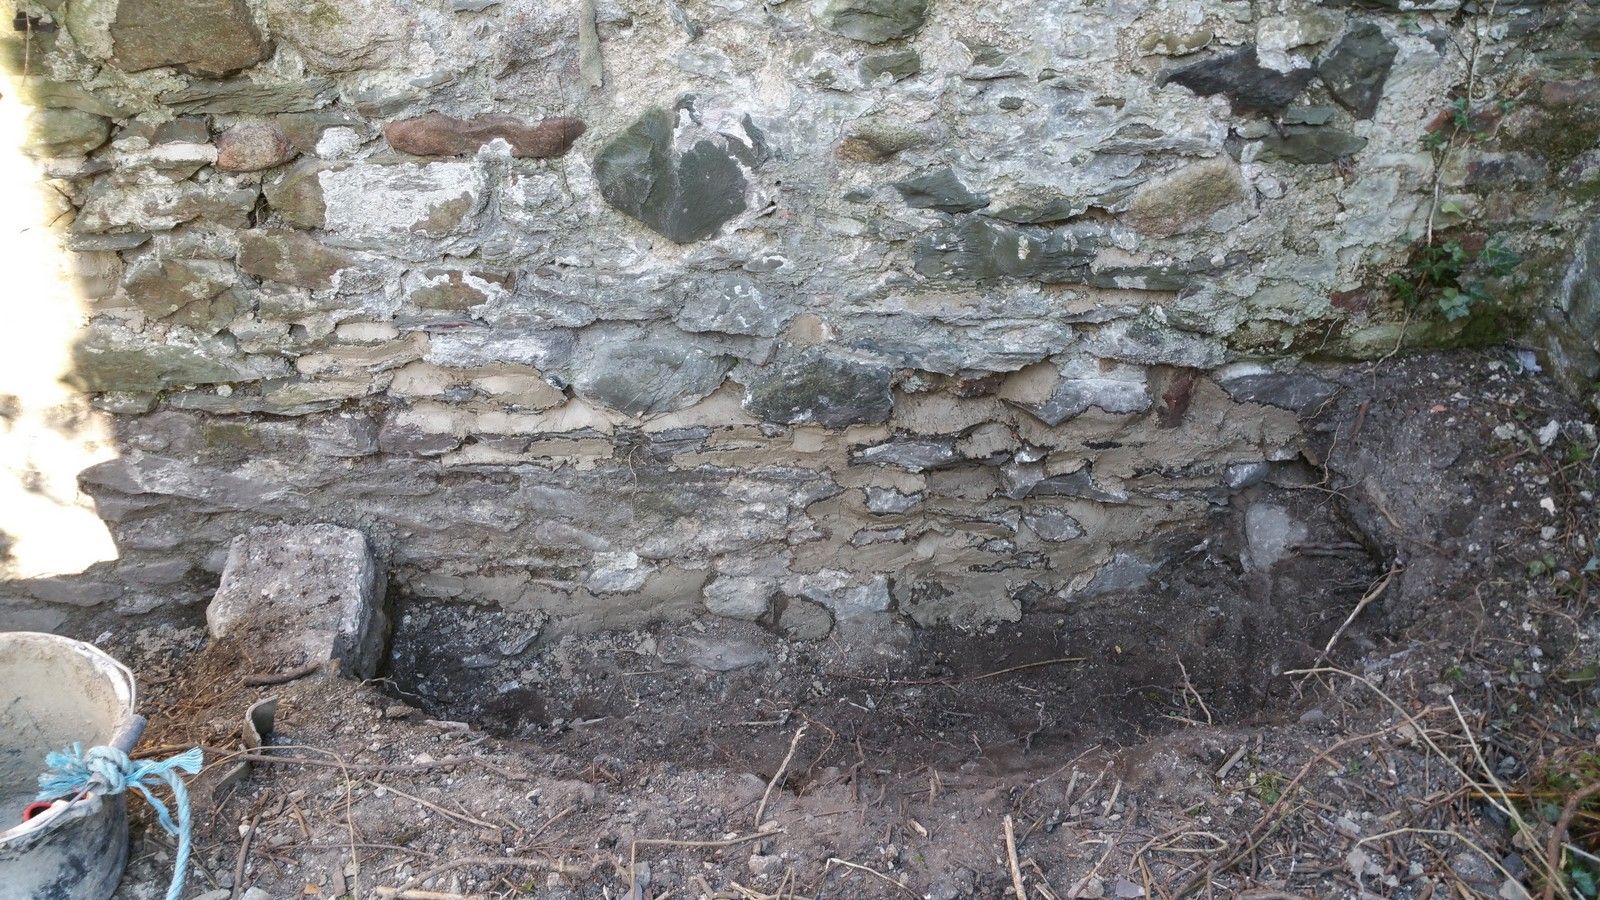
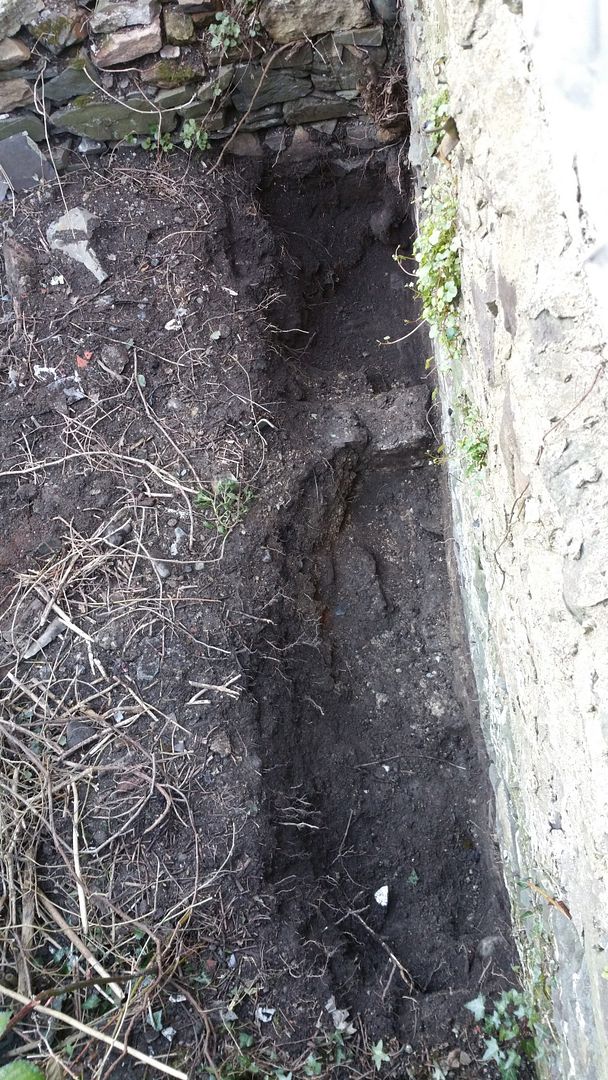
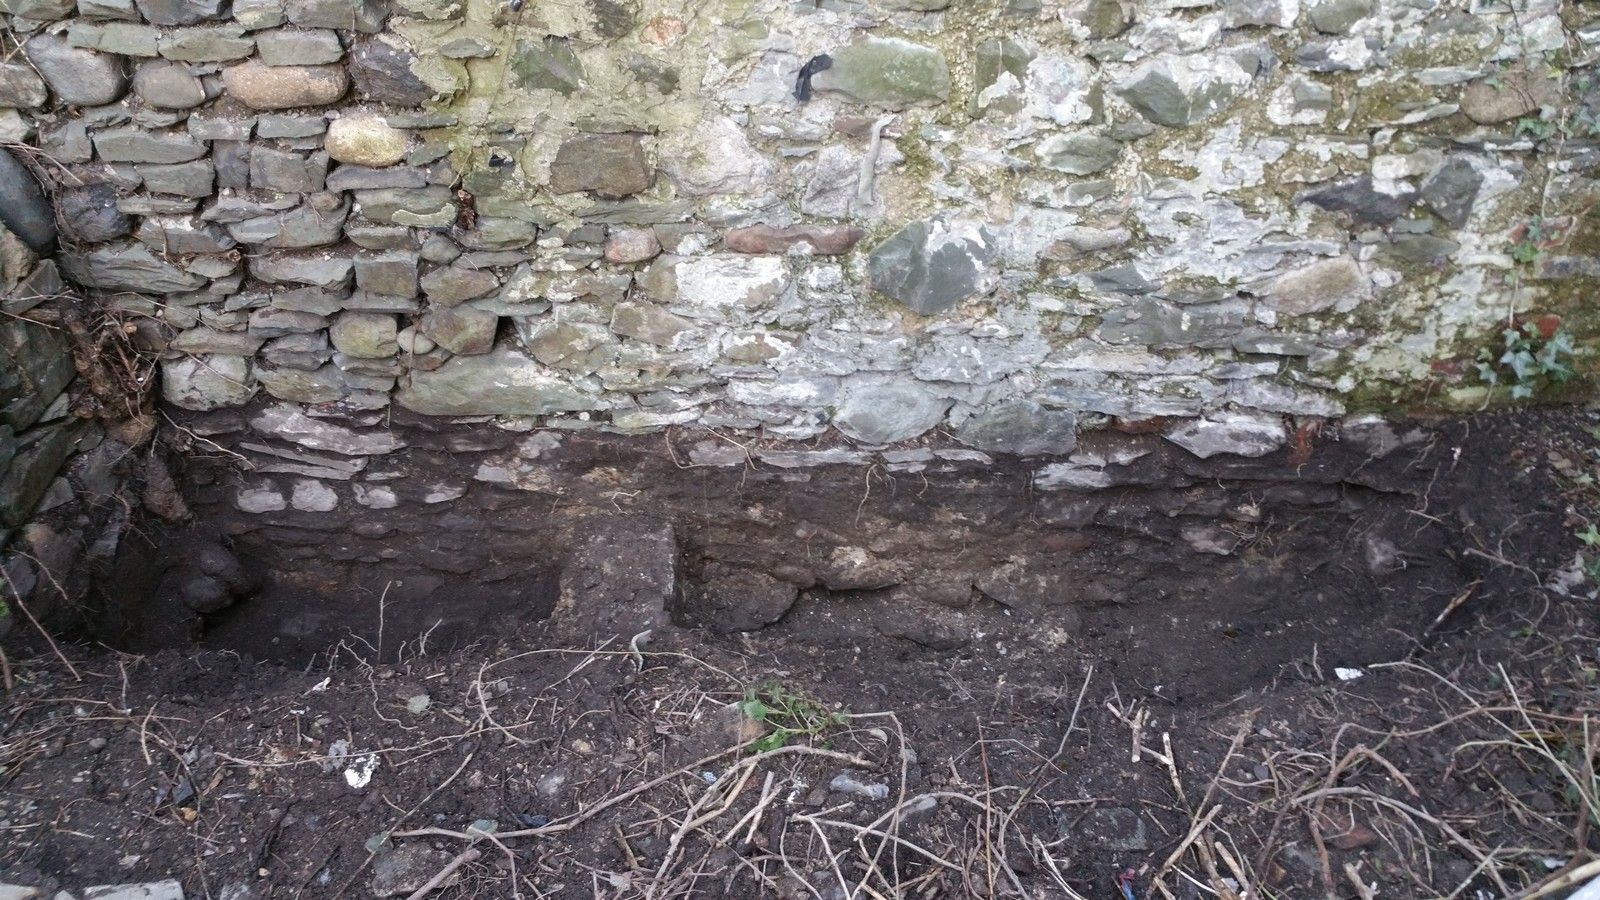
What I believe to be penetrating damp downstairs in the small return continues to persist, so I hopped the garden wall and further expanded the trench beside the outside of the wall in an effort to lower the ground level:

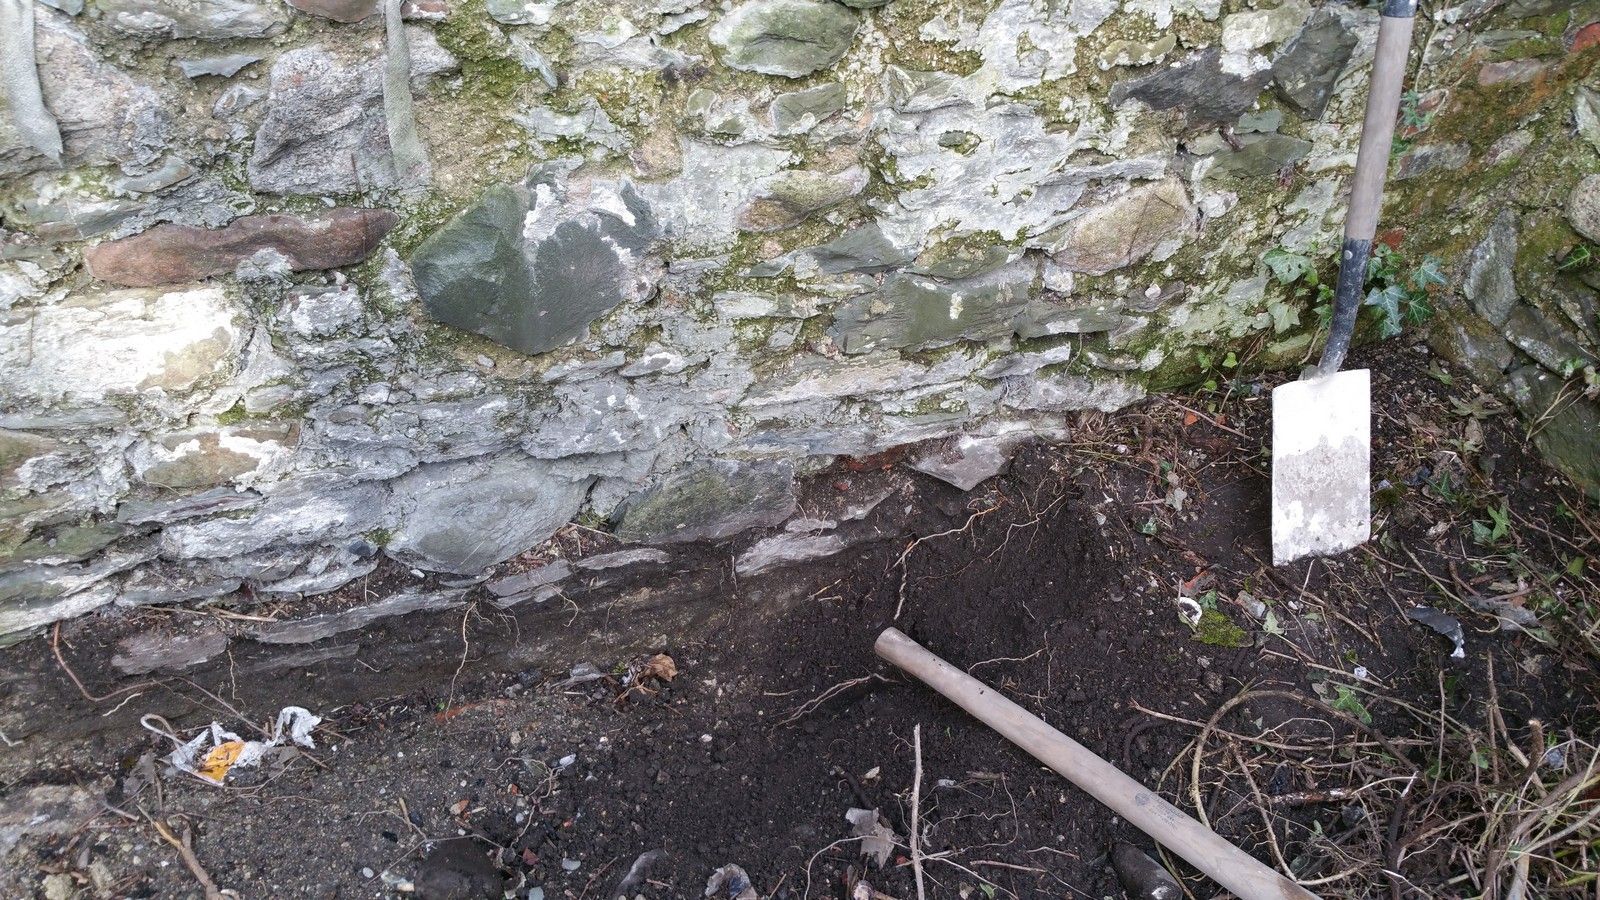
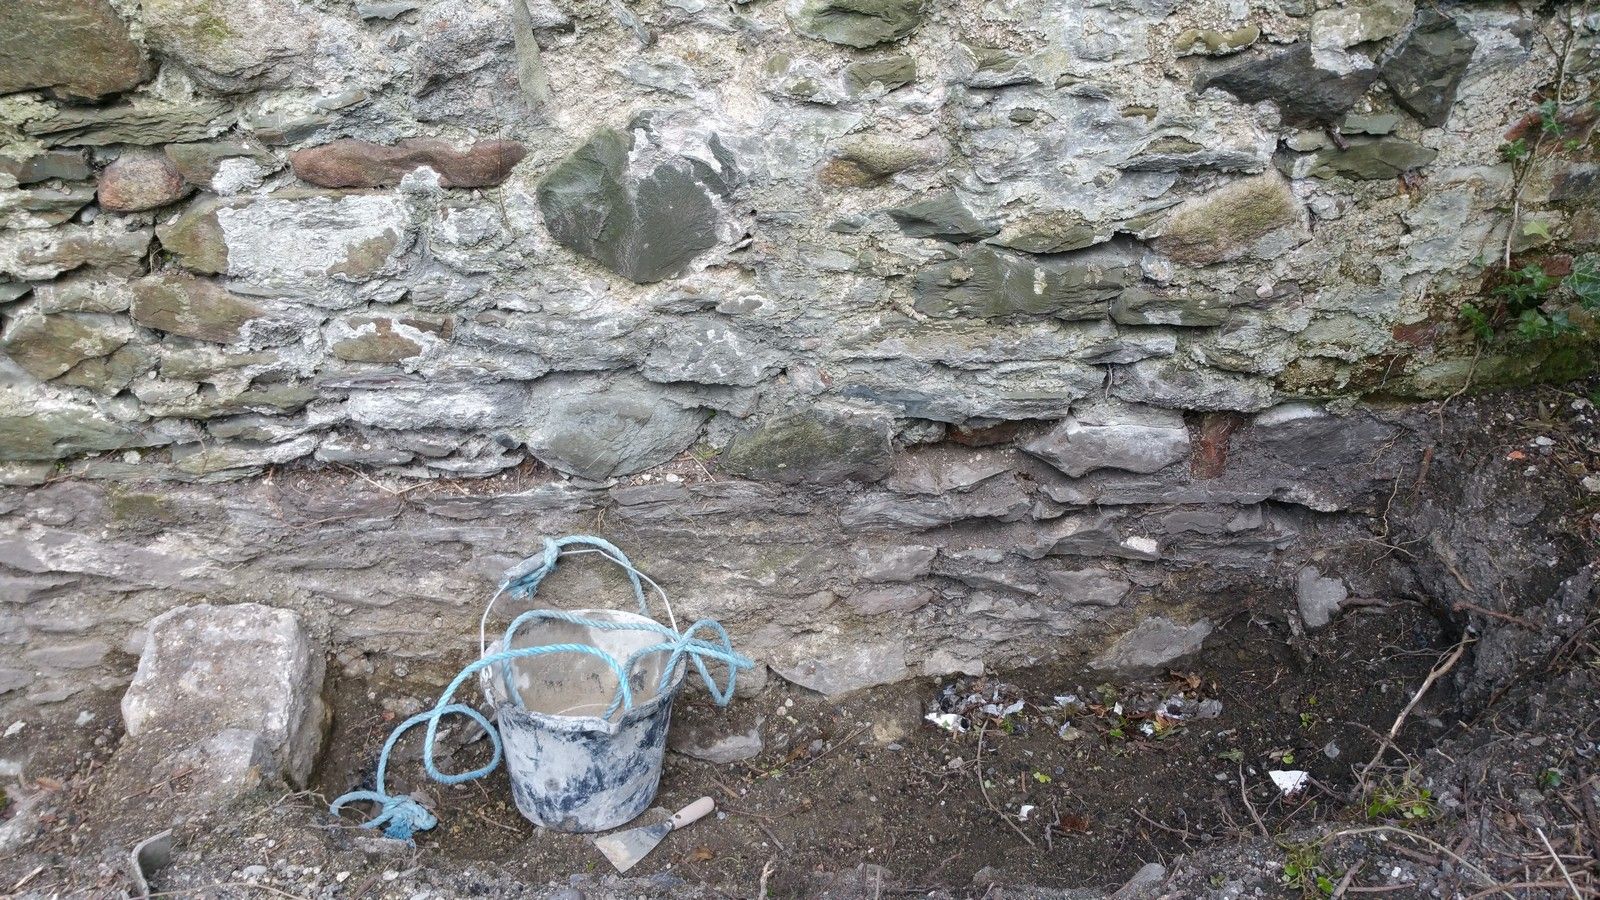
I have also begun repointing the stone wall, to prevent water getting through the wall into the return. I'm using a lime mortar mix. Before:
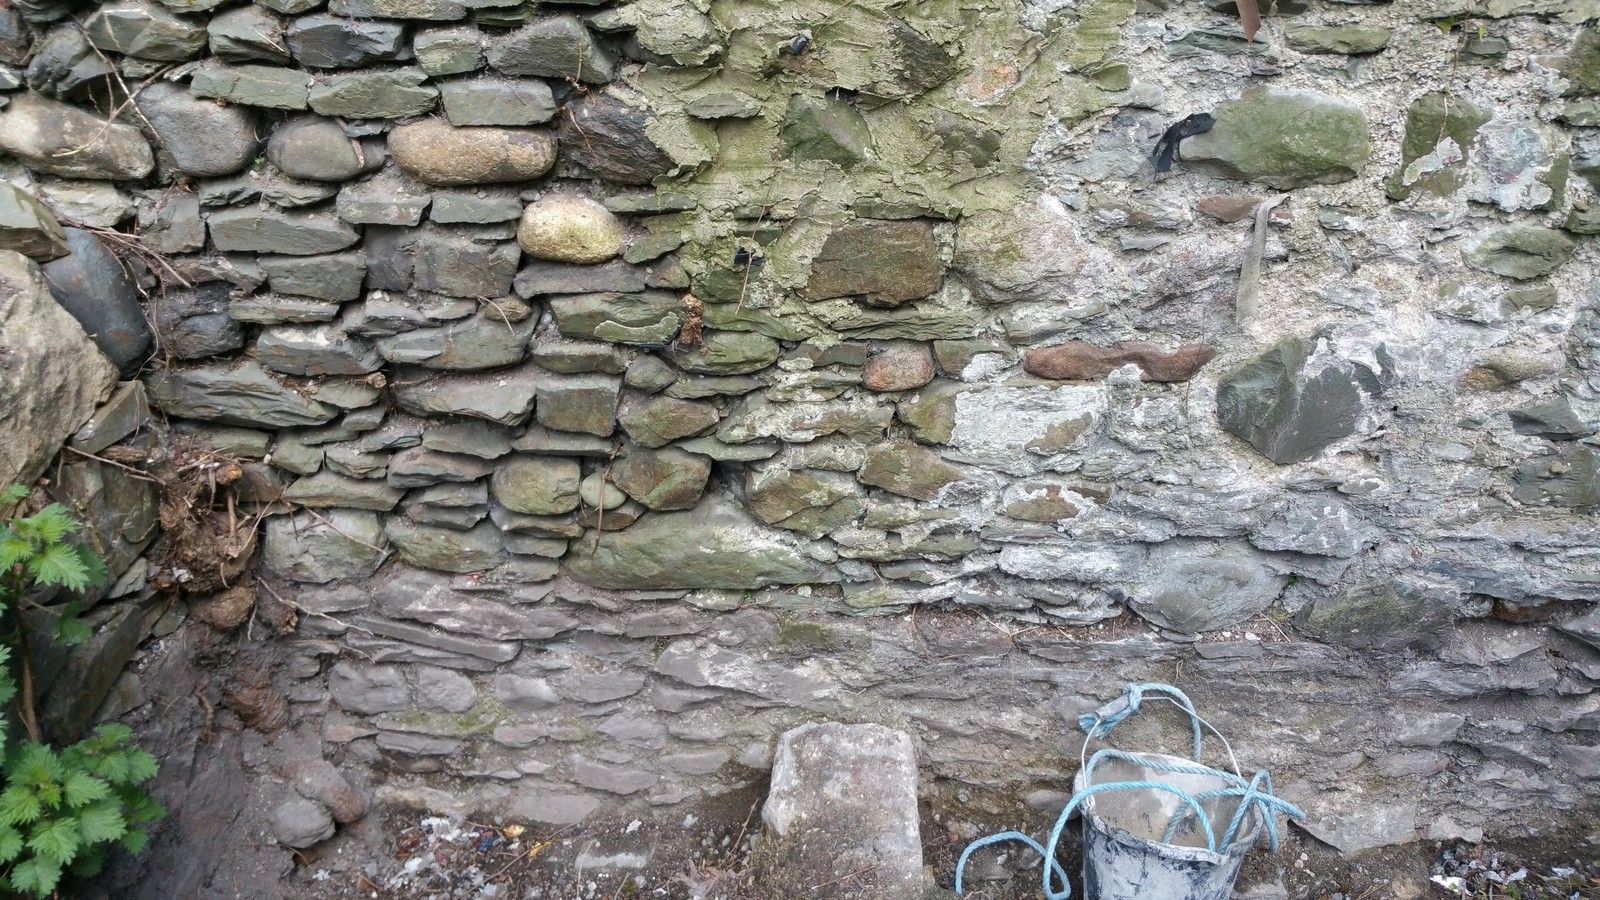
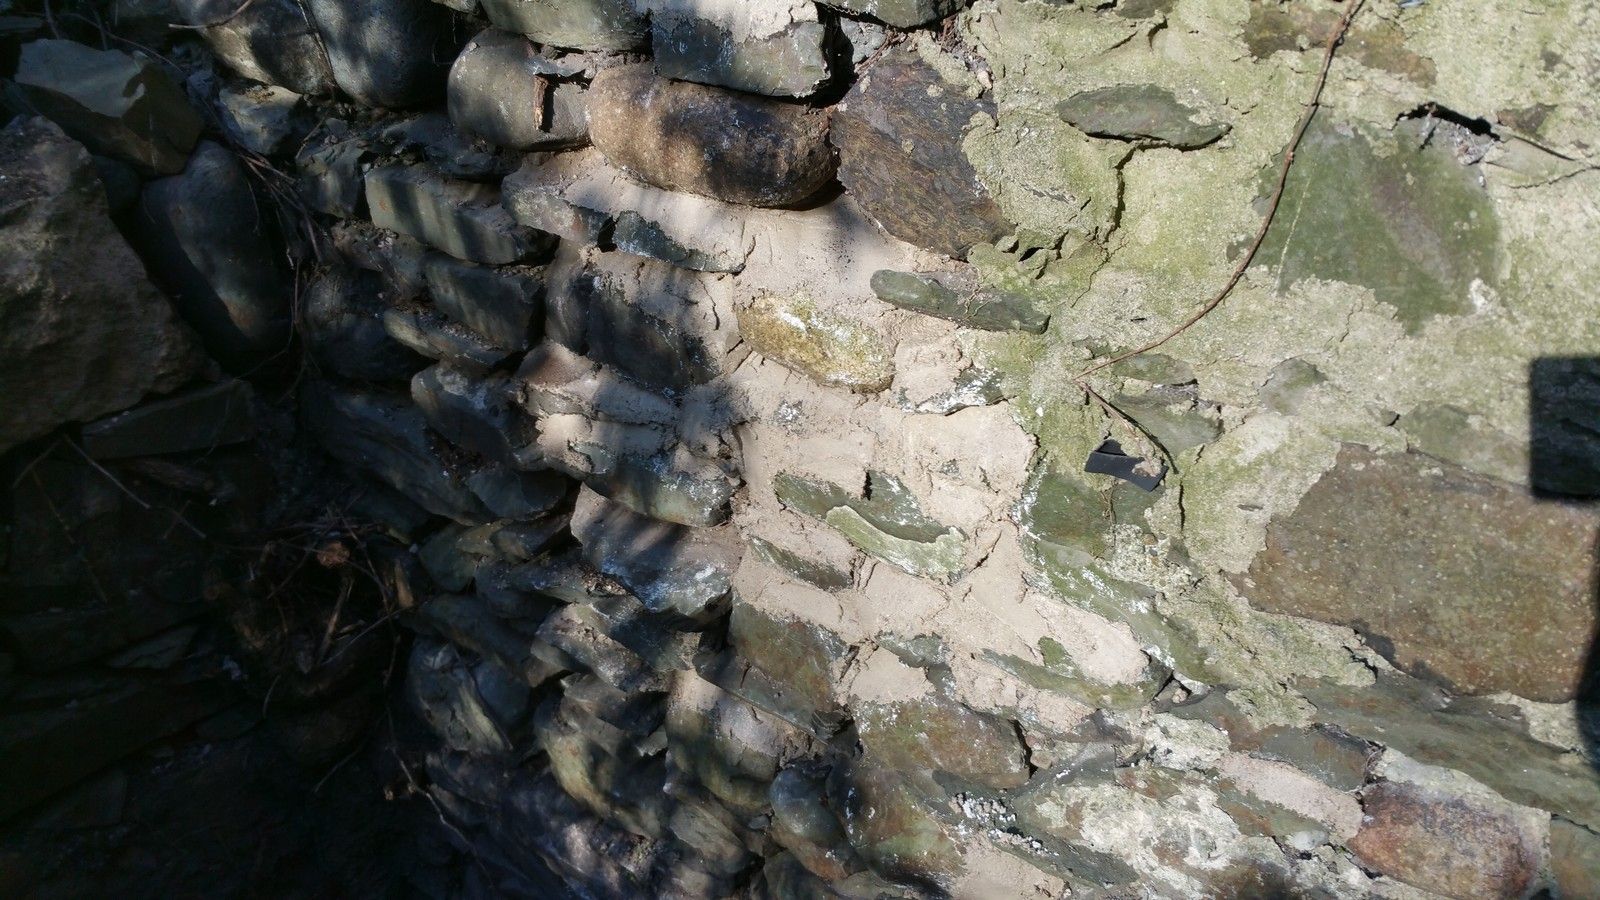
After (not complete):