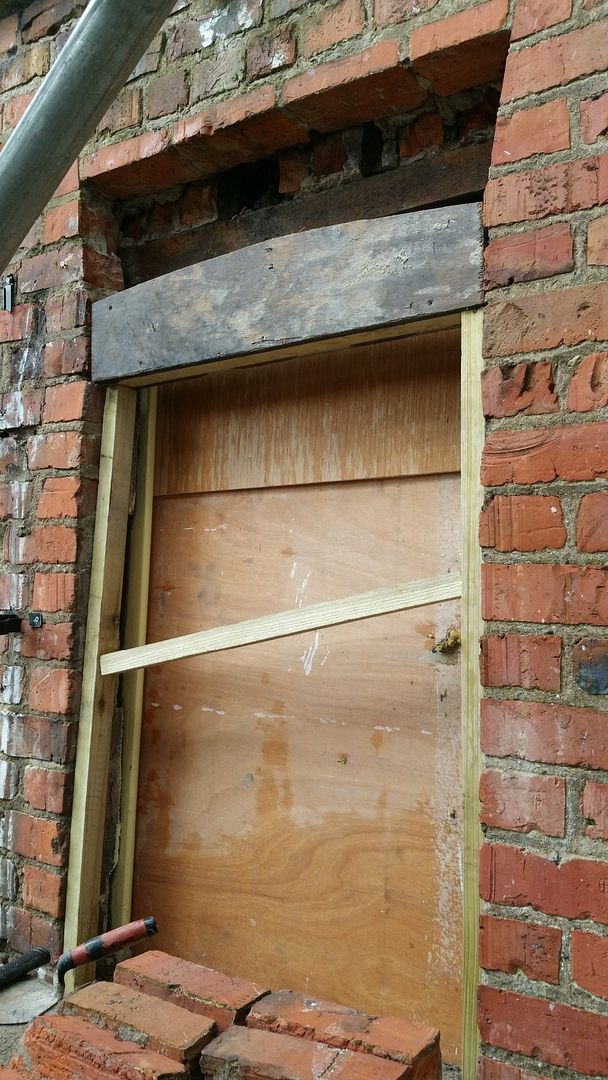
The heads of several windows in the red brick return required attention, as the lime mortar was failing and causing bricks to come loose. To repair them, the heads are first dismantled, removing each brick at a time. The opening is then framed, with a wooden template at the top acting as a guide for the new brickwork.
The removed brick is then placed back as it was with fresh mortar:
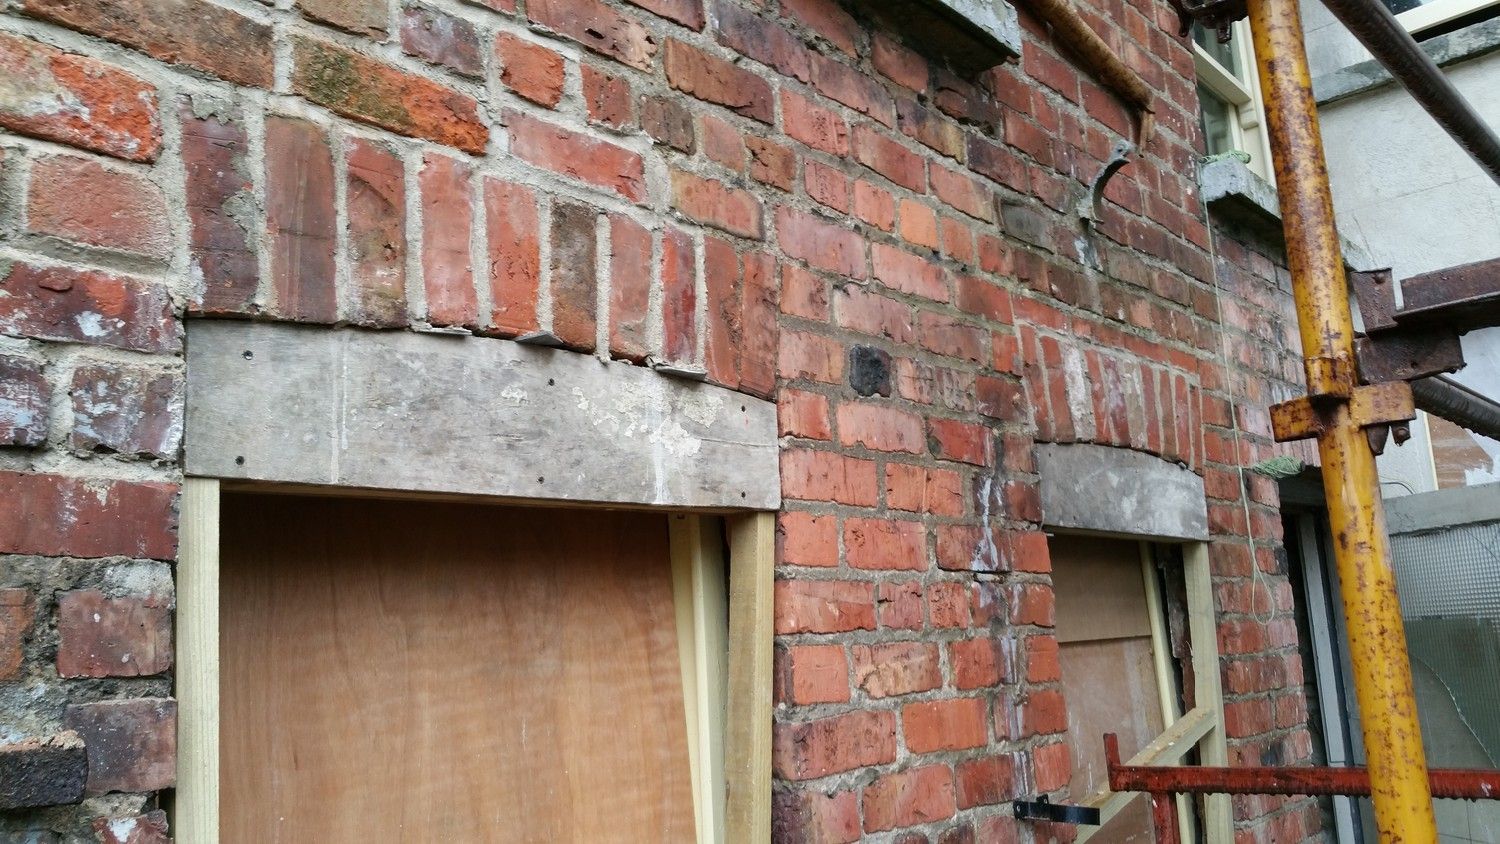
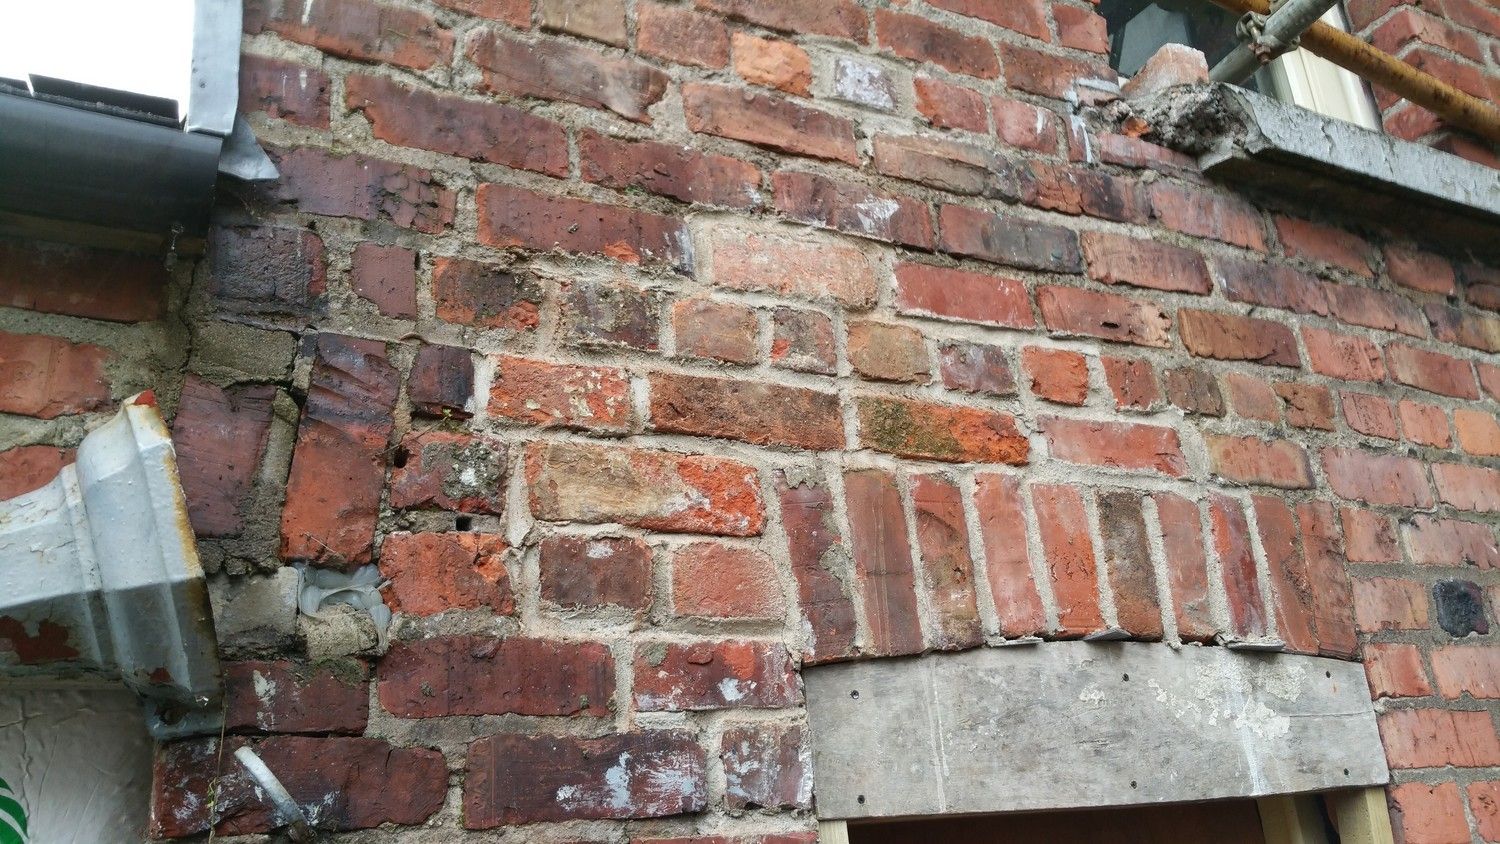
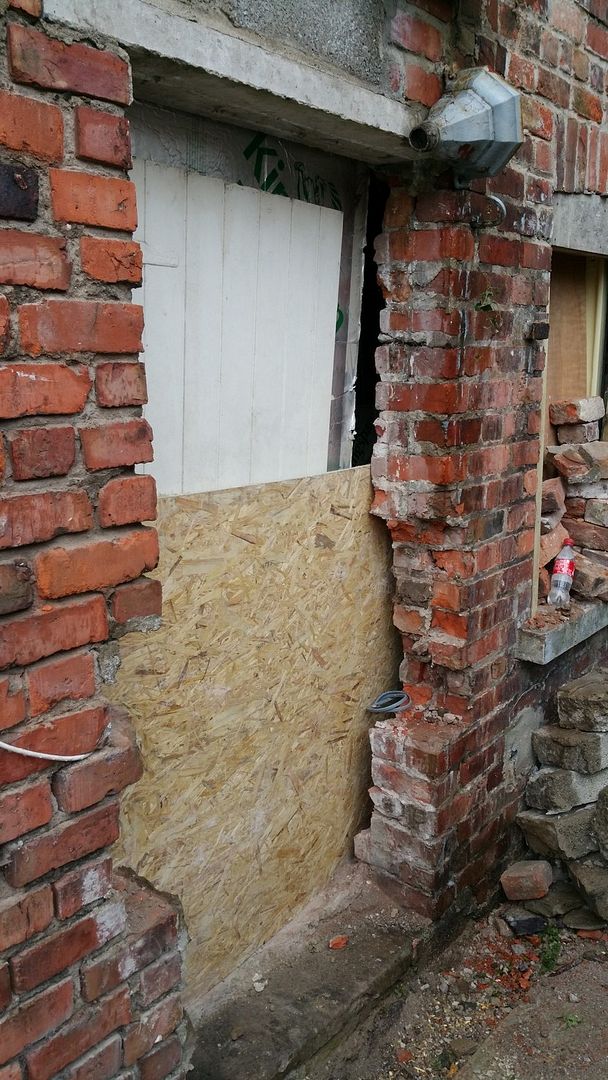
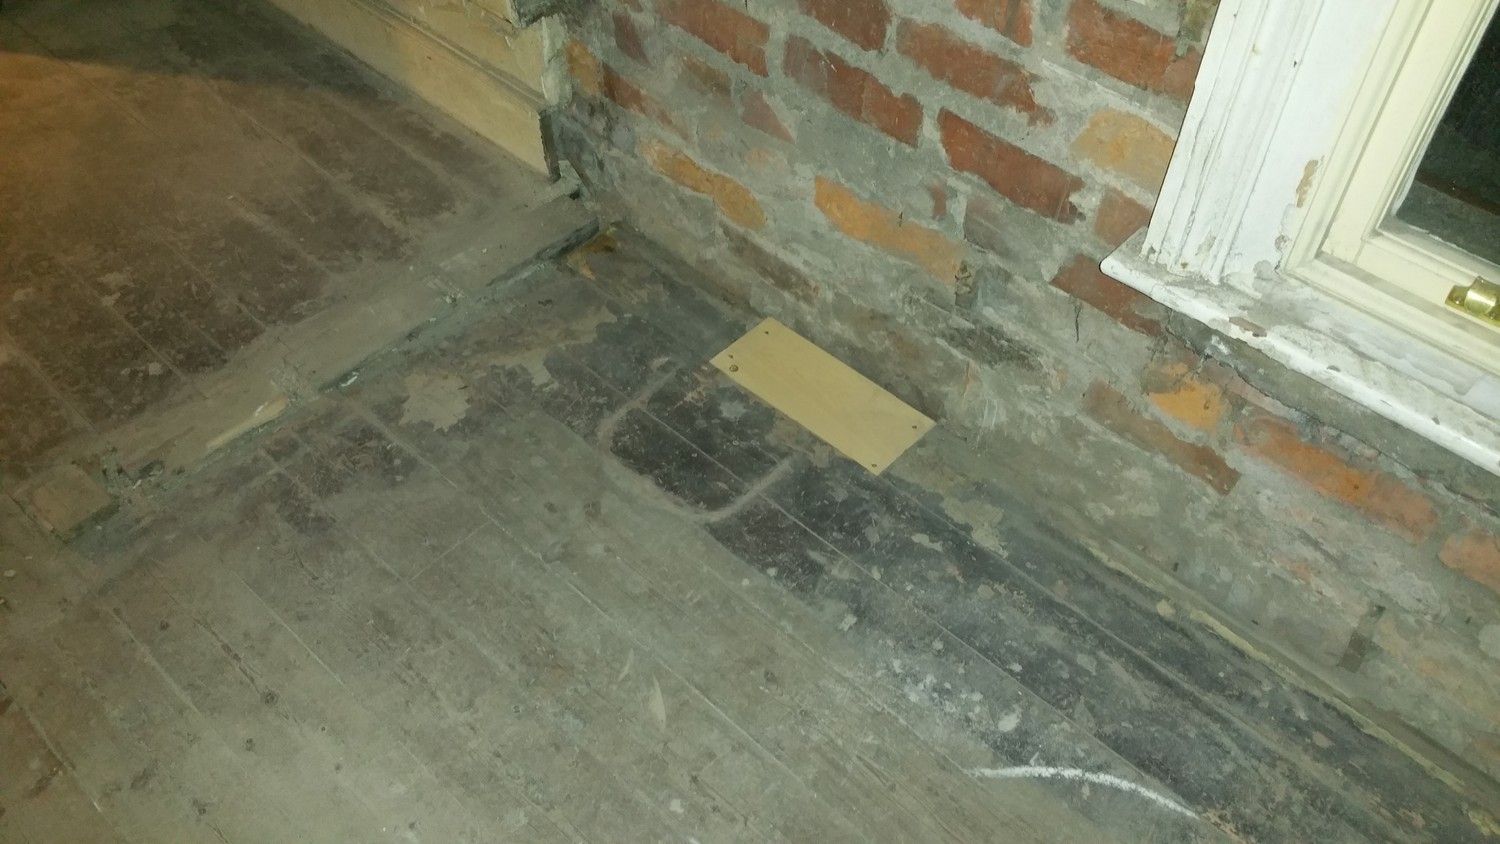
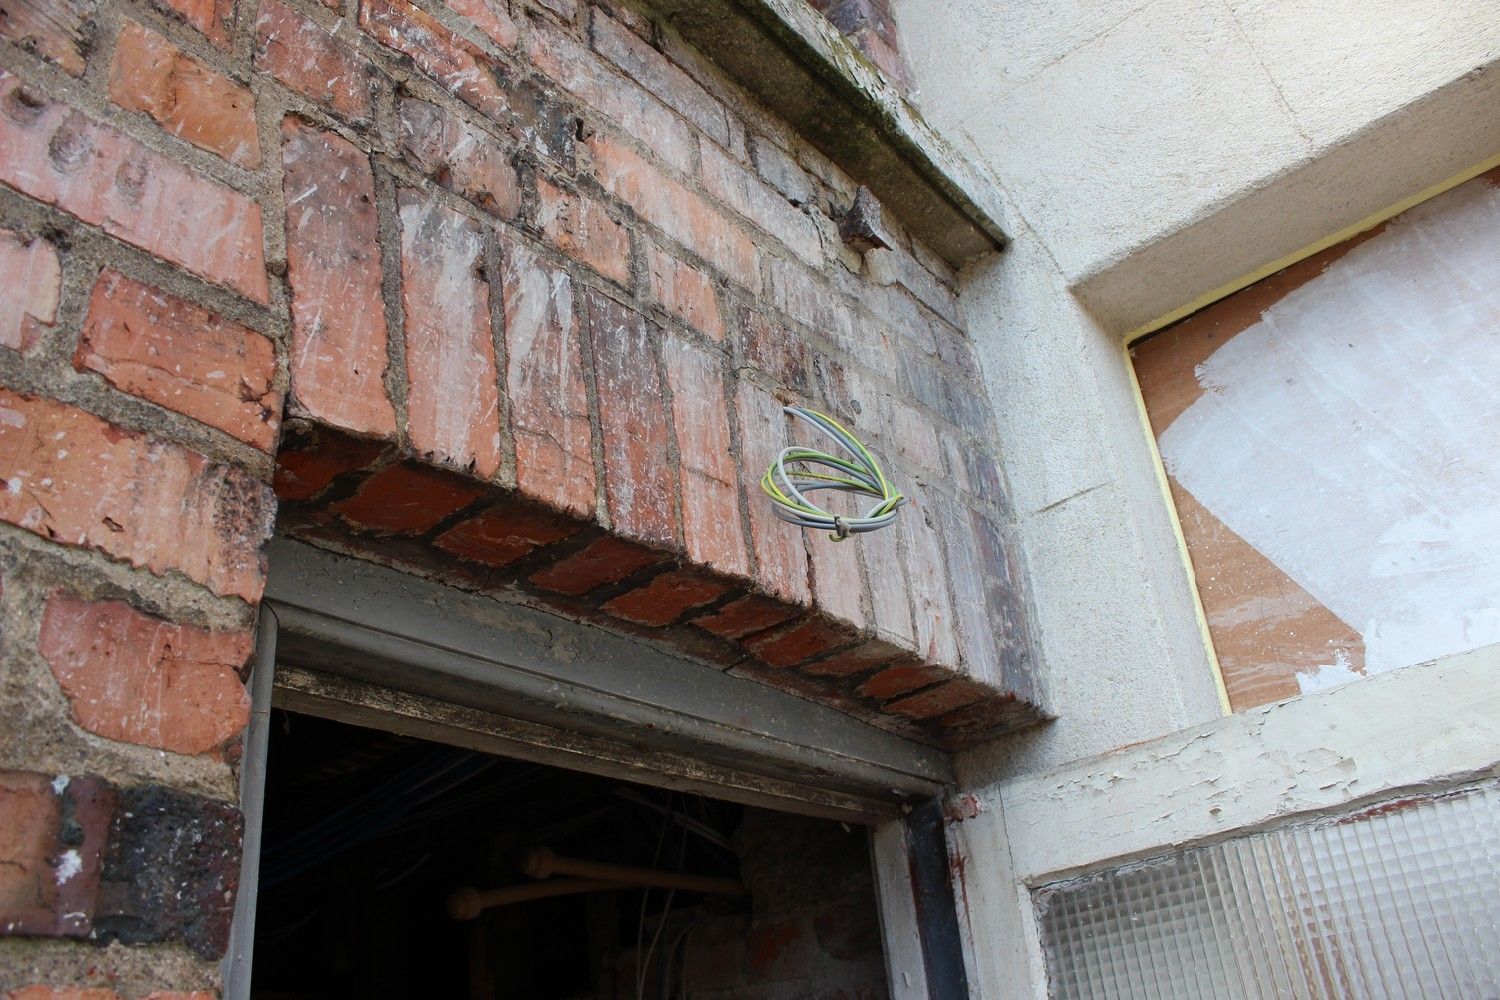
As shown many months ago, the soil pipe from the toilet upstairs ran through the below wall into the cast iron down-pipe. This hole had to be filled as it compromised the window head below. Original salvaged brick was used:
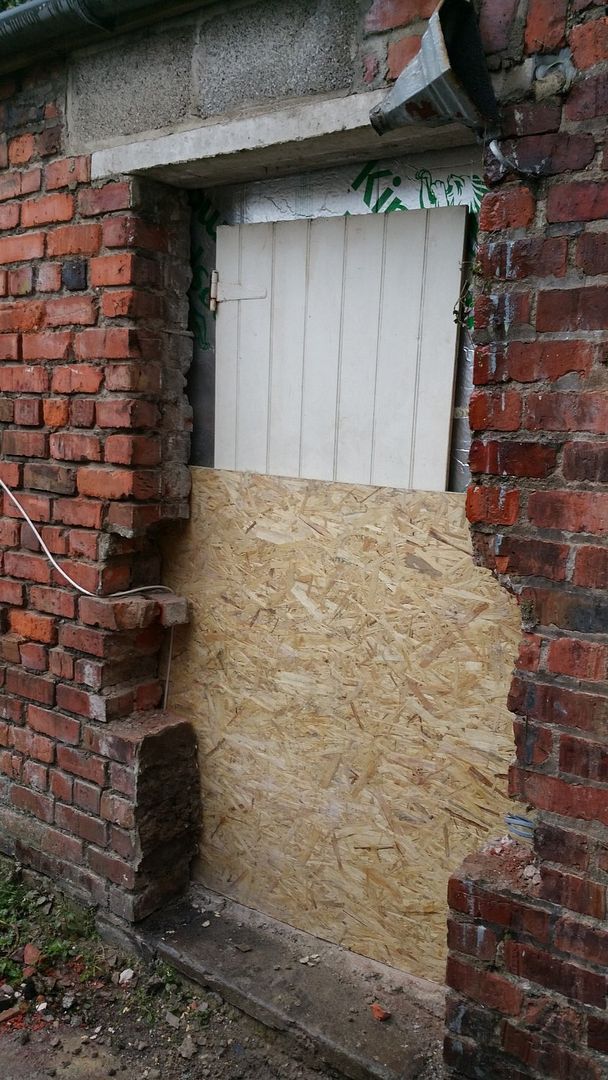
And finally onto the 1950-1960s extension; the opening below was a back door at some stage, but was filled in crudely with breeze blocks. These have since been removed and the opening will be built up again with salvaged brick. A new sash window matching the others will be built from scratch:
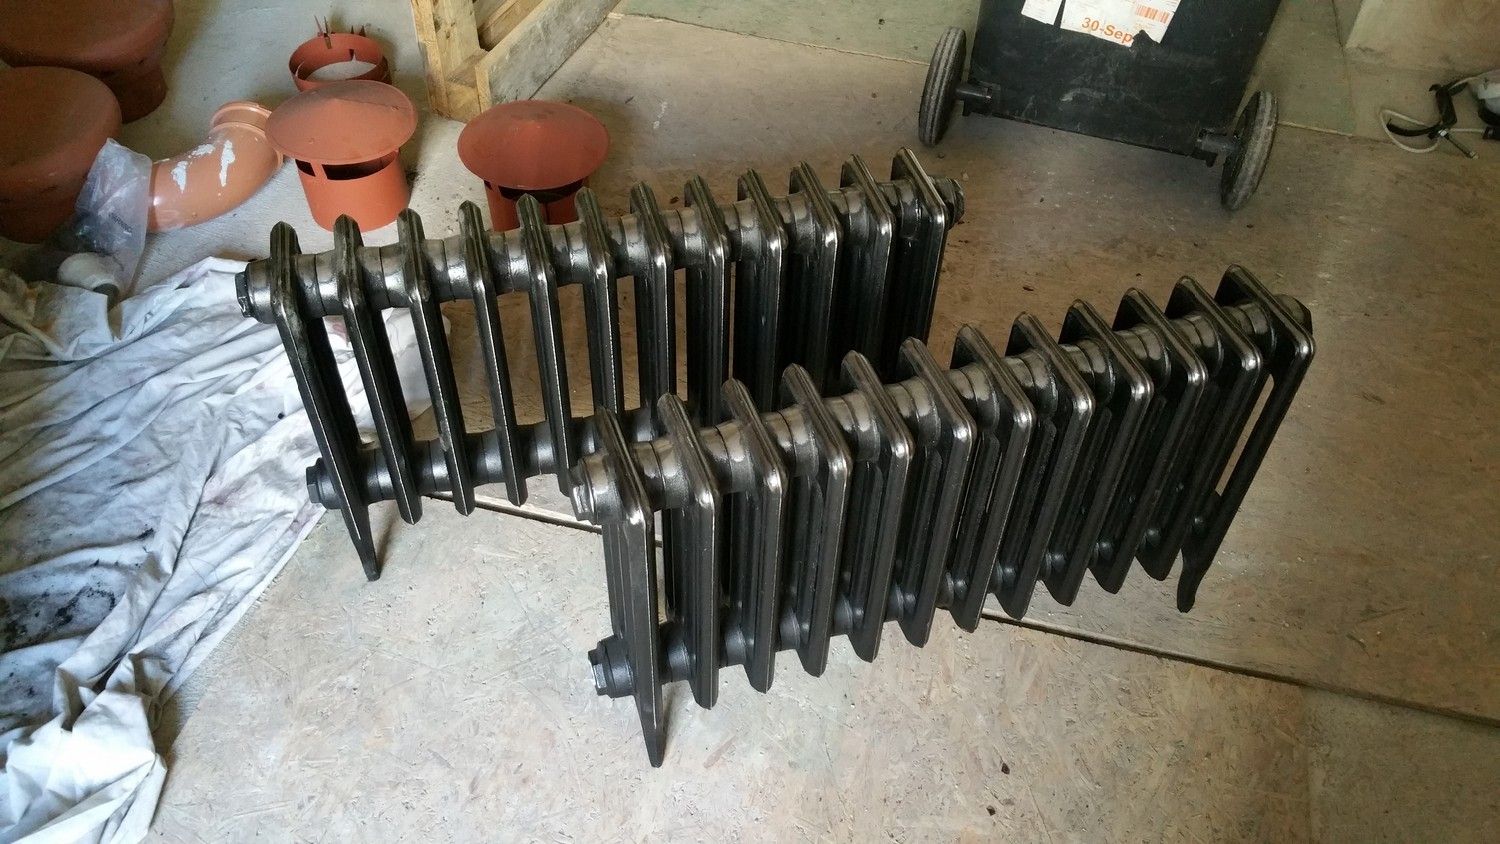
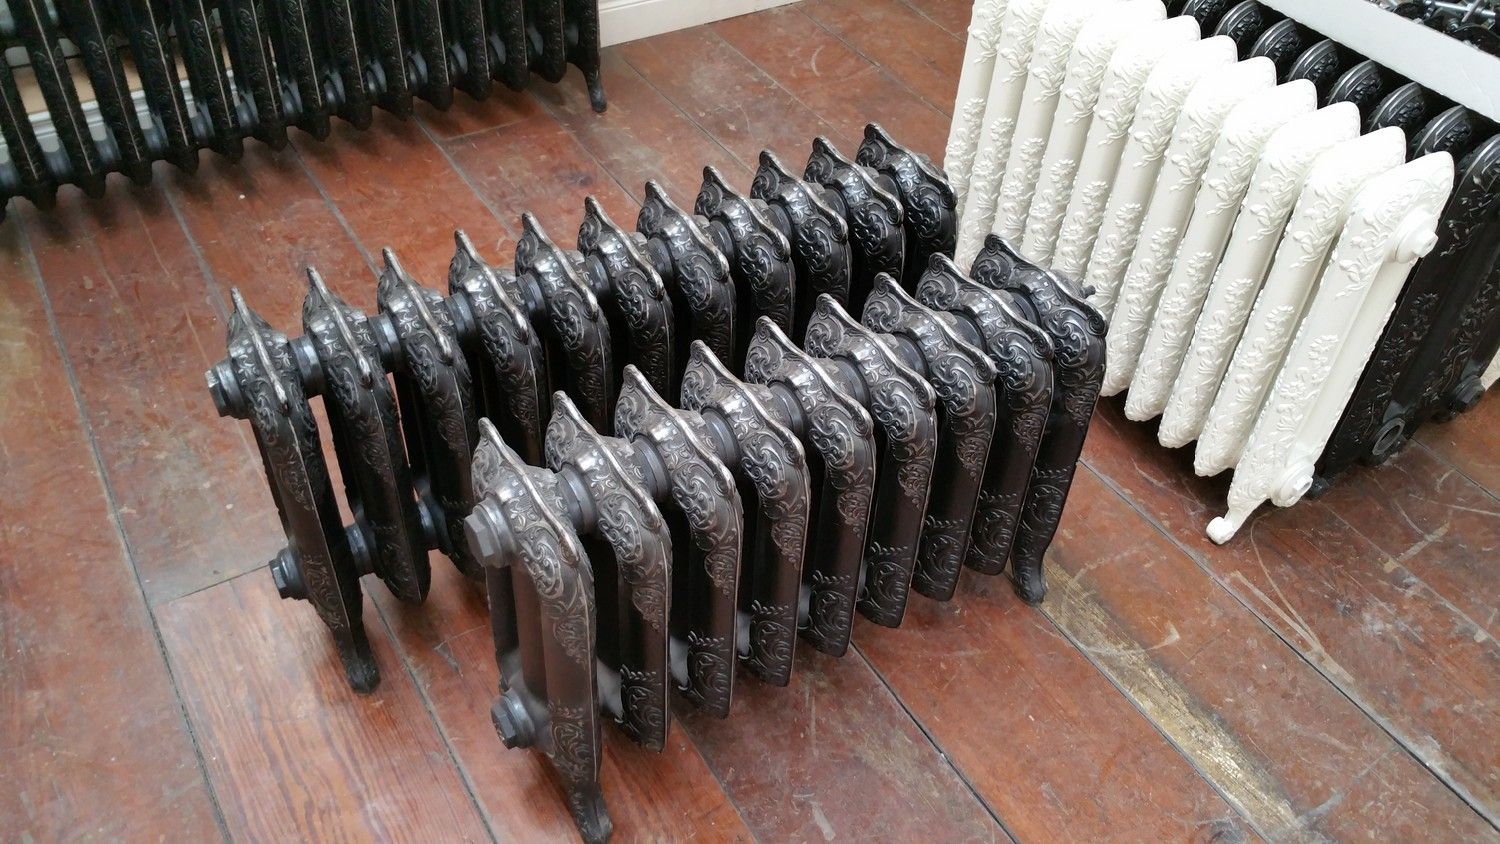
I sourced these Edwardian style four column radiators from Period Homes in Newry, Co. Down. They'll be positioned upstairs in the return below the landing window and the bedroom window:
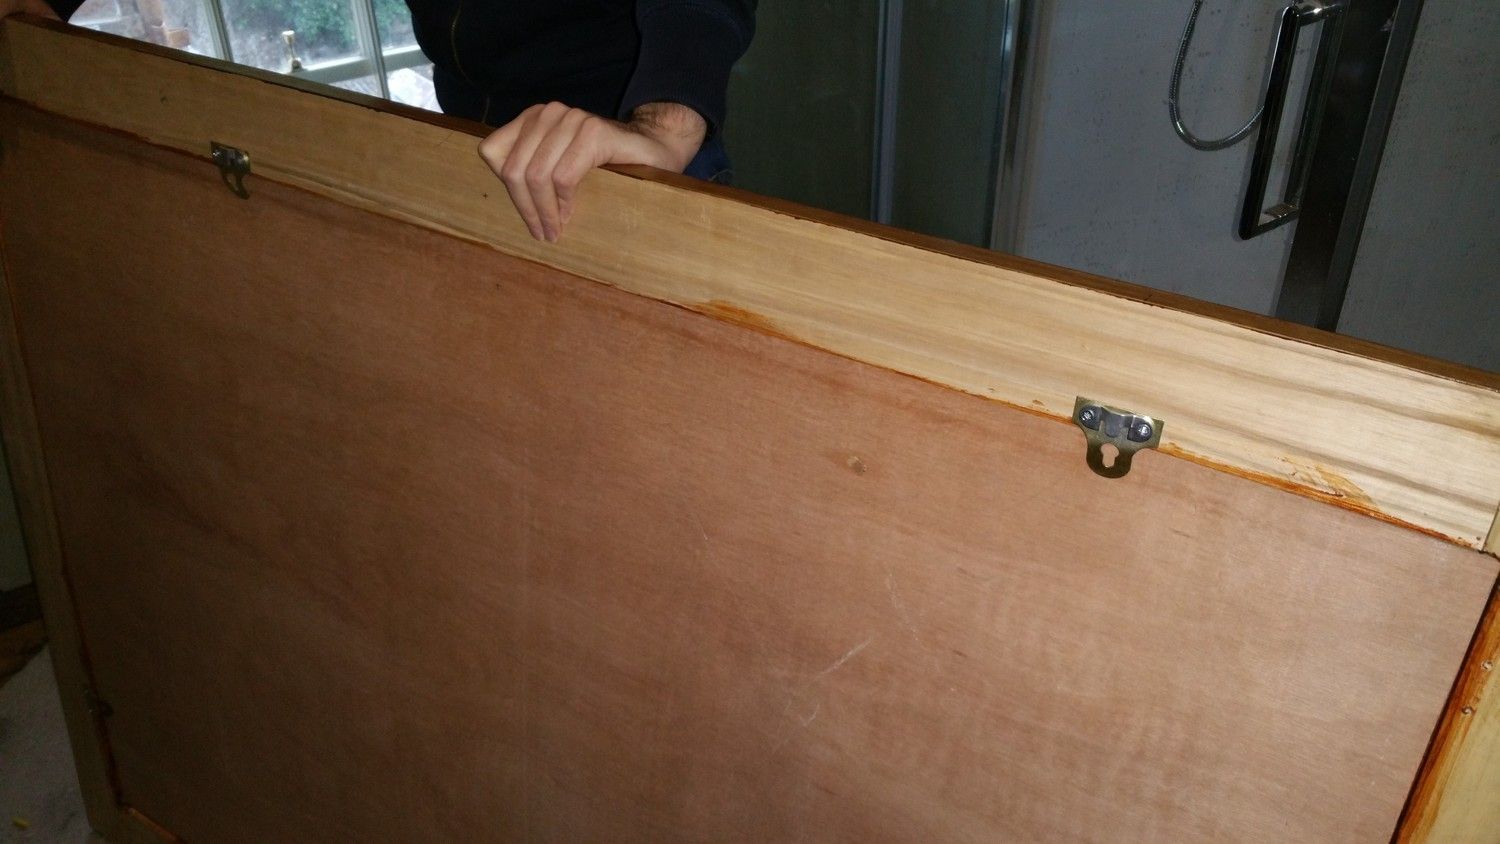
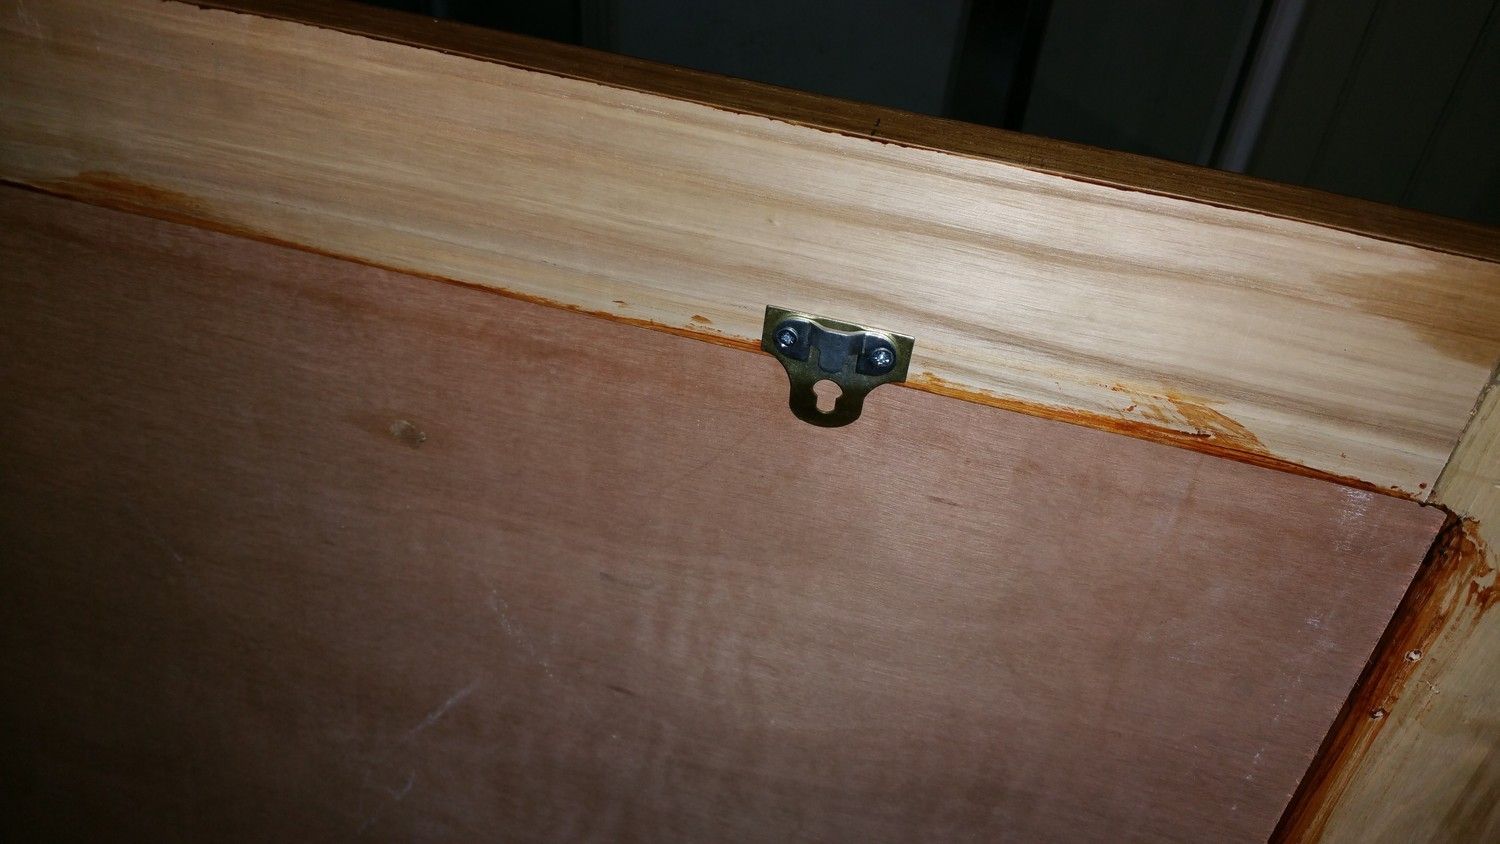
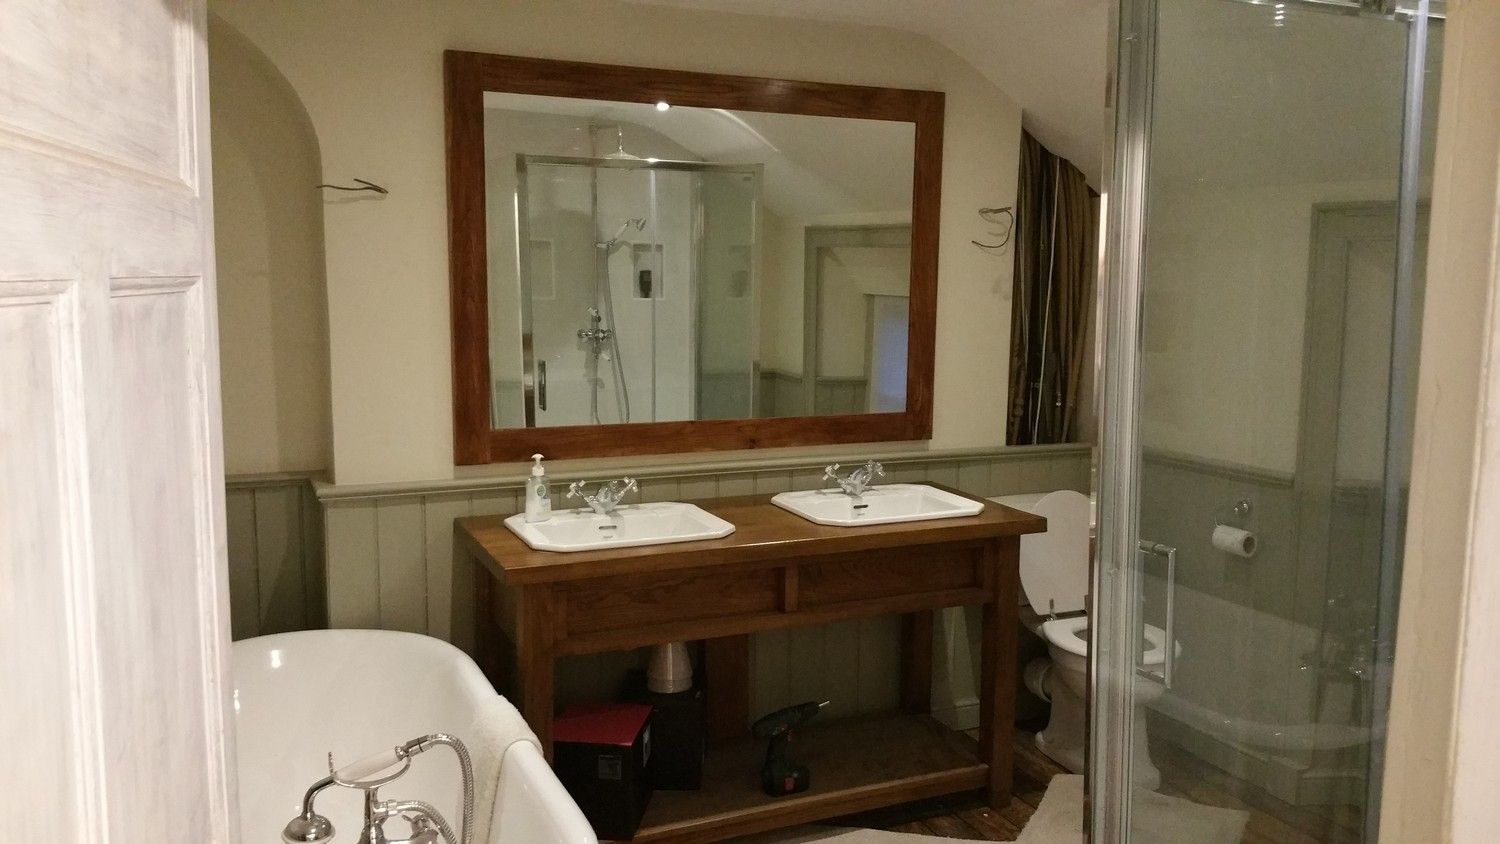
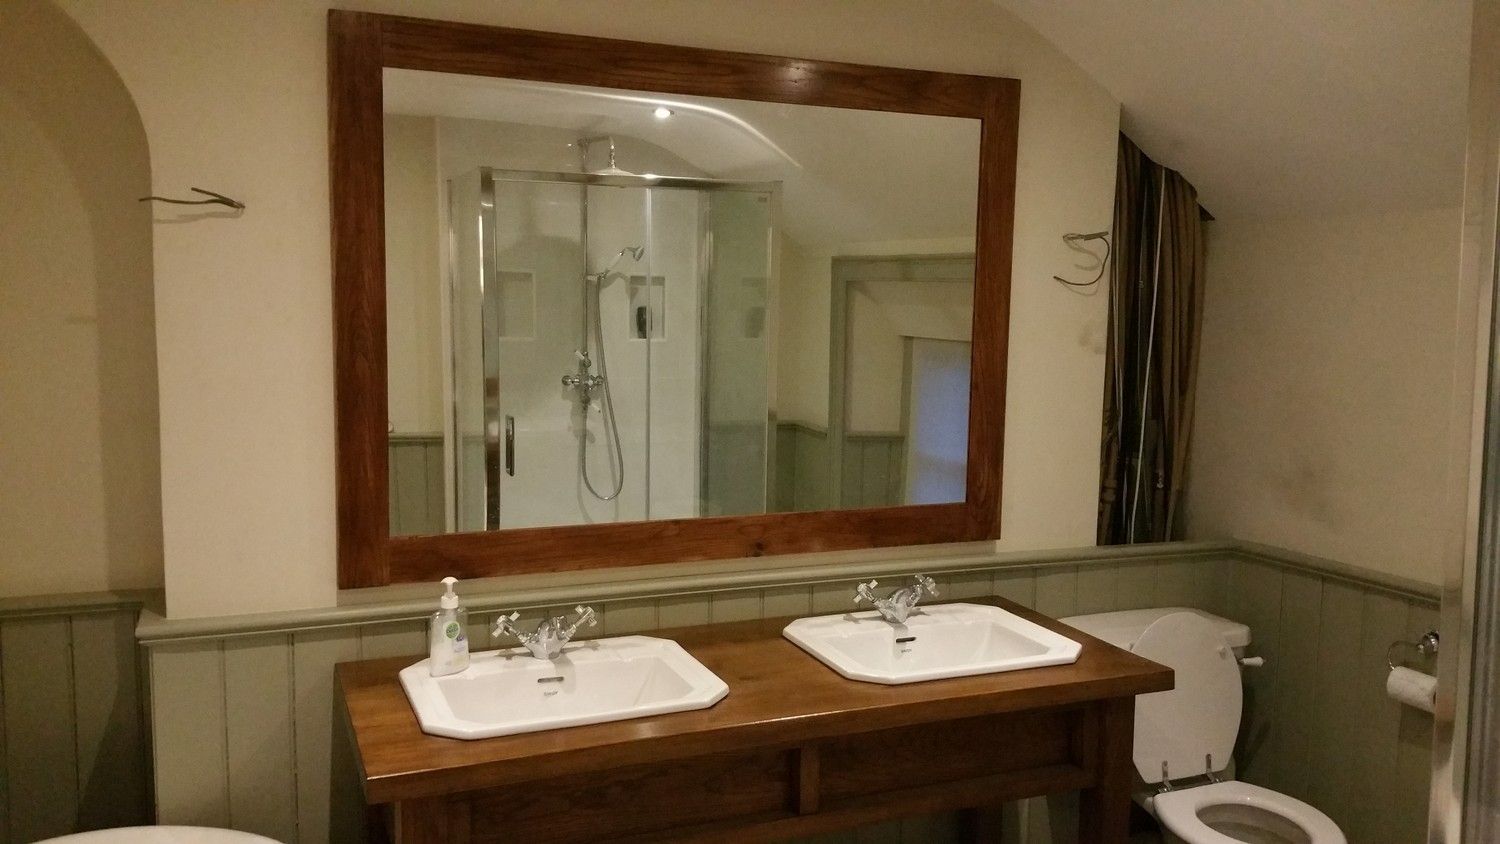
And lastly, the mirror I had made for the bathroom arrived at long last. It was quite the head scratcher as to how to safely mount it to the wall (it weighs about 25kg), but in the end I found these small french-cleat style brackets. They're small, but very strong:
Measuring took a solid half hour, but we got it right in the end:
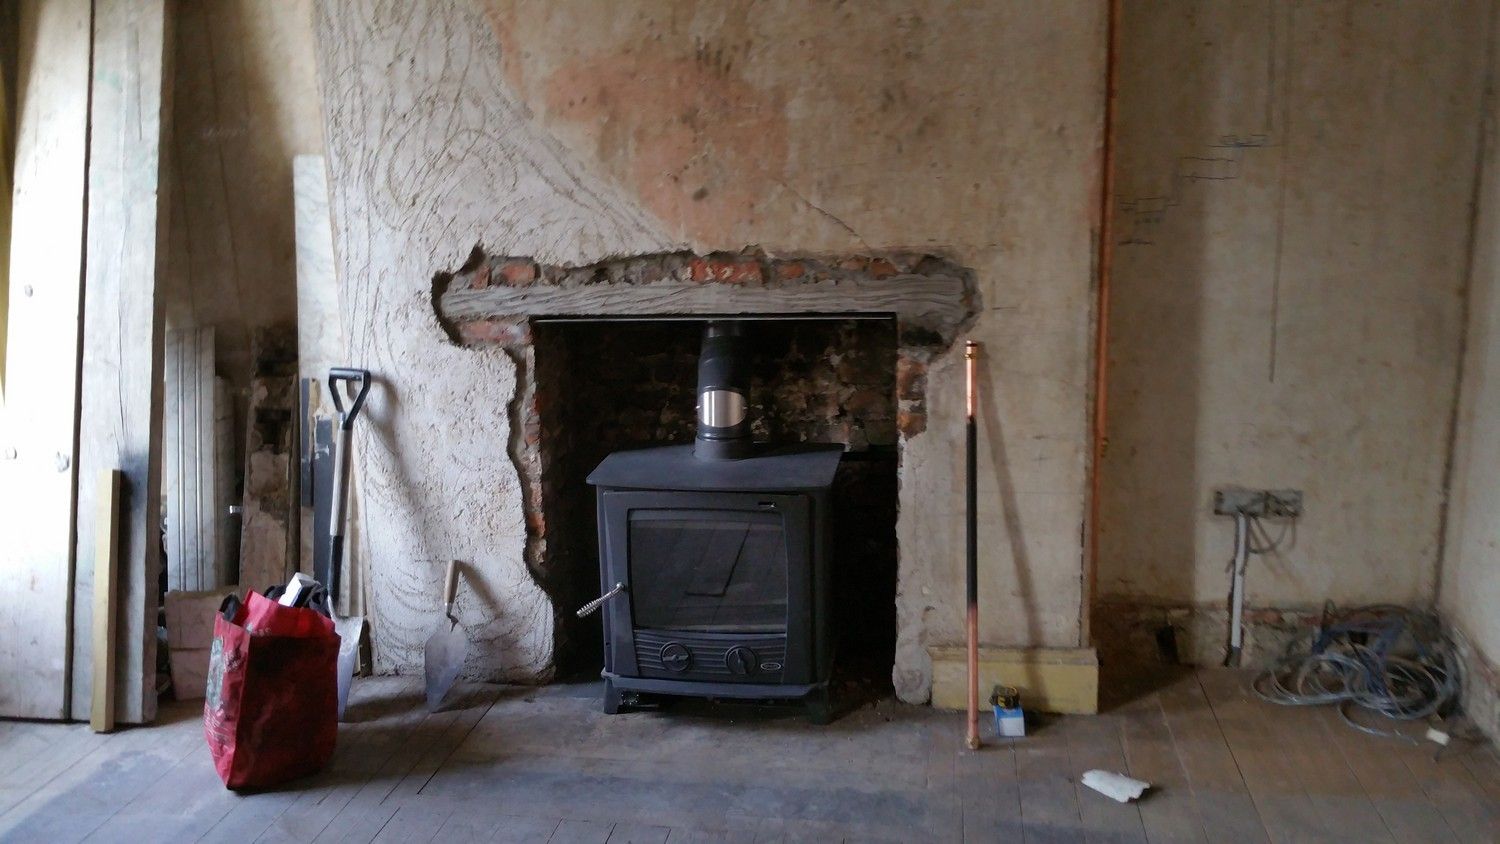
The main living room of the house will be on the first floor, above the dining room. This is where the Henley boiler stove will be installed, supplying heat to the room and to the thermal store in the attic.
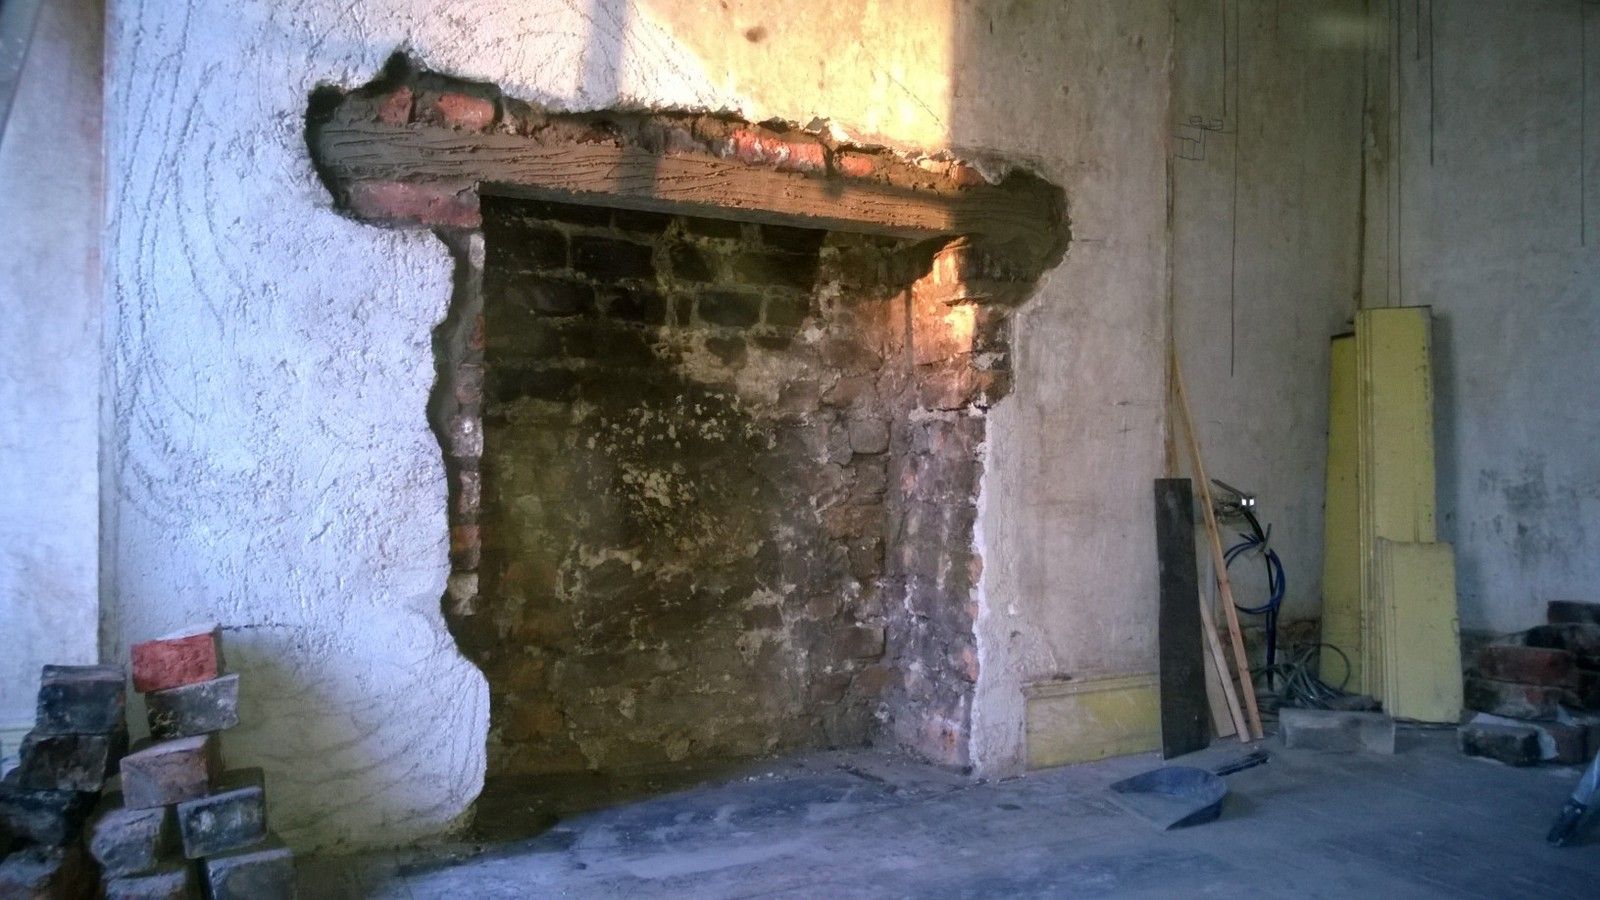
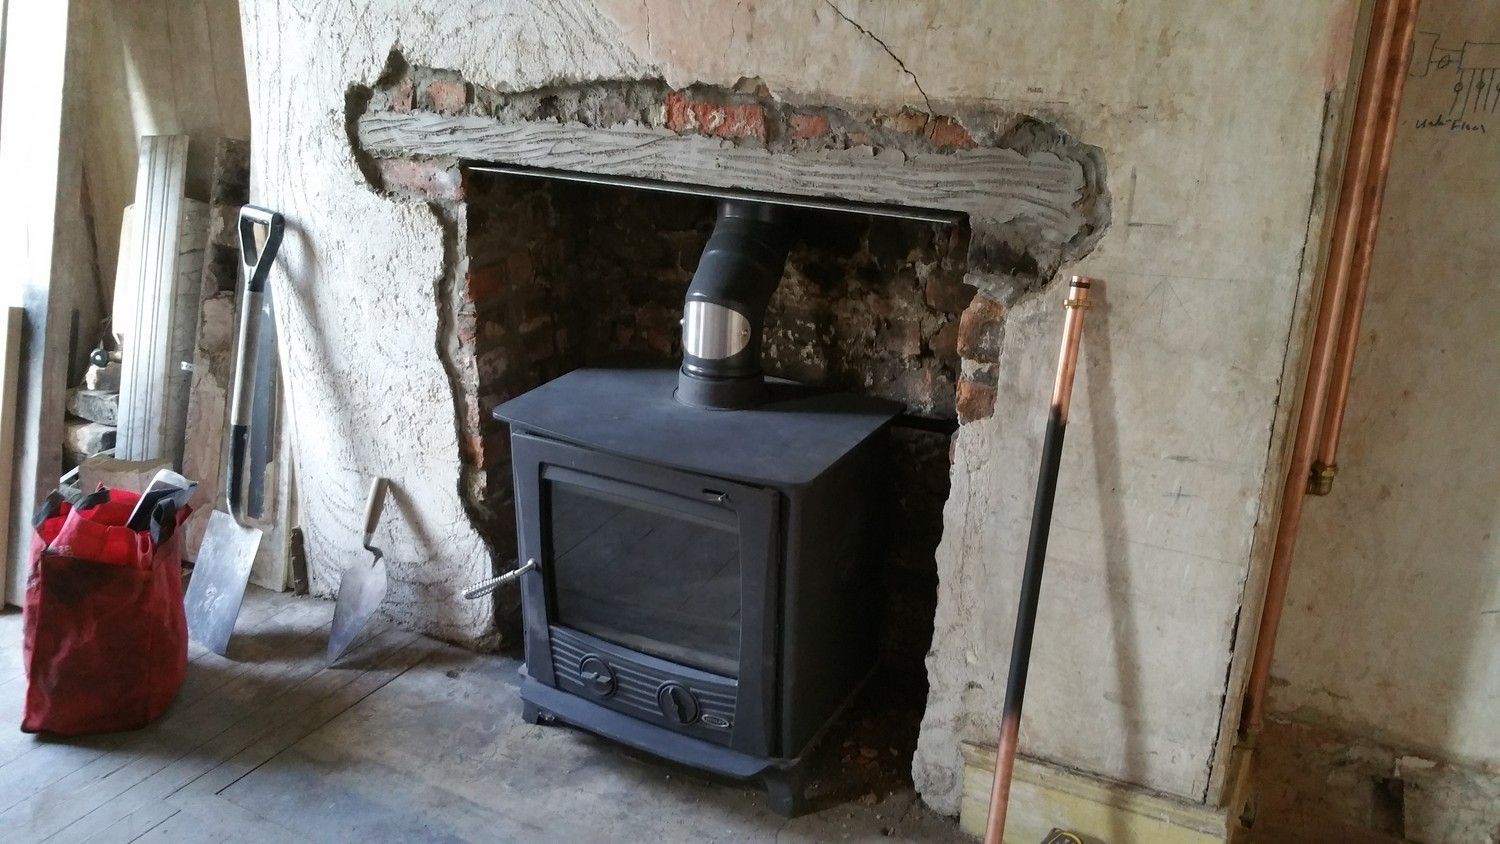
This was the fireplace opened up by the builders:
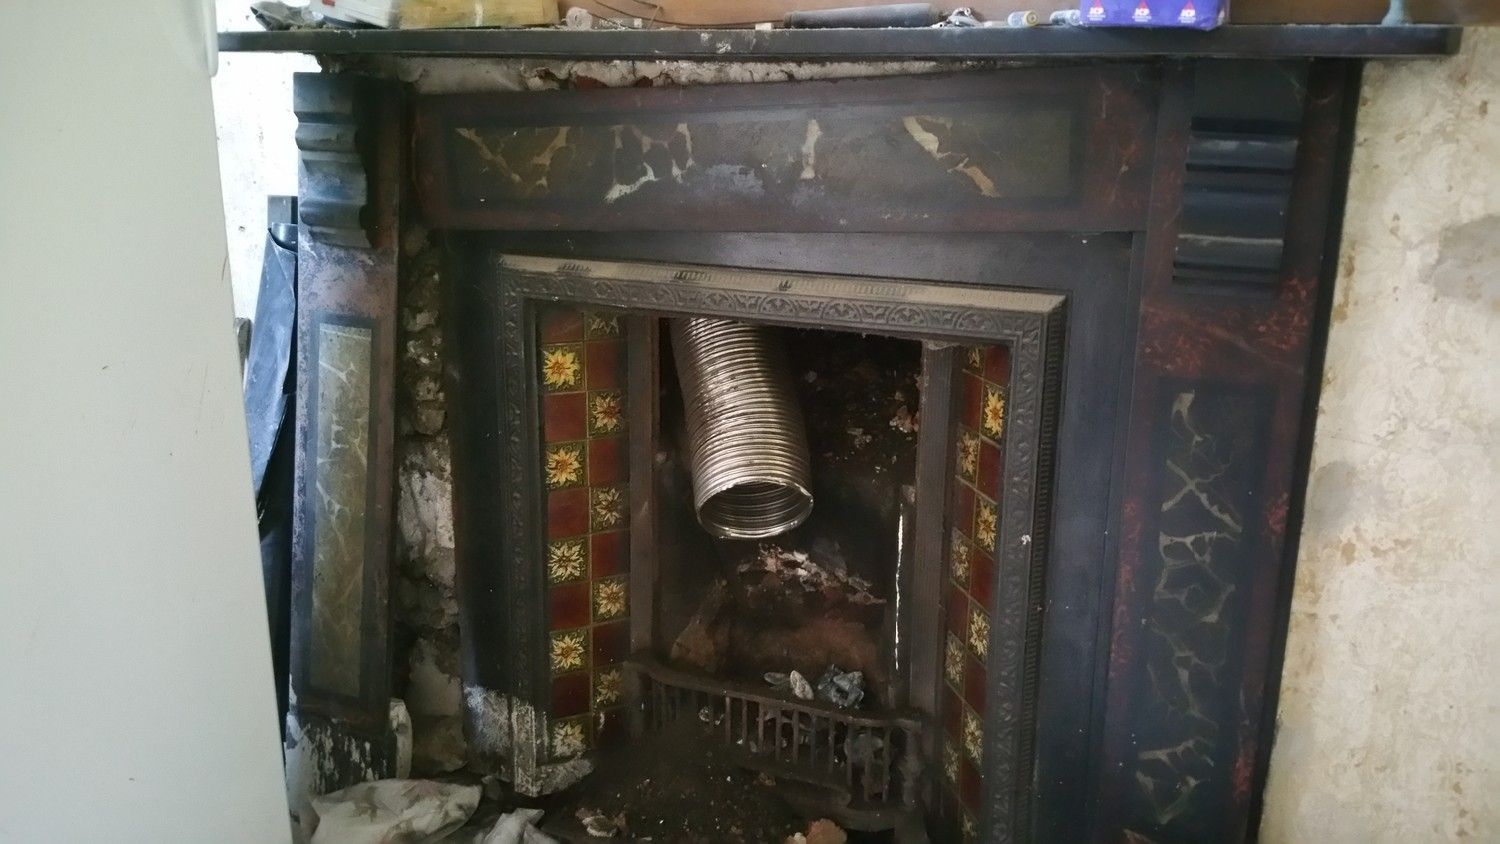
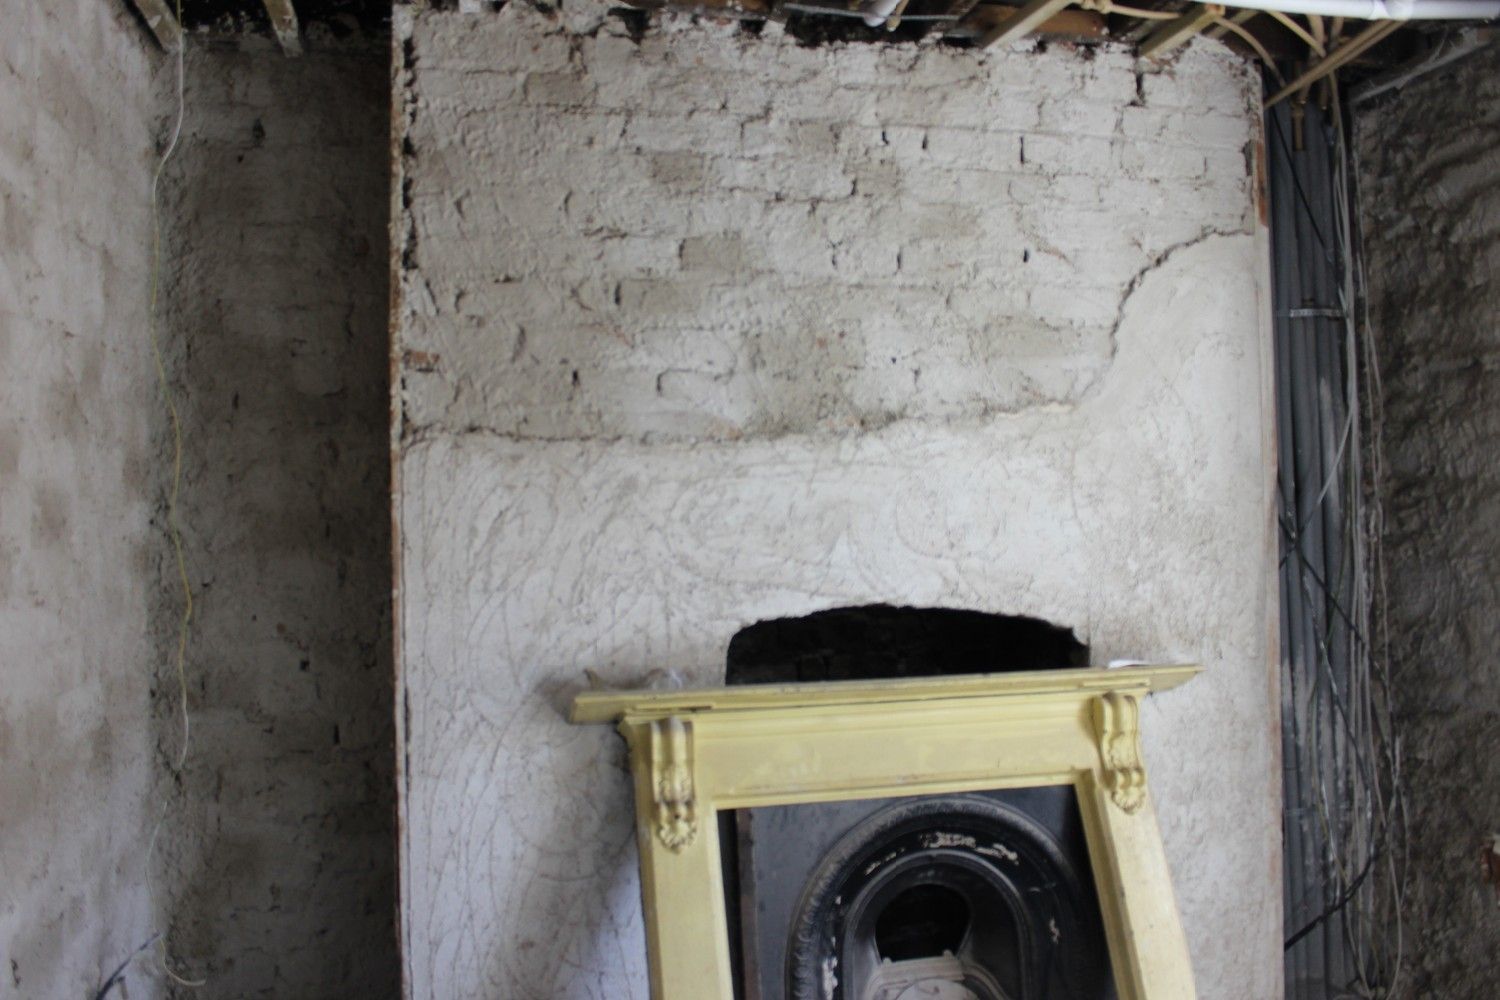
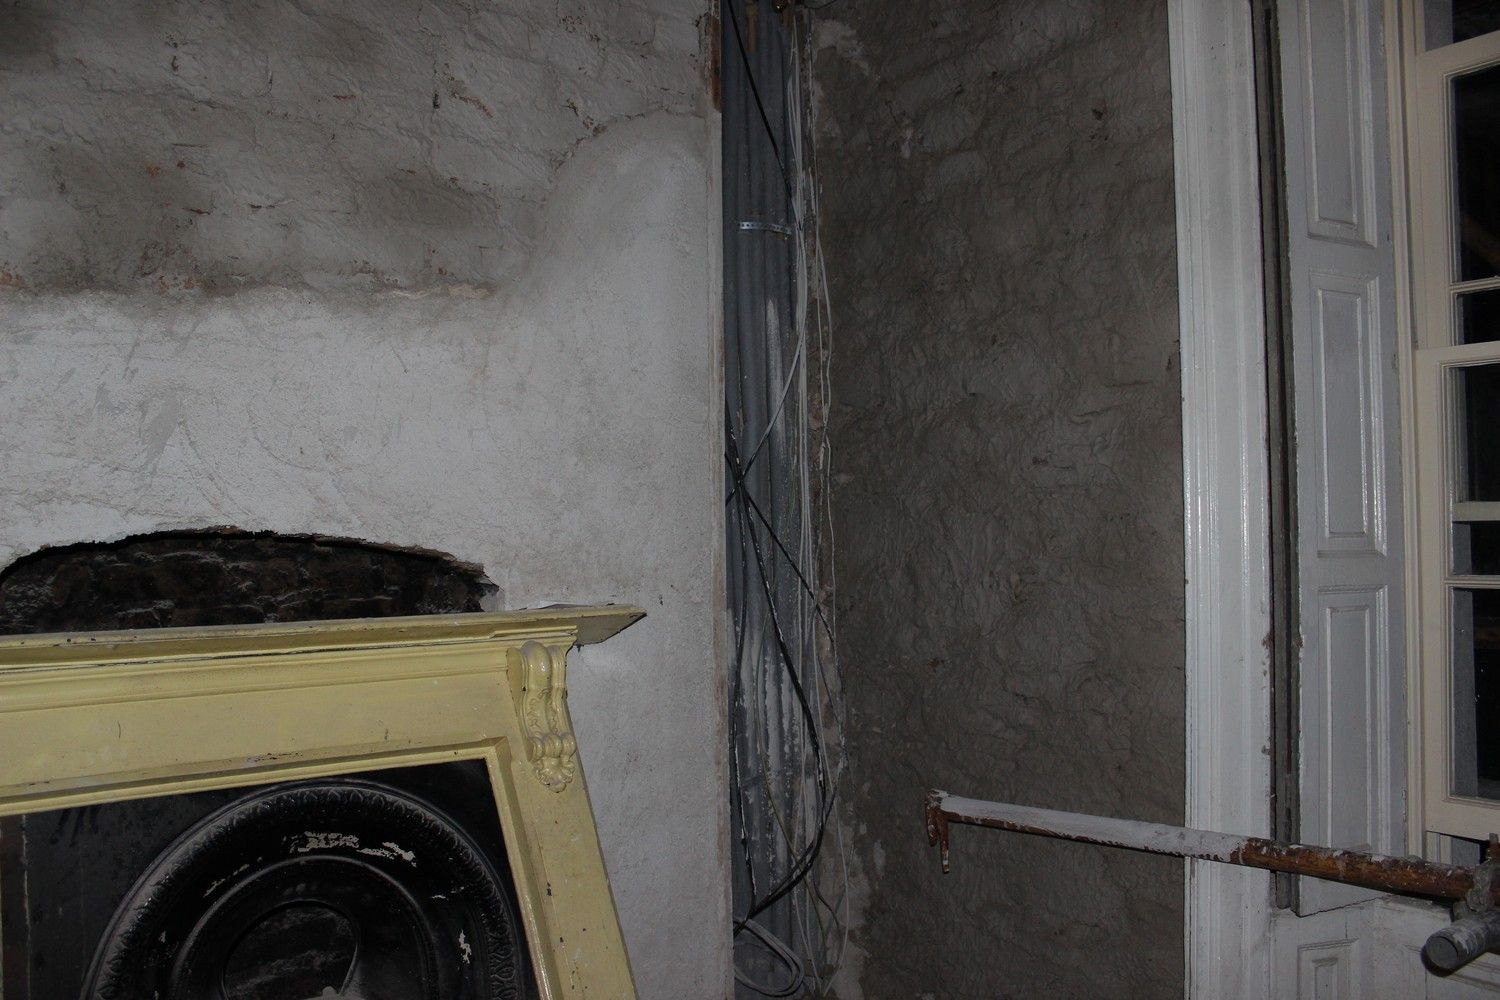
When the house was purchased, it had had a Victorian cast iron fireplace surround installed:
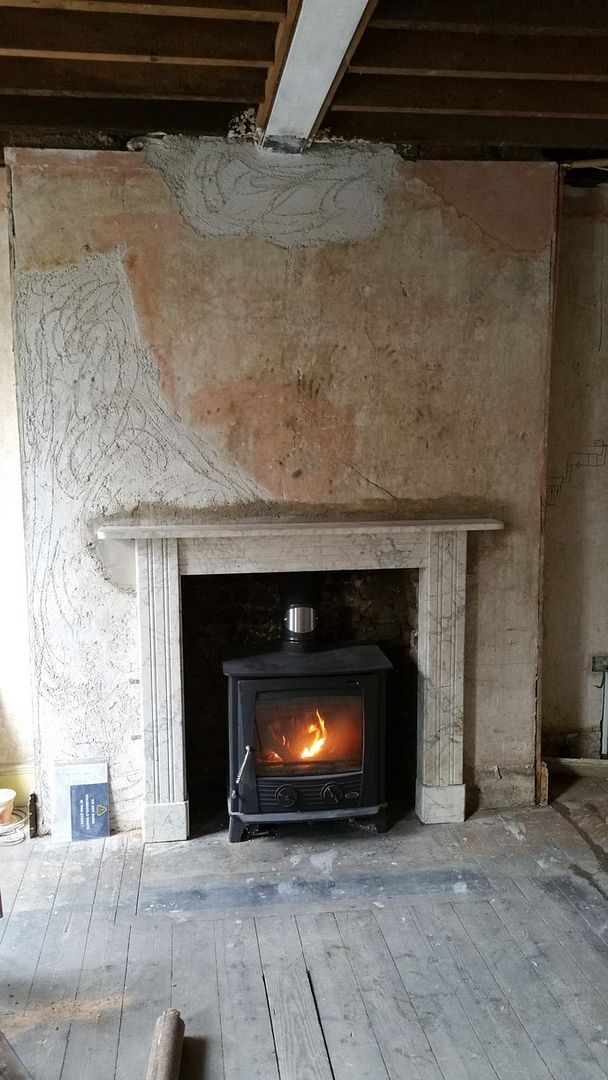
This of course is a much later fireplace than what would have been installed originally, so I've since removed it and it will be installed in the room behind, where the fireplace has been opened up once more (pictures below).
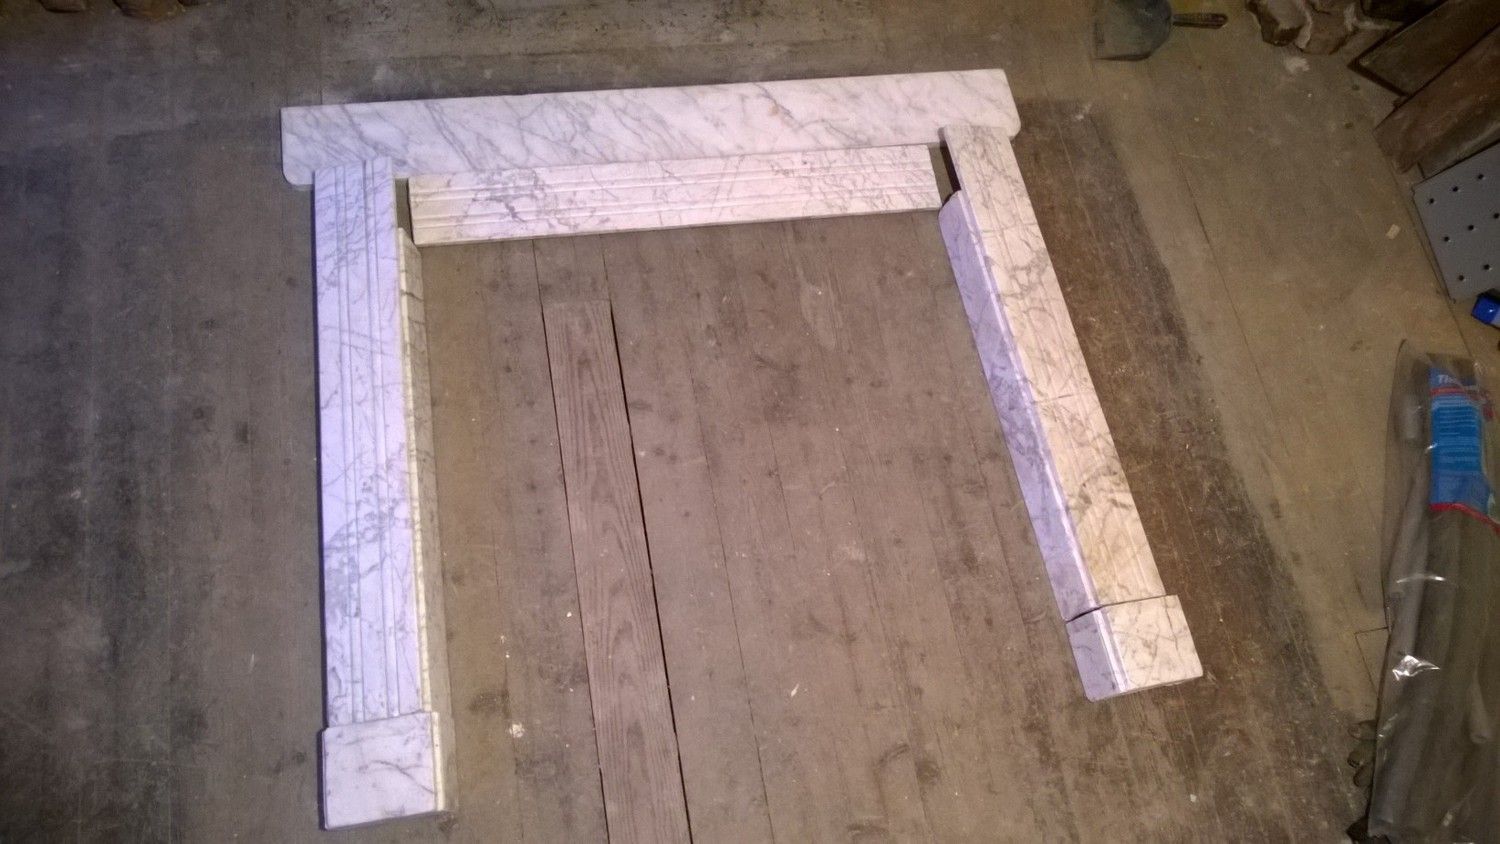
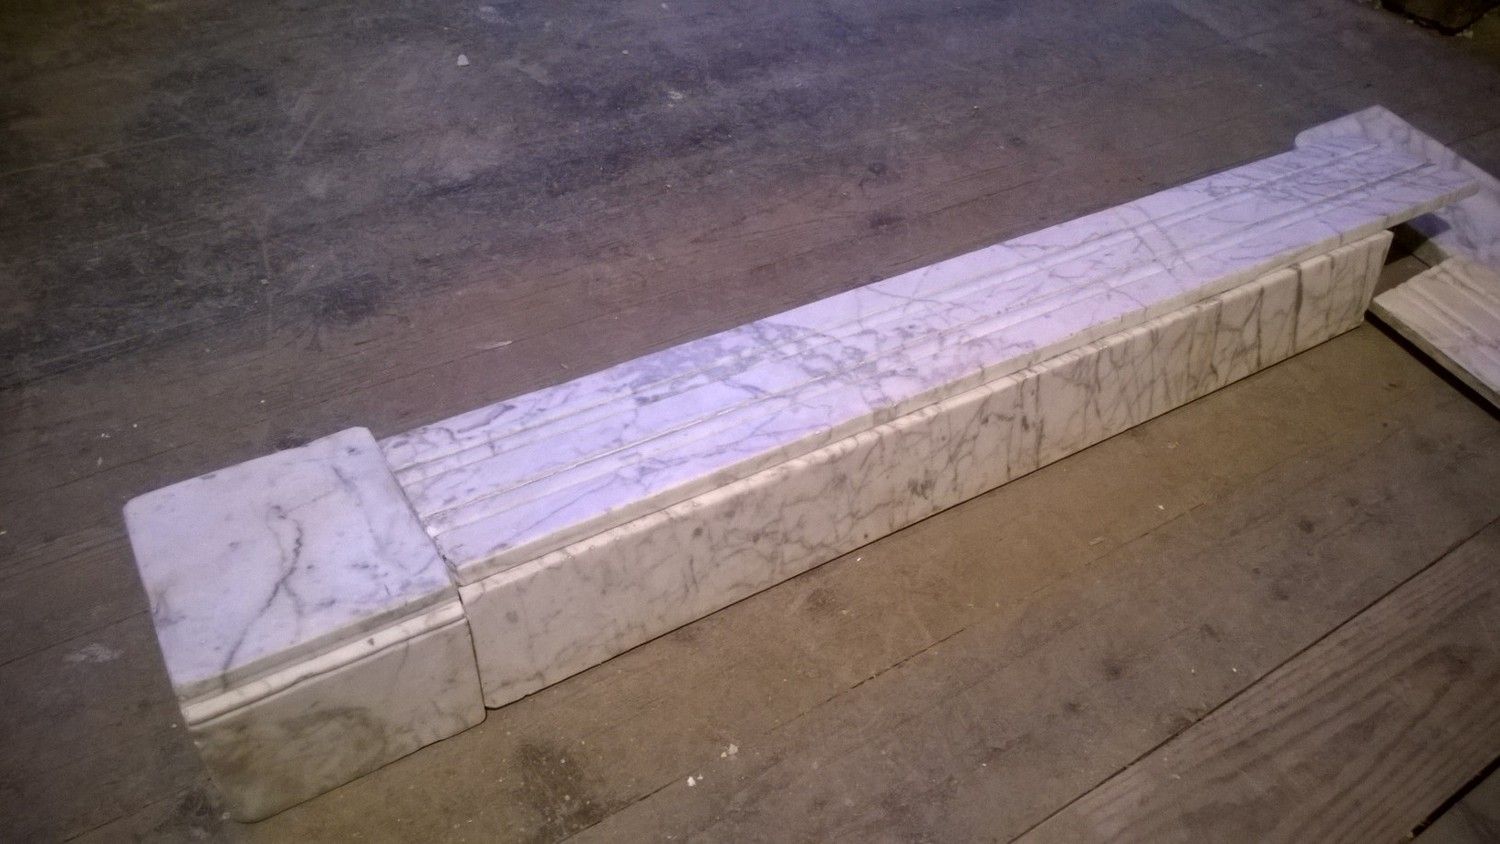
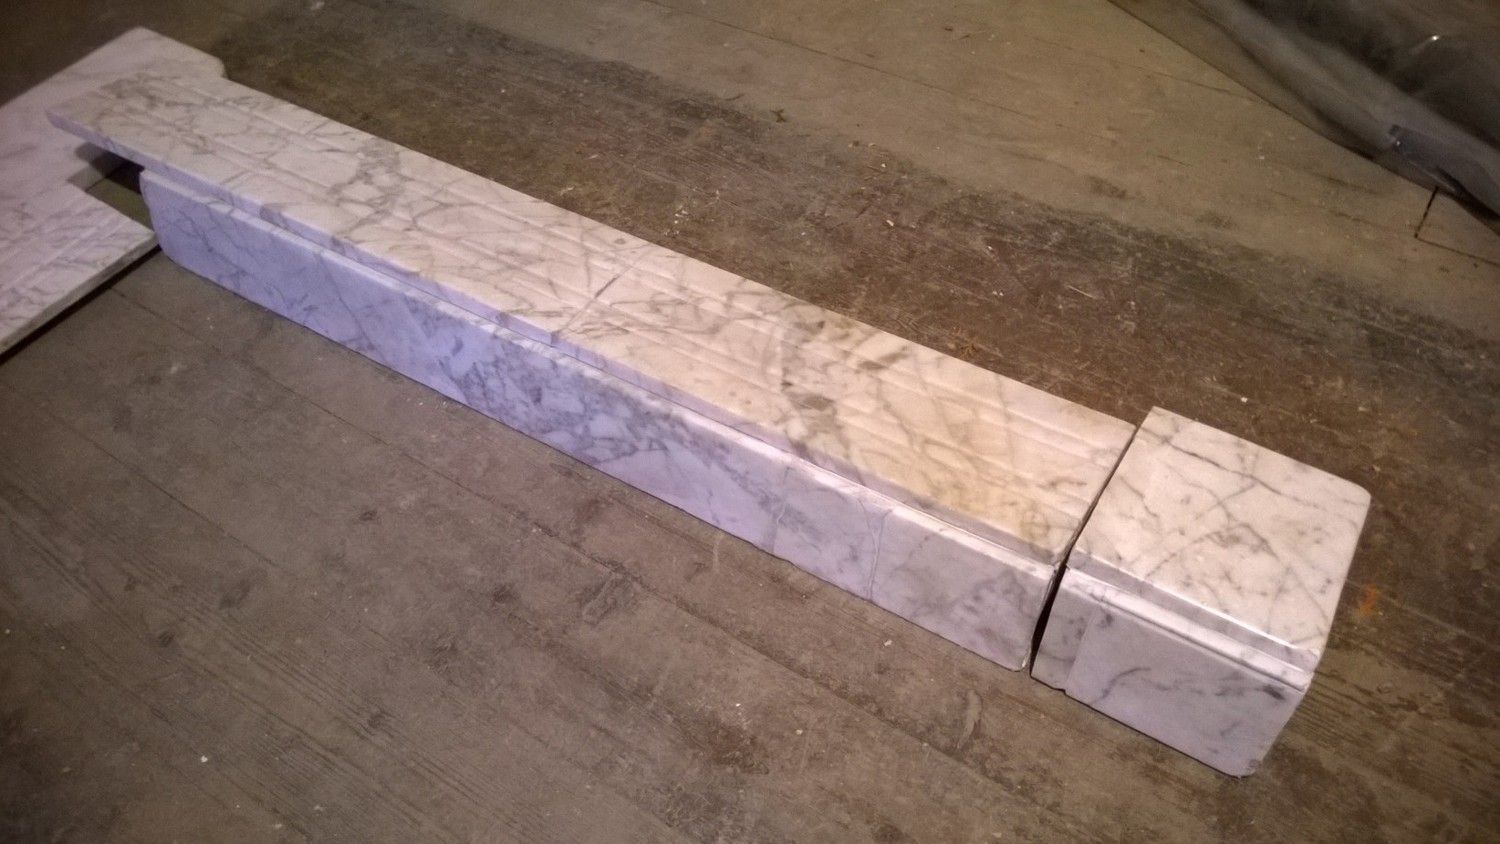
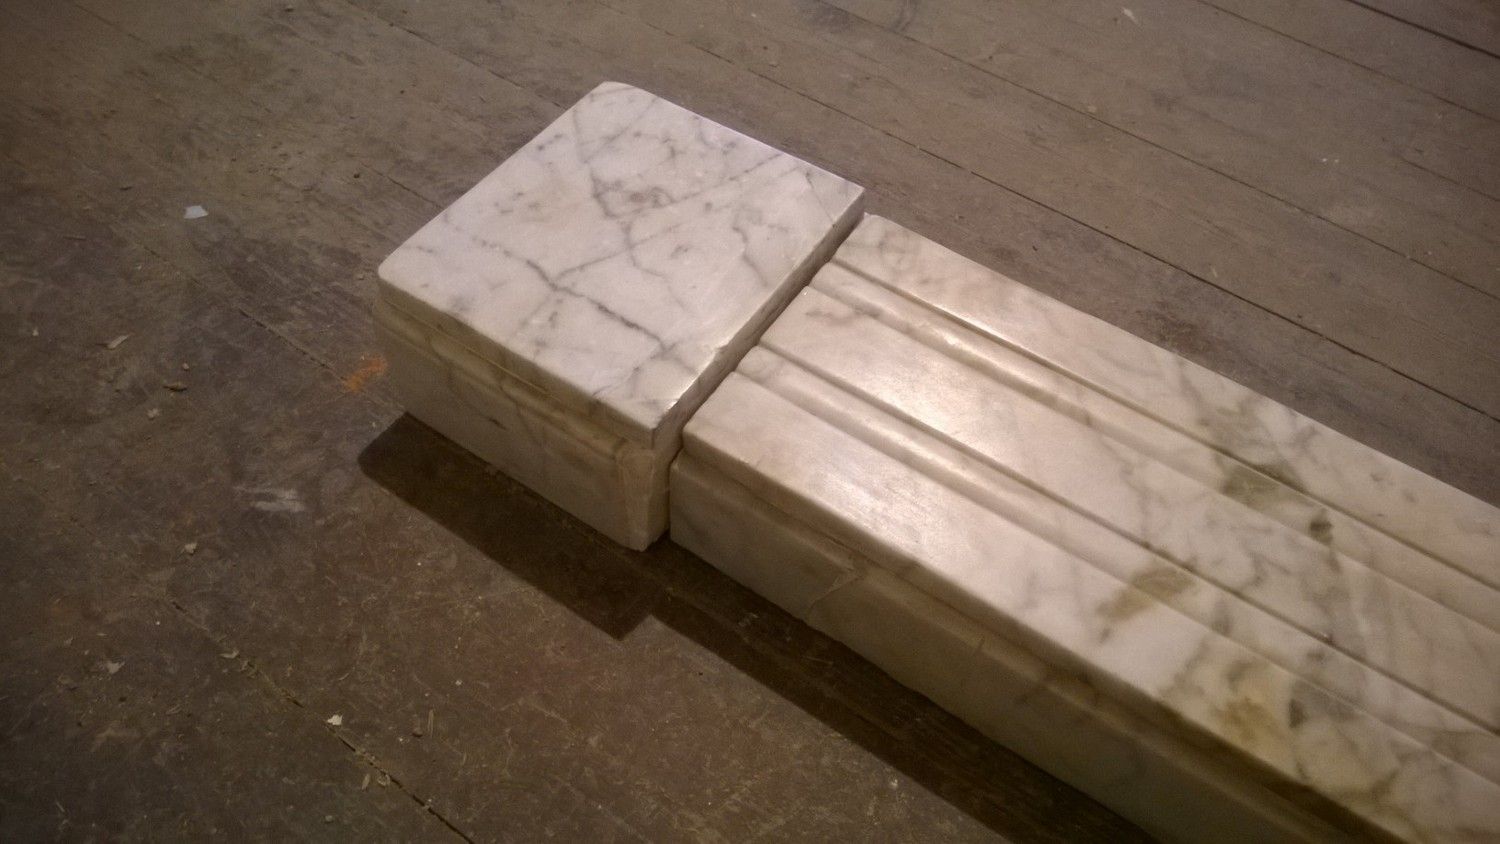
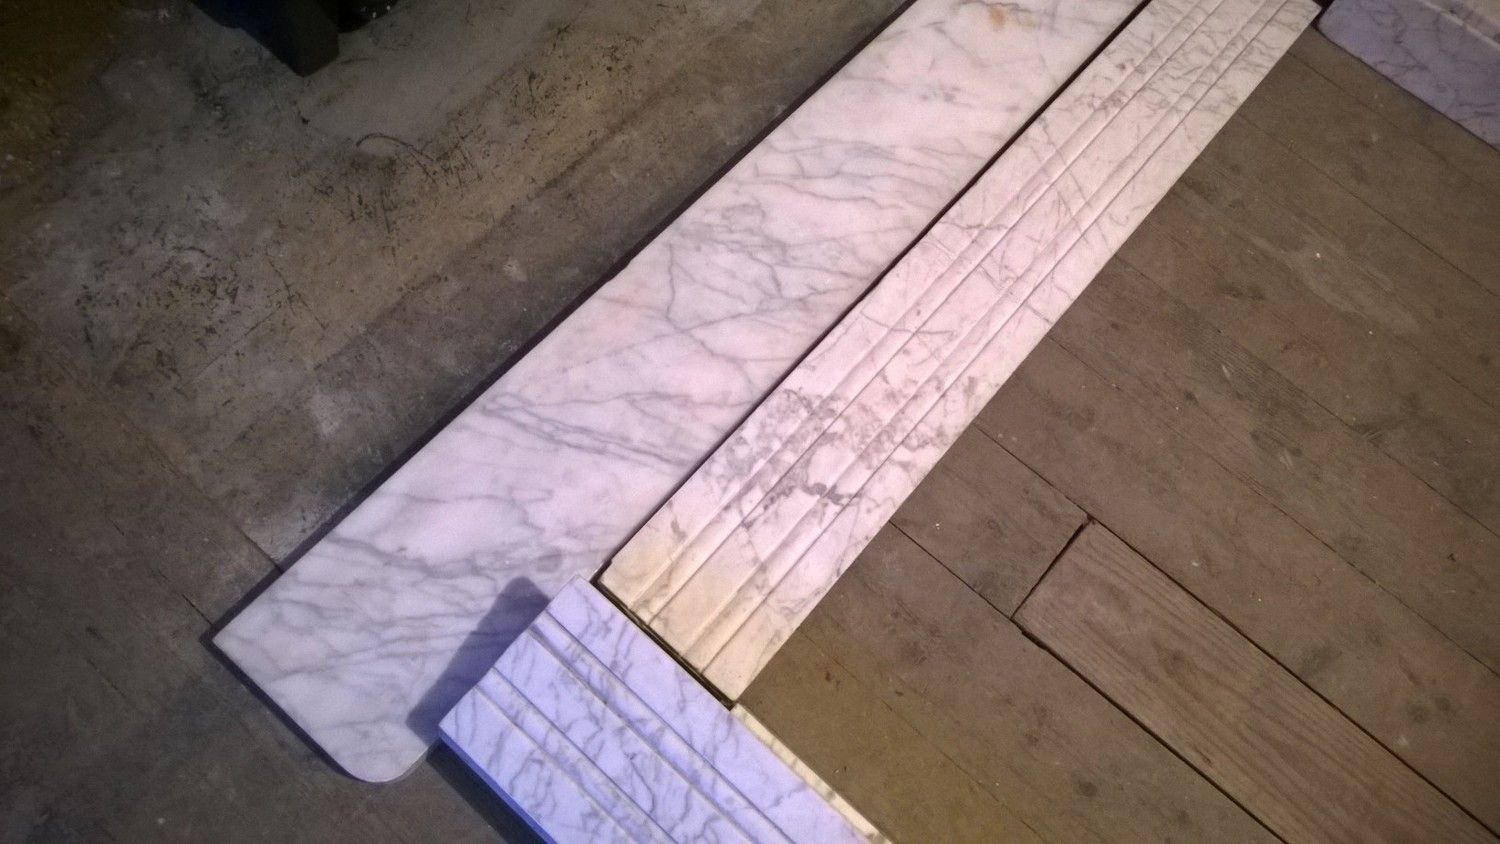
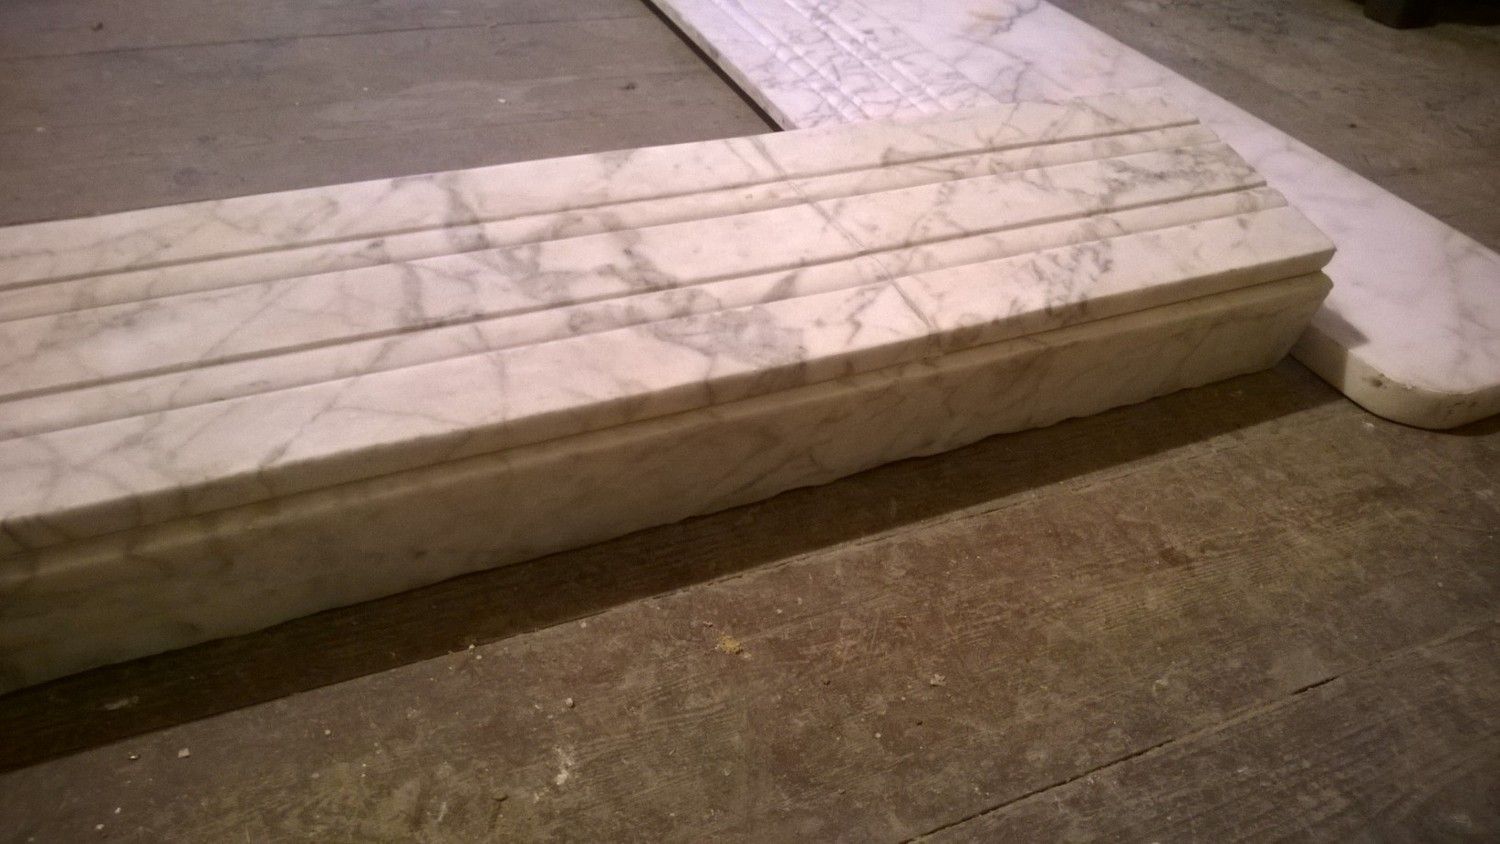
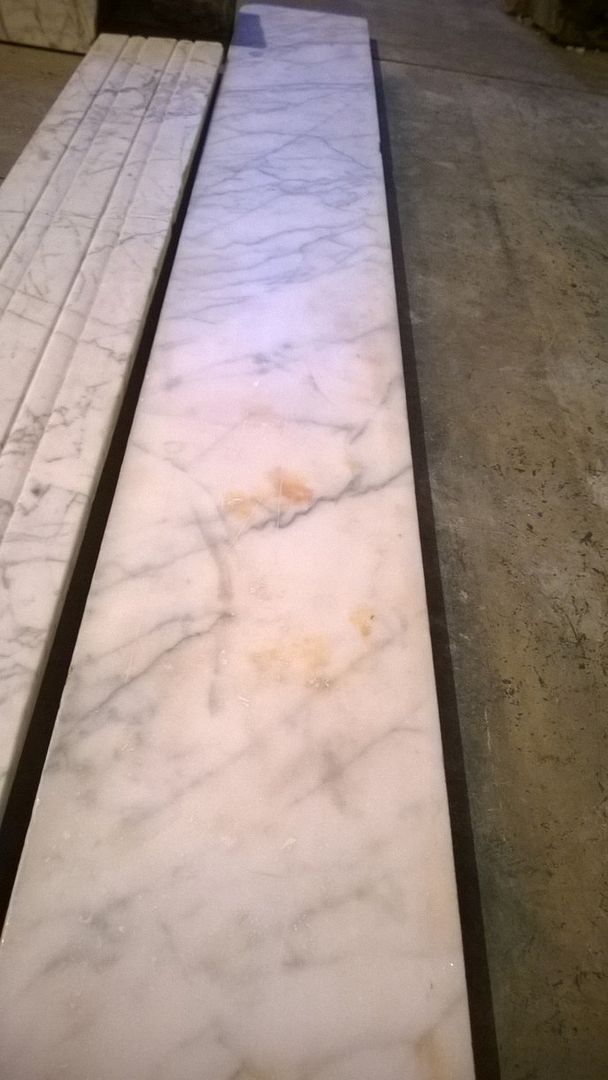
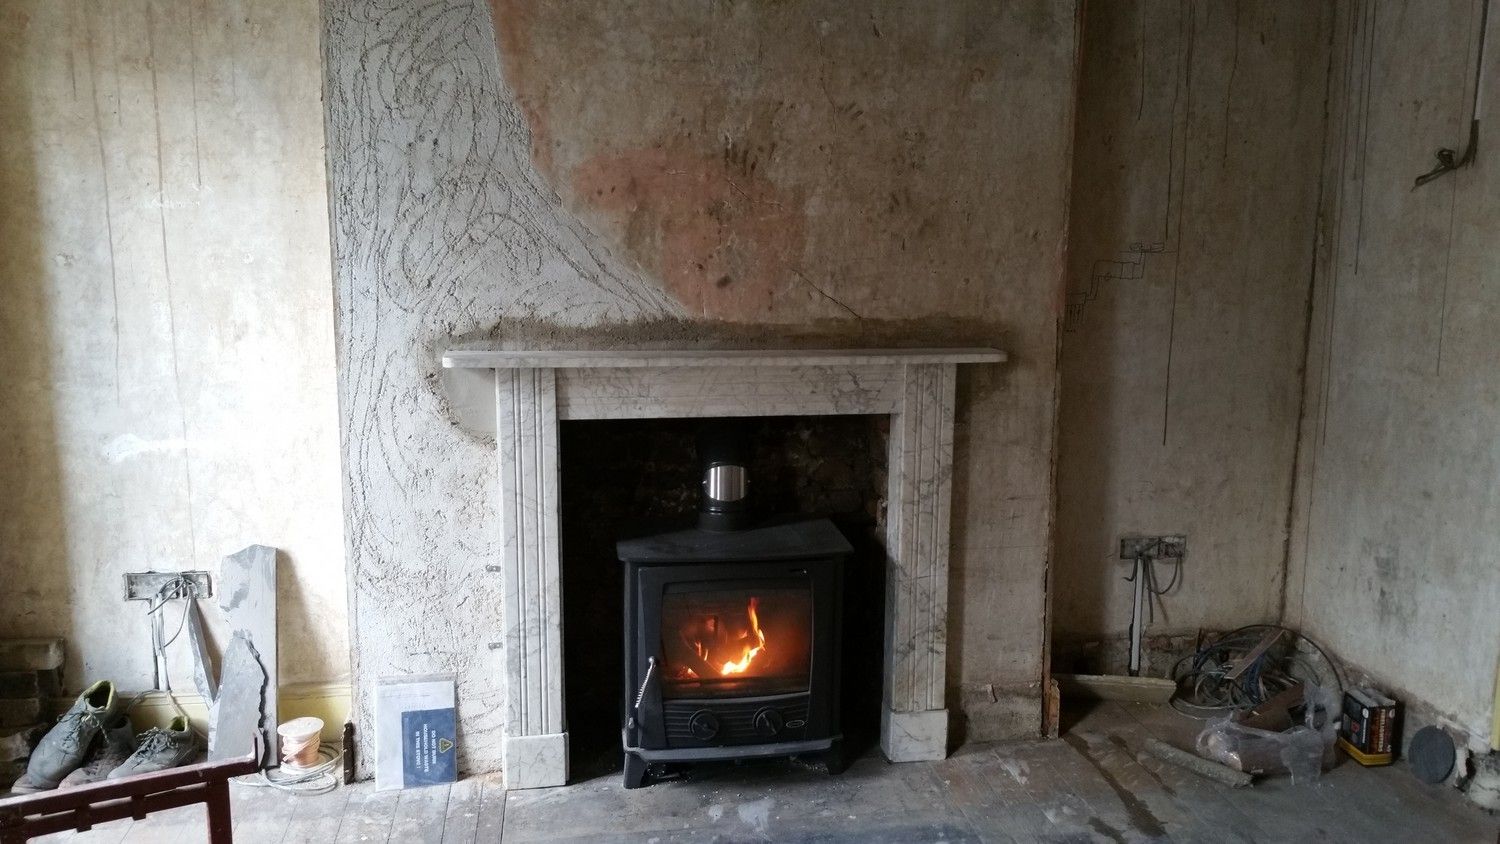
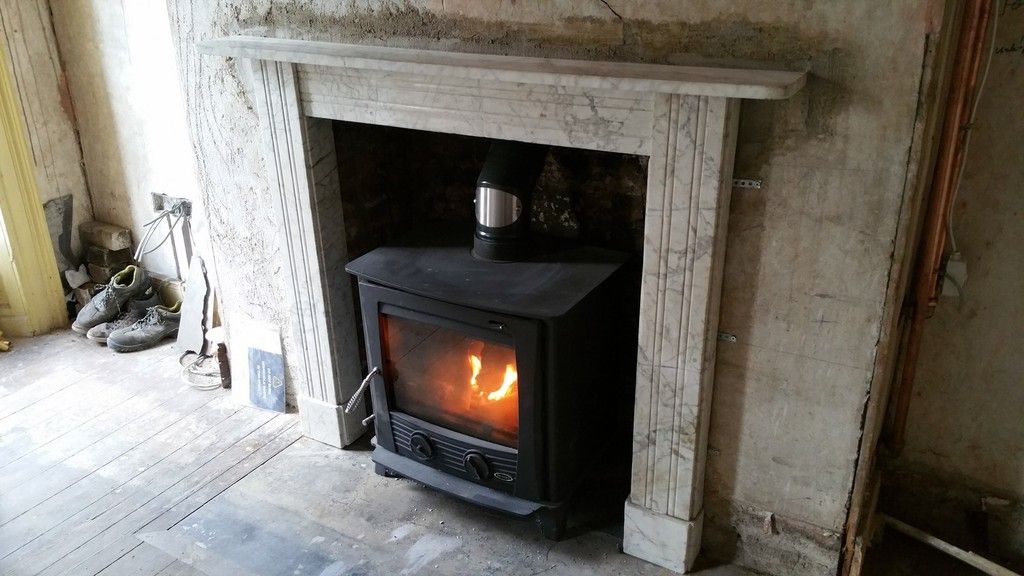
To replace this later surround, I managed to get my hands on an original, Georgian marble surround from a Dublin dealer, found by my brother. It dates from approx 1820, the same decade my house was built. Judging by the modest proportions of the house and other fireplaces in the locality, it was likely very similar in design, clean and simple.
The 21 KW Henley Druid Boiler stove being plumbed into position:
The finished product, very pleased!
The boiler aspect of the stove works extremely well. There are two pipes running from the rear of the stove, an exit flow and a return flow. The pipes penetrate the right side of the chimney breast and rise up into the ceiling, where they join further pipework that runs to the attic where the thermal store is located. The pipework on the side of the breast will be concealed by the time this room is completed.
The hot water rises naturally without a pump to the highest point, which is the store itself. When the temperature of the water leaving the stove exceeds a certain set point, a pump kicks in to circulate the water faster, reducing it's temperature to a lower level.
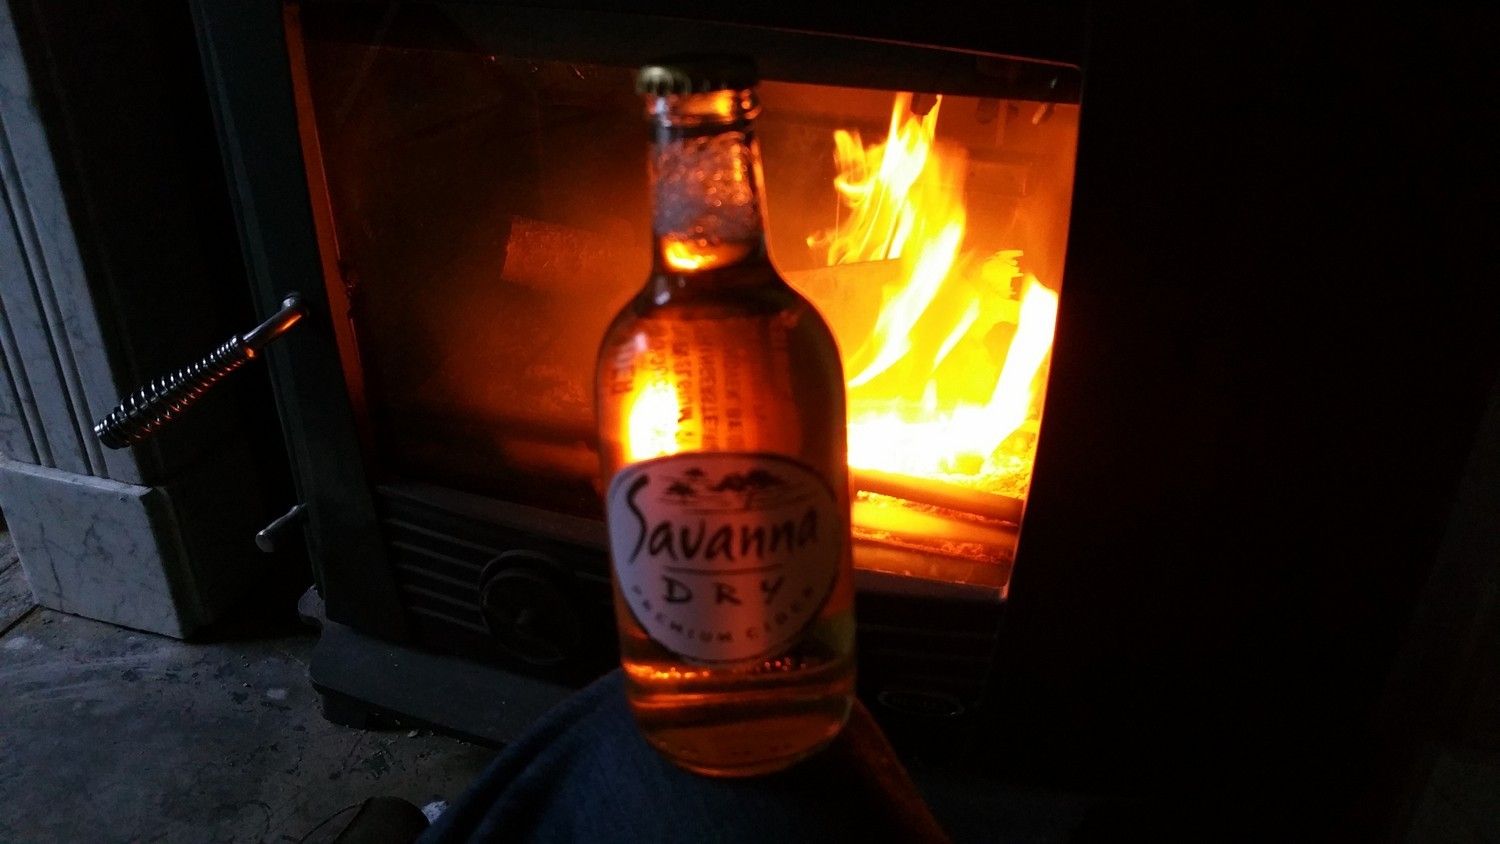
A celebratory drink was in order!
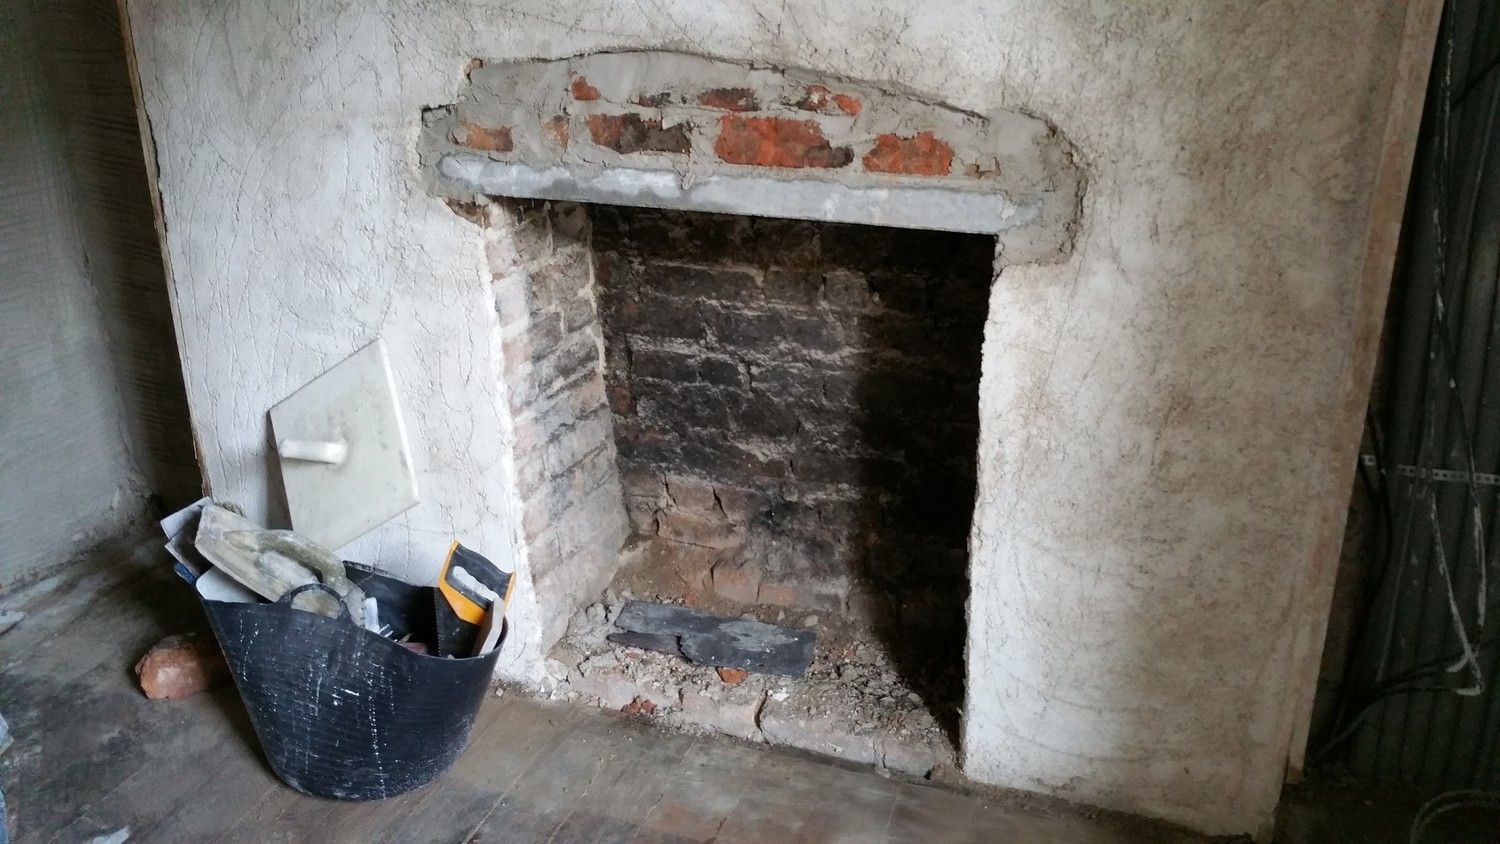
The bedroom located behind the living room had it's fireplace sealed up when I purchased the house. I opened it up to it's original size and the builders added a new concrete head and filled in the required brickwork above:
I never intended to have this as a working fireplace, but now that the scaffolding is in place outside, I've decided to line the flue anyway and at least have the option of using it in the future.
It's unclear whether this fireplace was ever used, as the floorboards seem to be original and there's no slate hearth installed. The underside of the floor does reveal that a hearth was provided for in the form of reinforced joists, but it looks like it was bricked up quite early on.
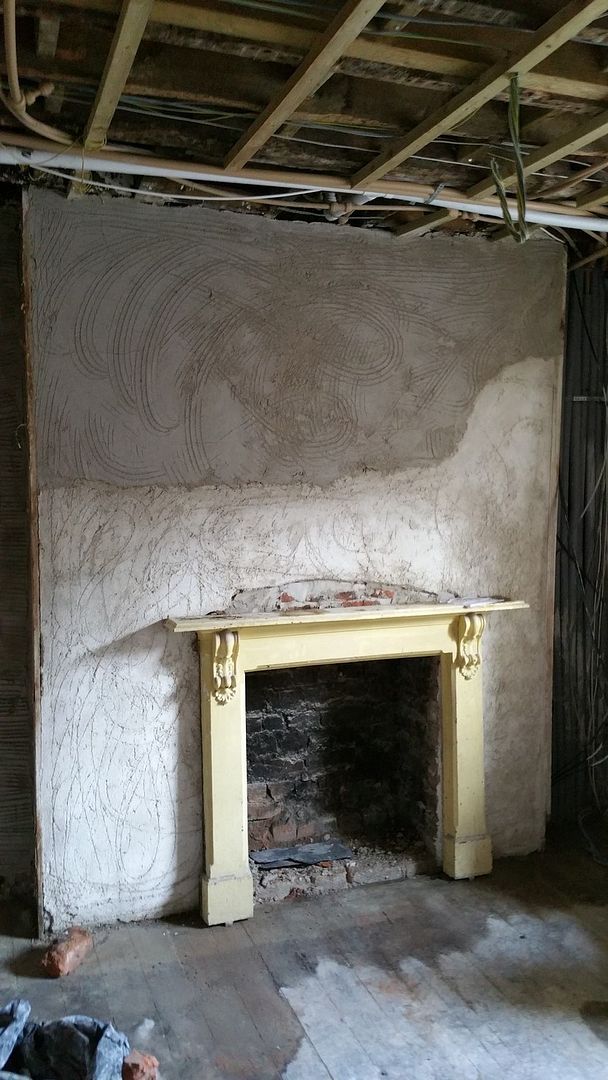
Trying out the Victorian surround below:
This is the fireplace surround downstairs in the front room (to be the dining room), with the new flue liner successfully run:
My main building/plumbing/carpentry contractors are back after a few months departure, the guys behind virtually all works on the house. EcoIsle. They've set to work at a hectic pace on the two story Victorian return of the house.
After just three days, the return is already transforming into another finished section of the house. Built circ. 1900, the red brick return likely replaced the original 1820s stone built return, possibly due to subsidence. It's a single brick layer, non cavity construction, two story structure with one-over-one sash windows and an accompanying 1950s/1960s single story lean-to extension.
Like the rest of the house, it has a protected status so must be treated with care. Repairs and renovations to the exterior and interior need to be sensitive to the character of the building, with original materials and techniques used throughout.
The plan is to divide the small area into a small bedroom and a small toilet. The layout will essentially be exactly the same as it was, with the bedroom in the larger space to the rear and the small toilet out on the landing, protruding slightly into the bedroom, just like the hot press used to (since removed).
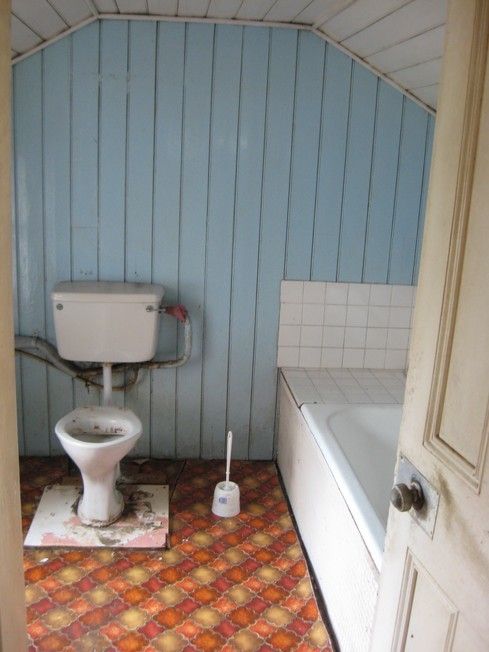
This was upstairs in the return before any works began, a small bathroom. All the wood was carefully removed, stripped, sanded and re-installed in the new bathroom upstairs in the main house:
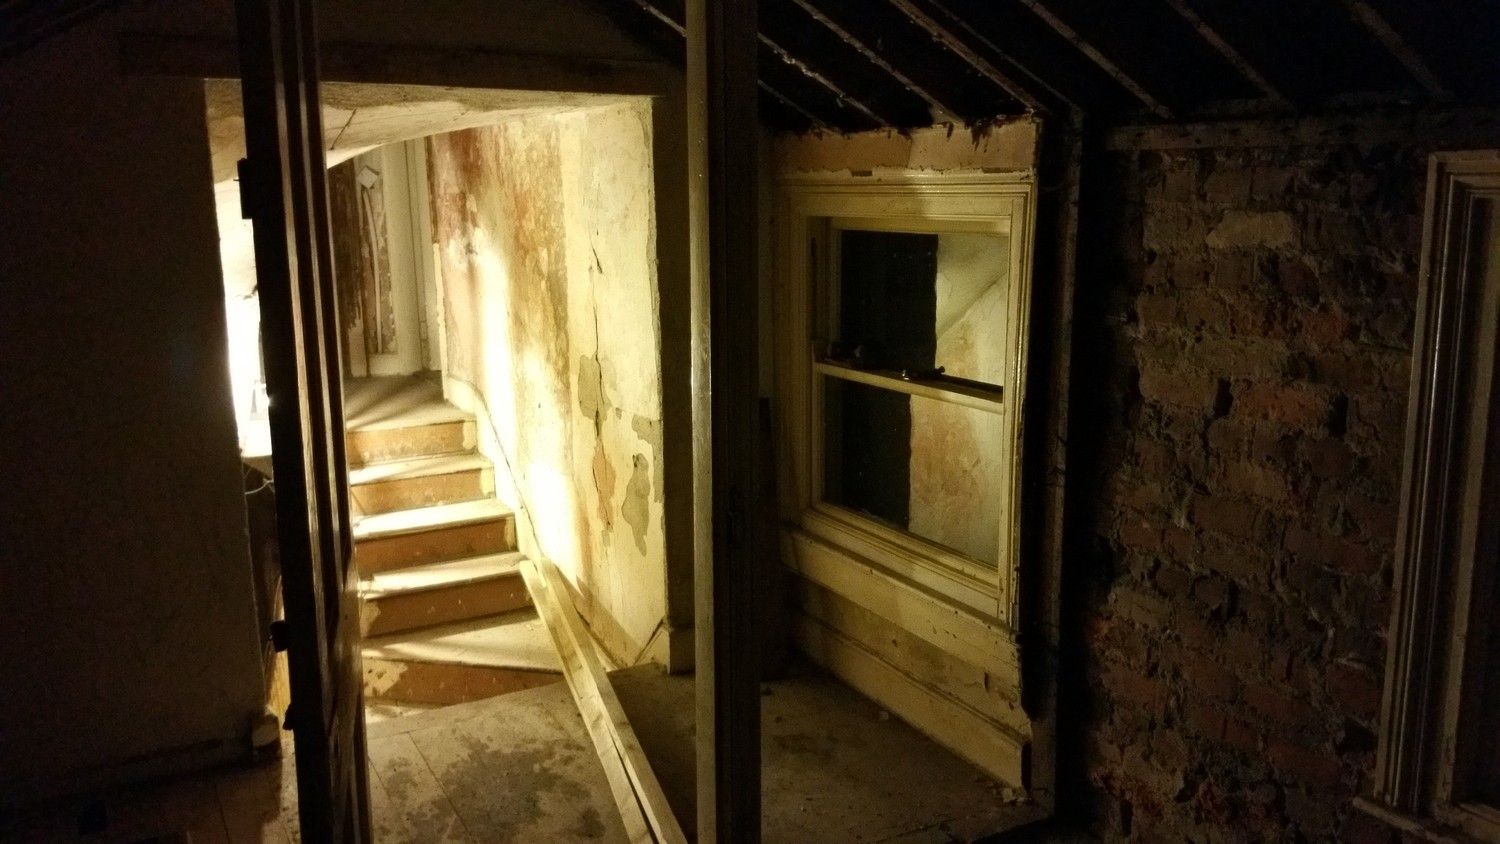
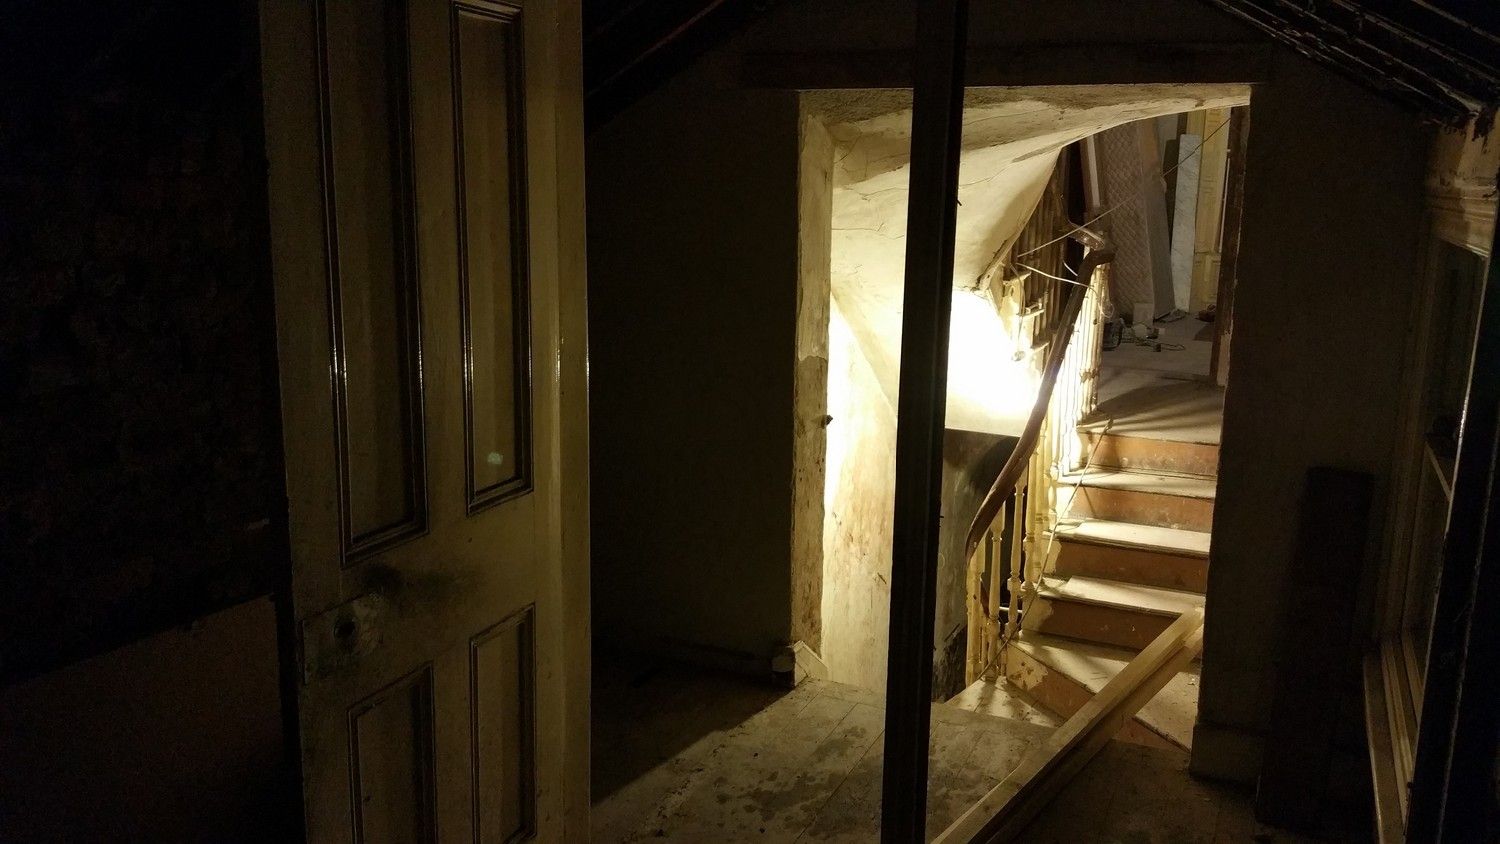
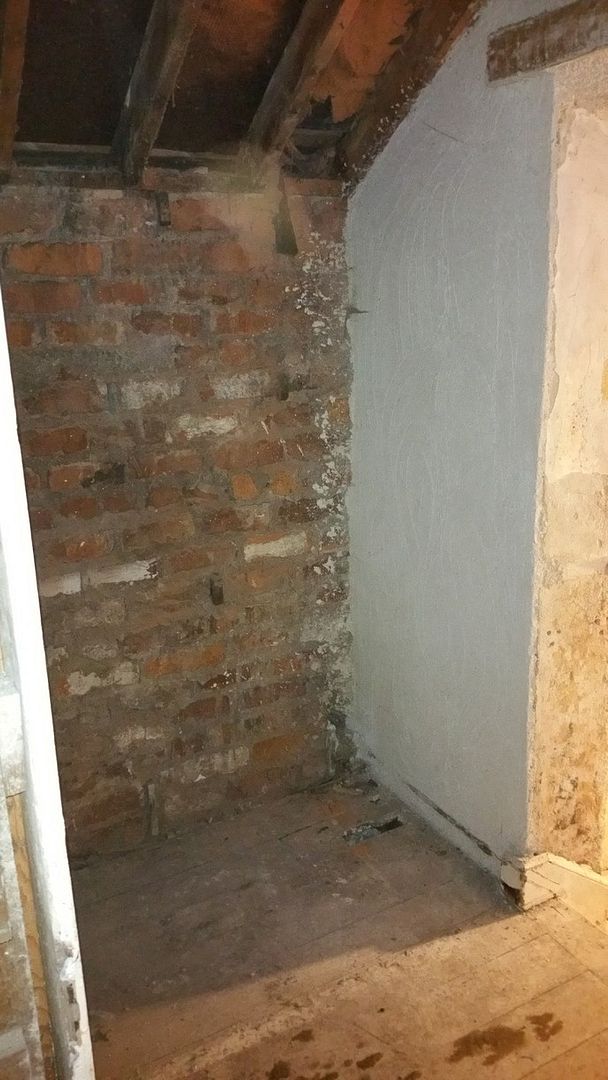
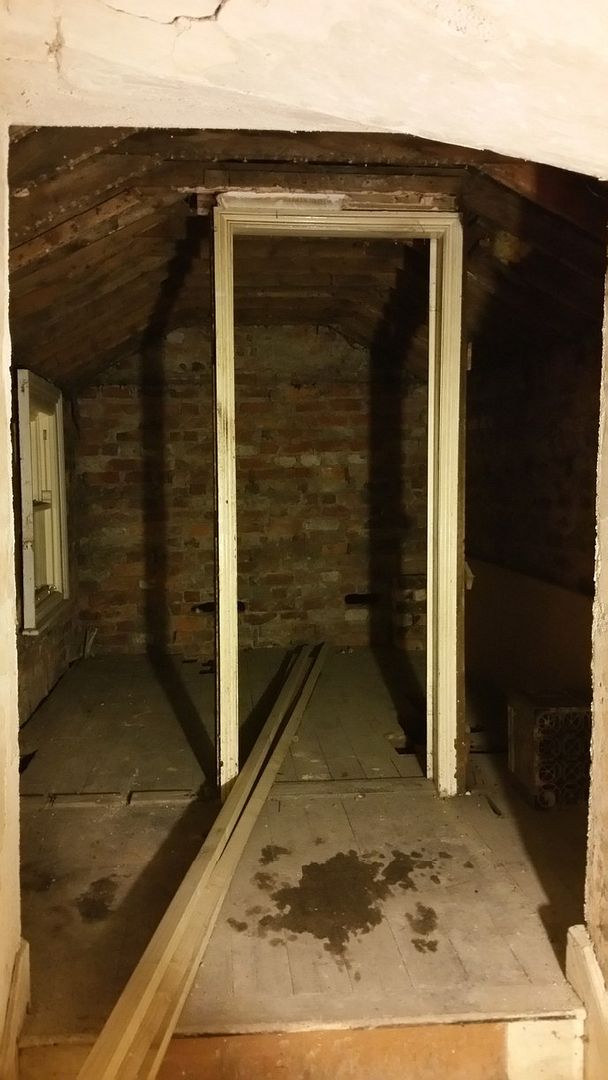
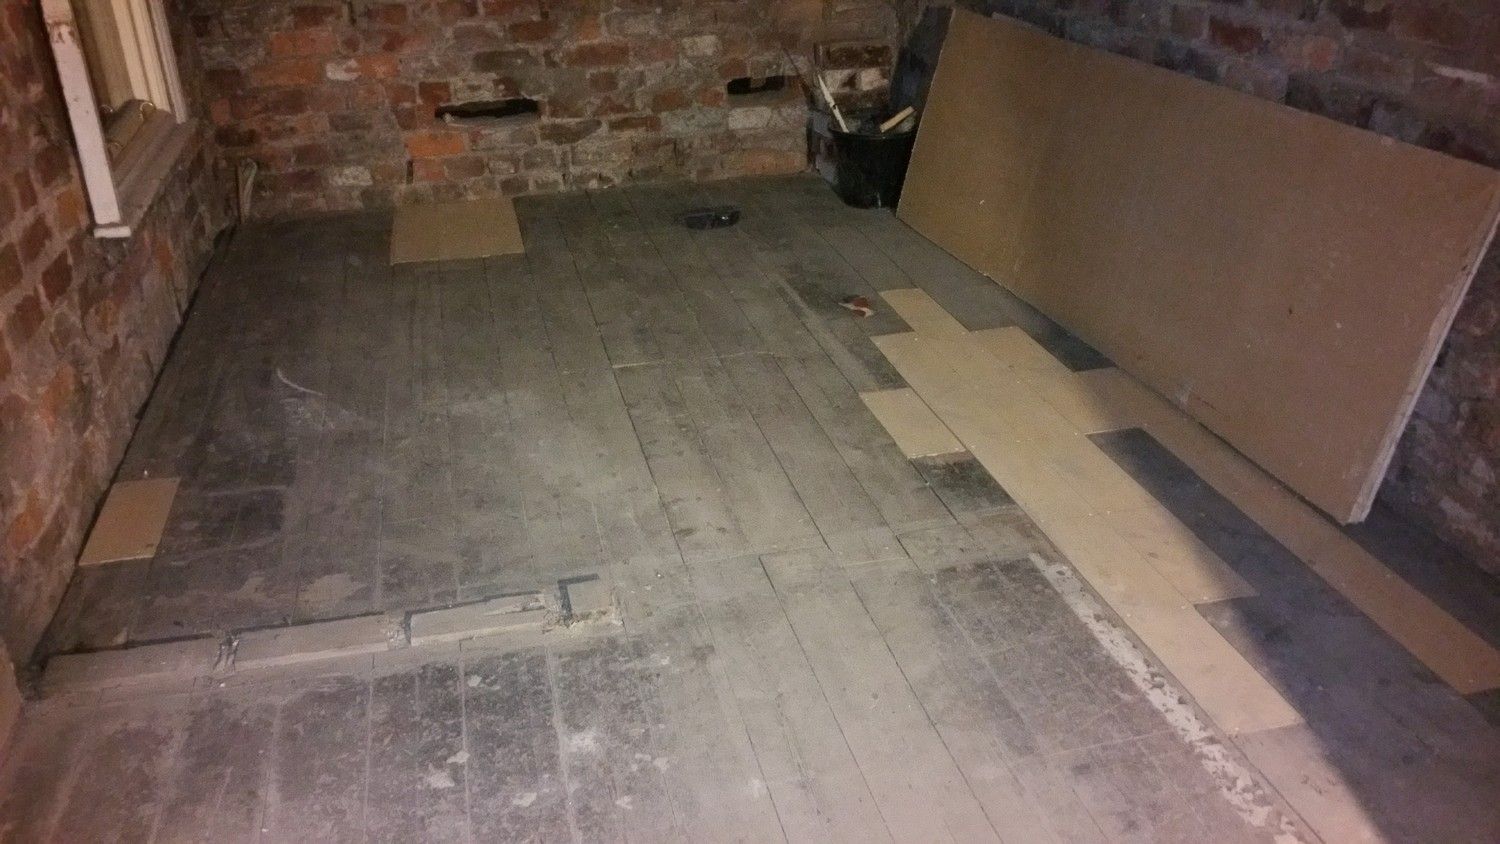
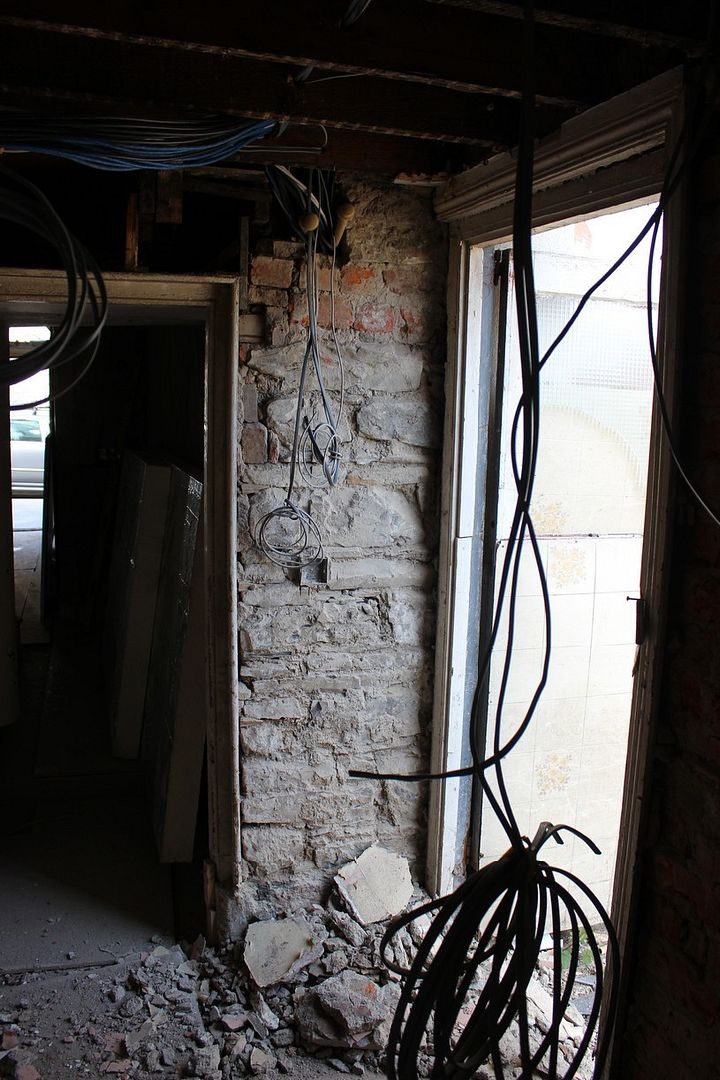
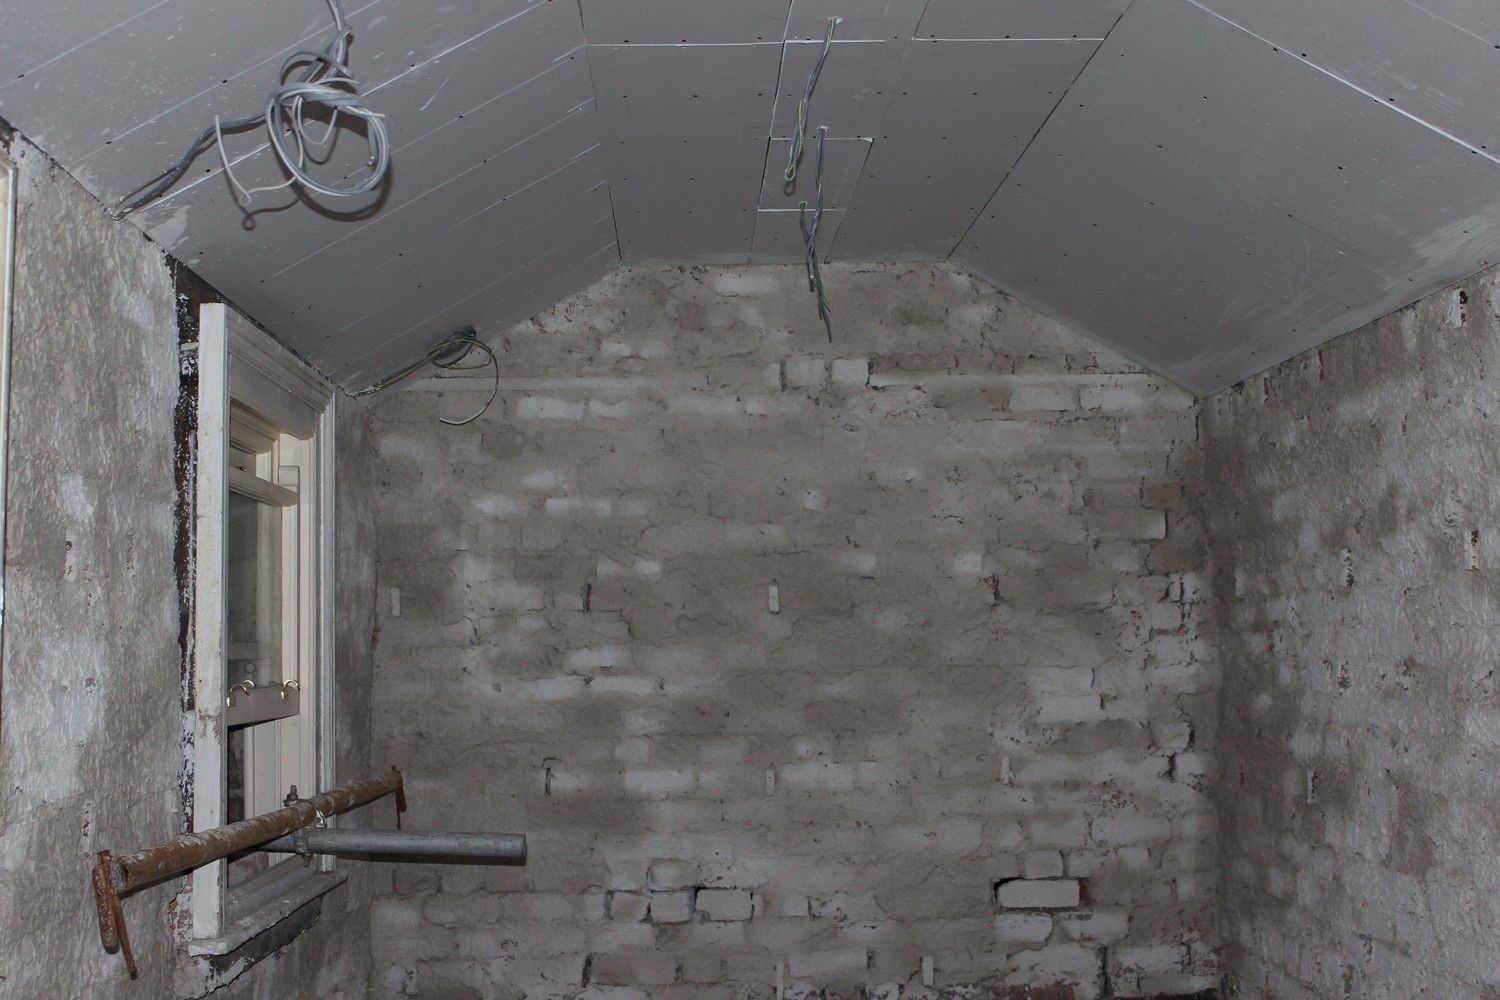
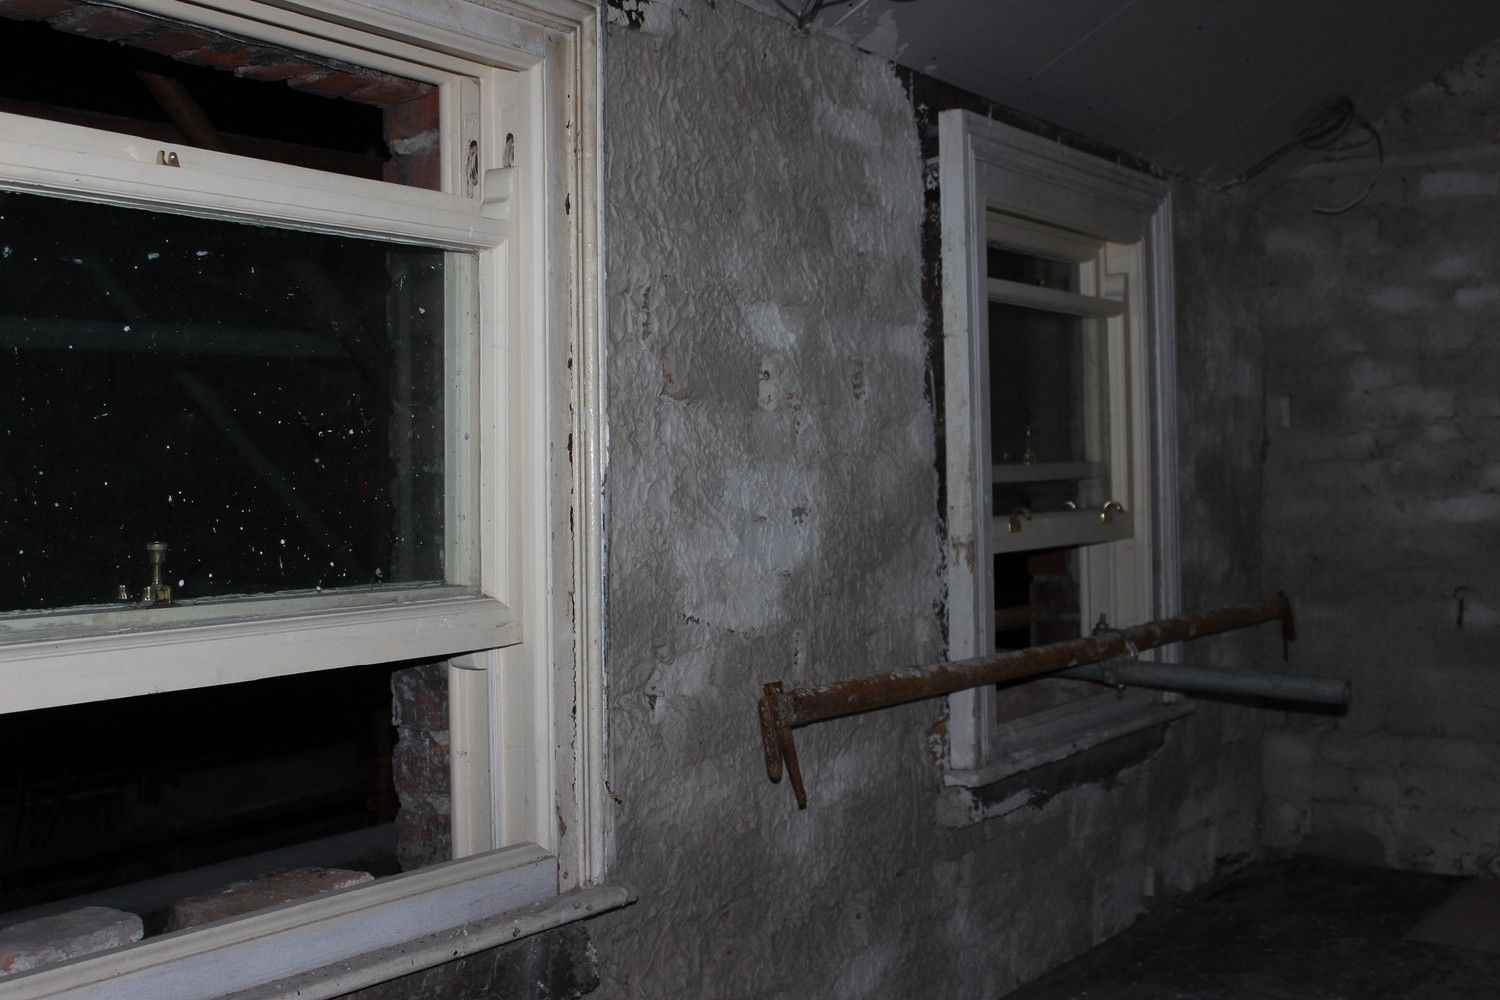
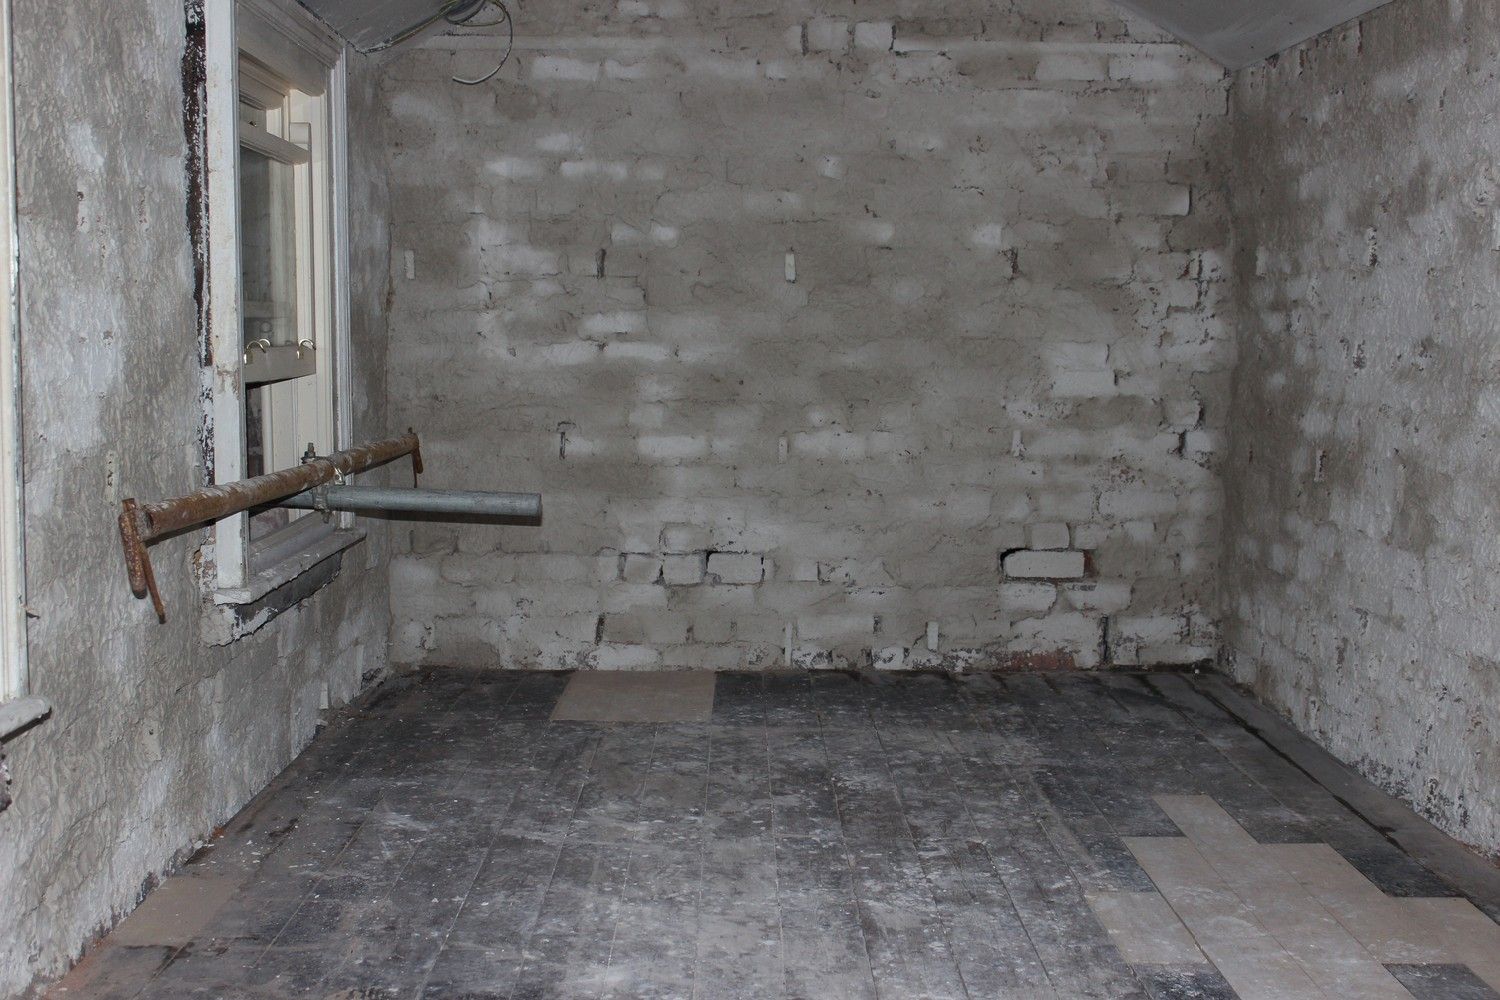
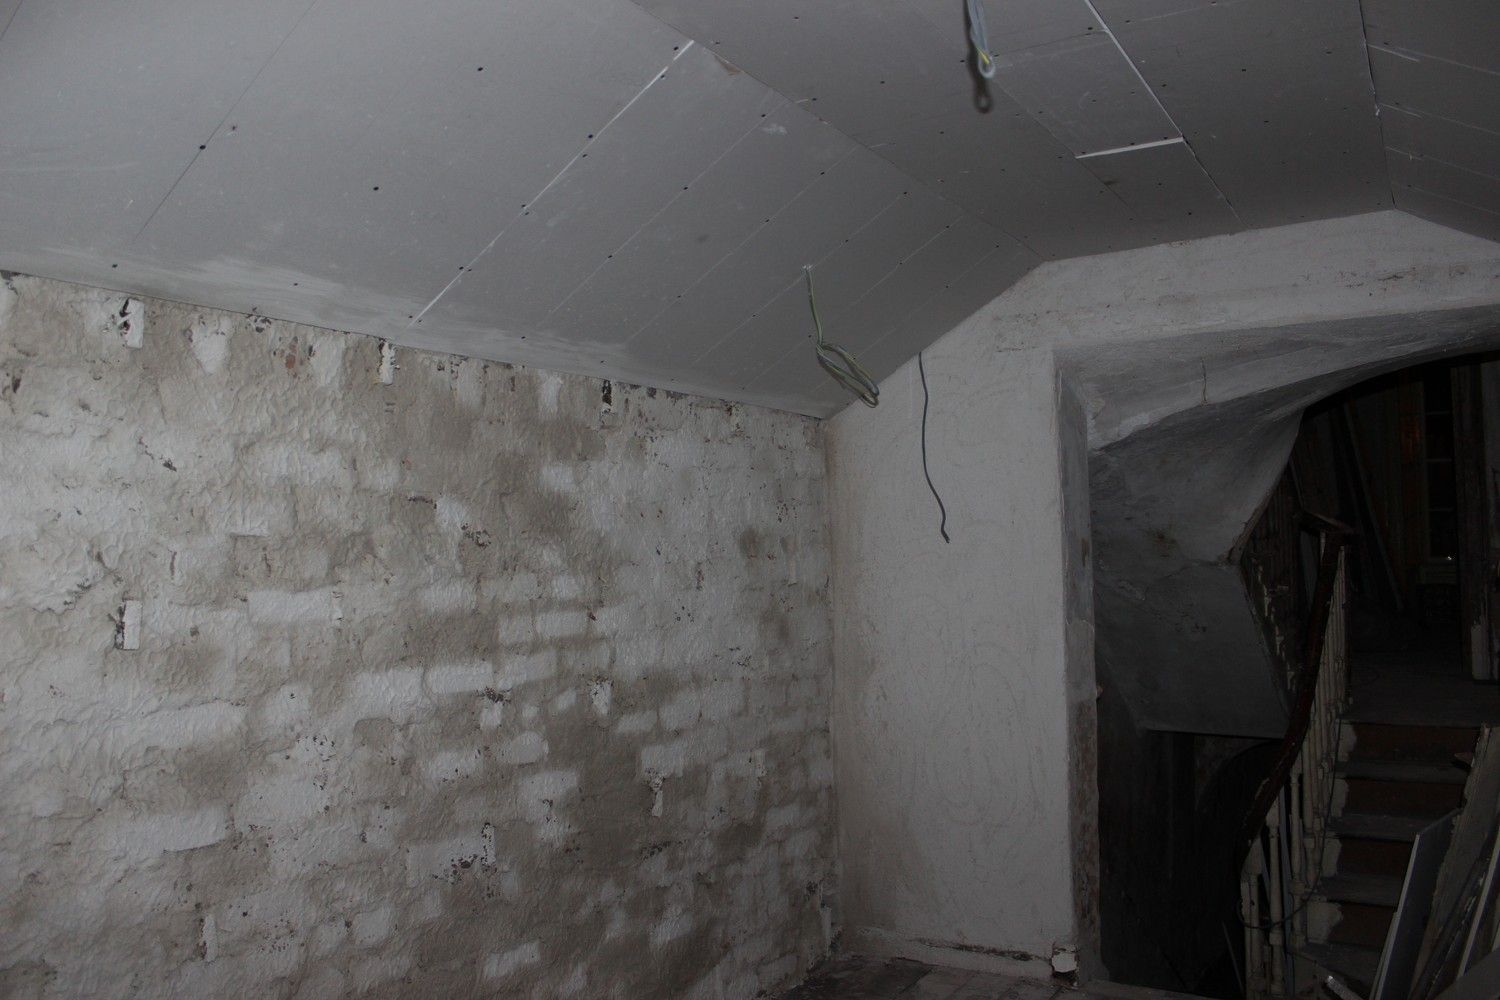
The return stripped back:
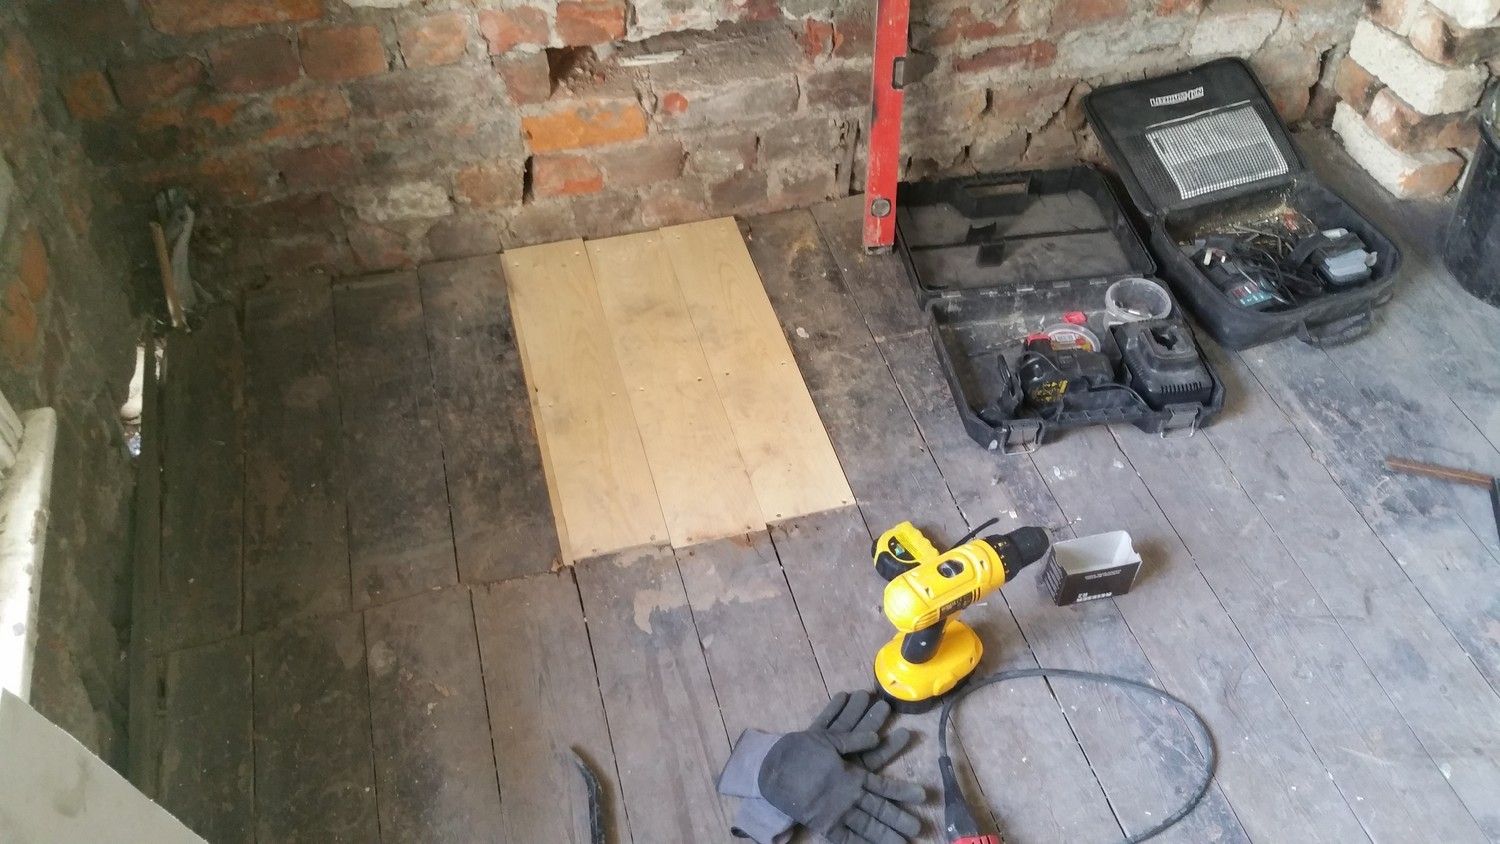
New floorboards arrived to replace damaged and missing boards from where pipework passed through to the ceiling below:
Each floor board had to be shimmed and cut individually to make them the correct height, width and length:
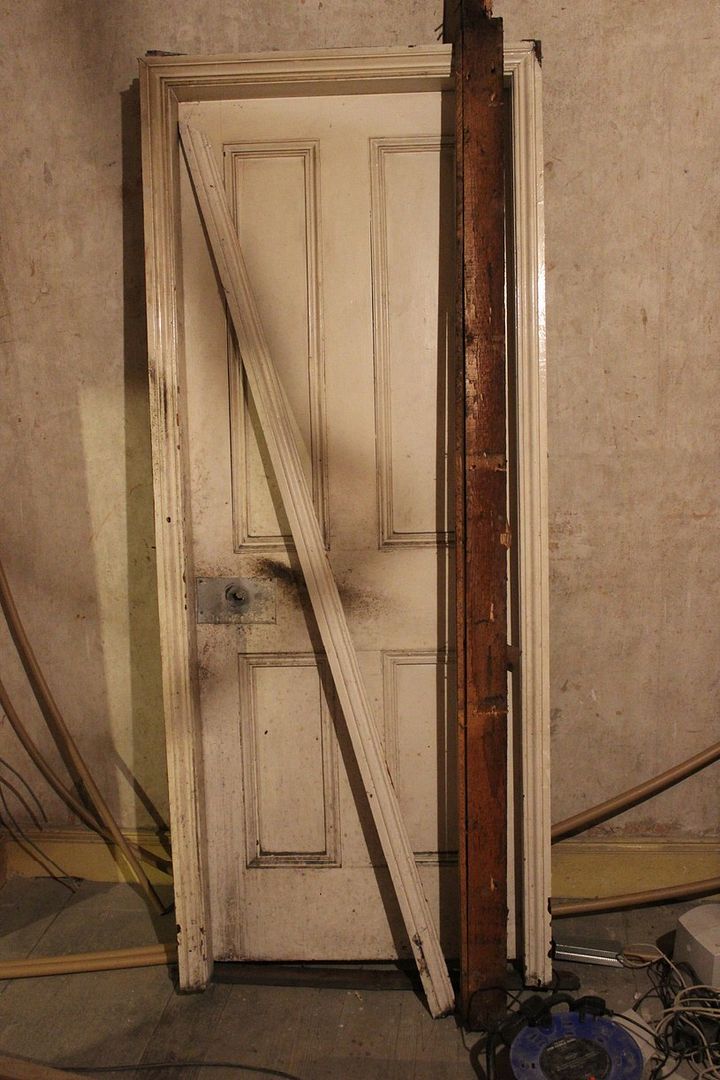
The door to the bedroom is of course being retained and will be copied and rebuilt as the new bathroom door:
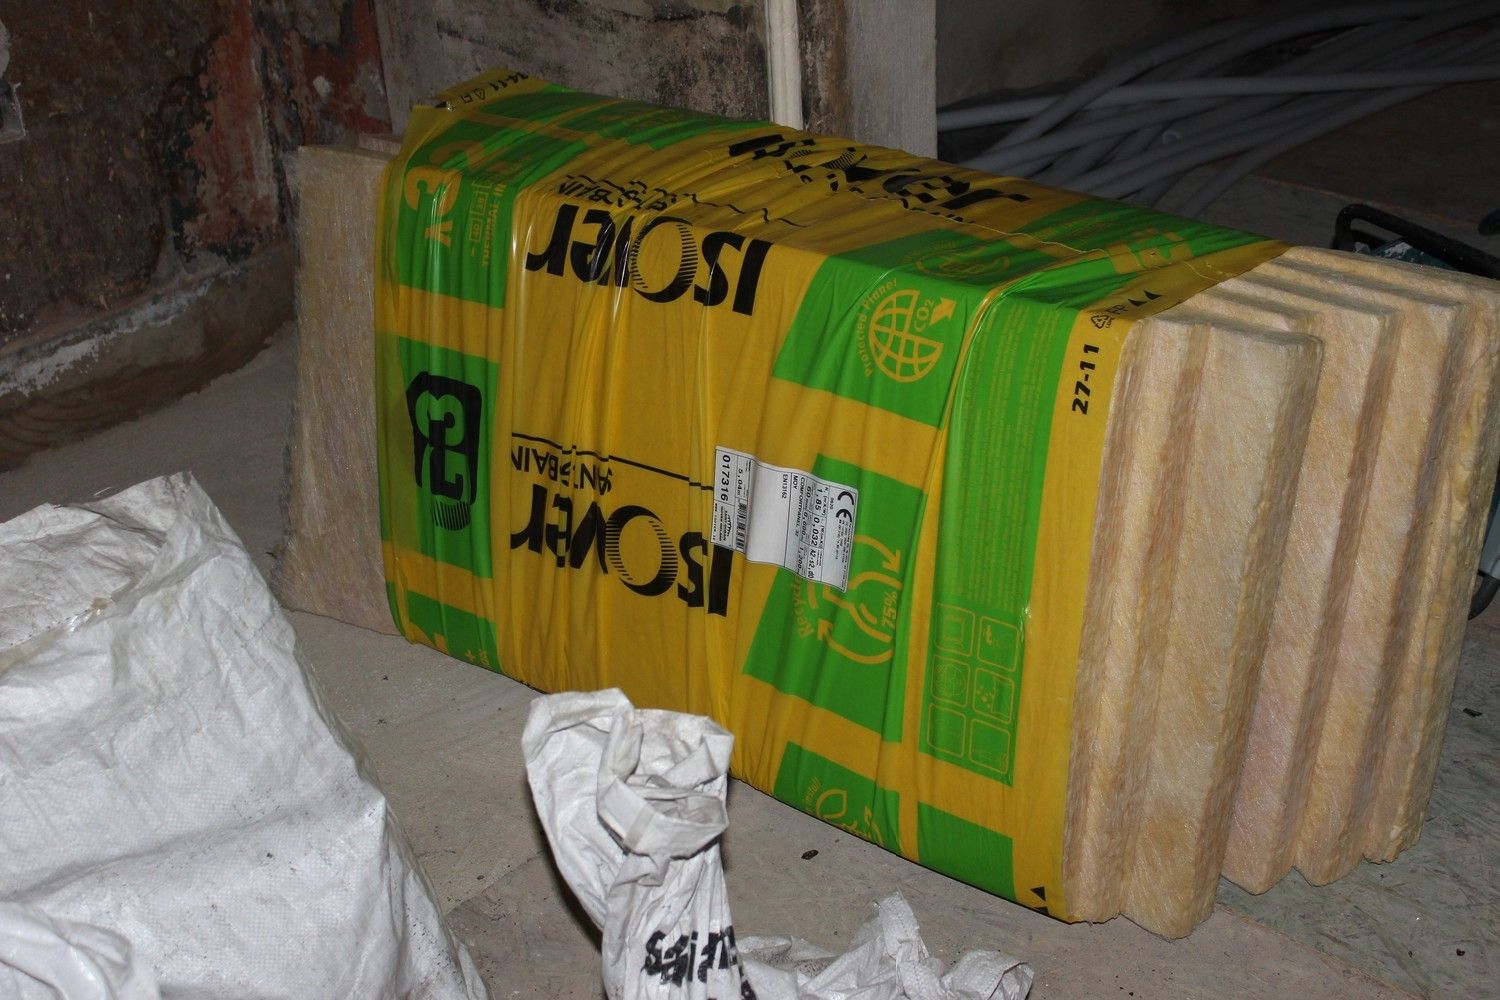
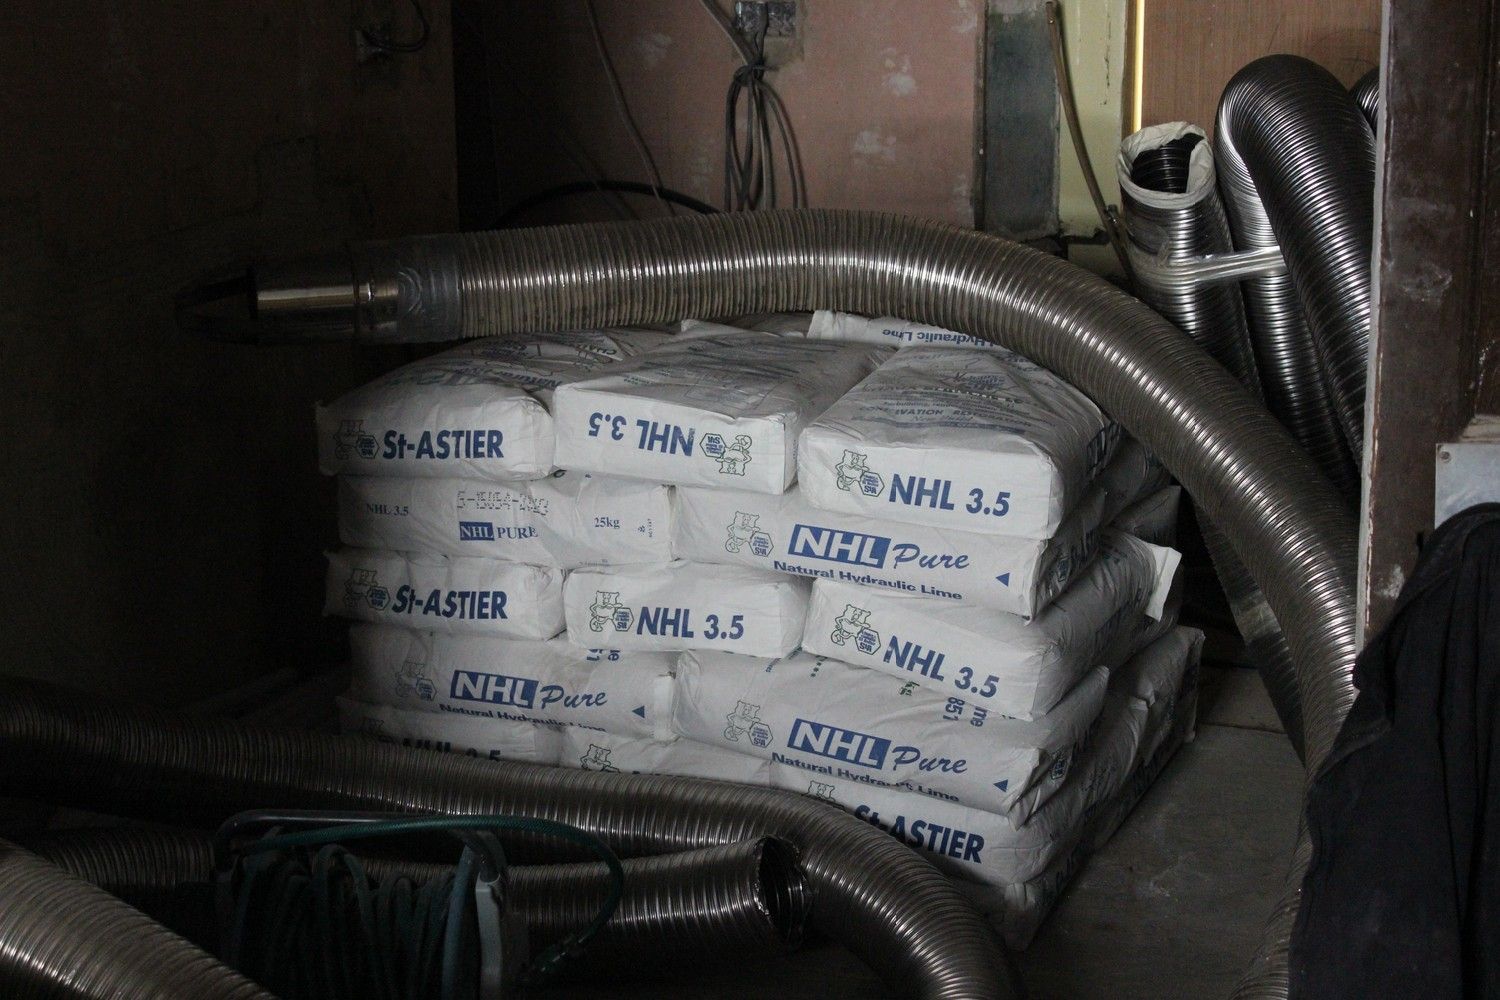
Lots of material has arrived for the works, including tonne bags of sand, insulating board for the ceiling, slabs, 30 bags of St Astier lime mortar, timber etc:
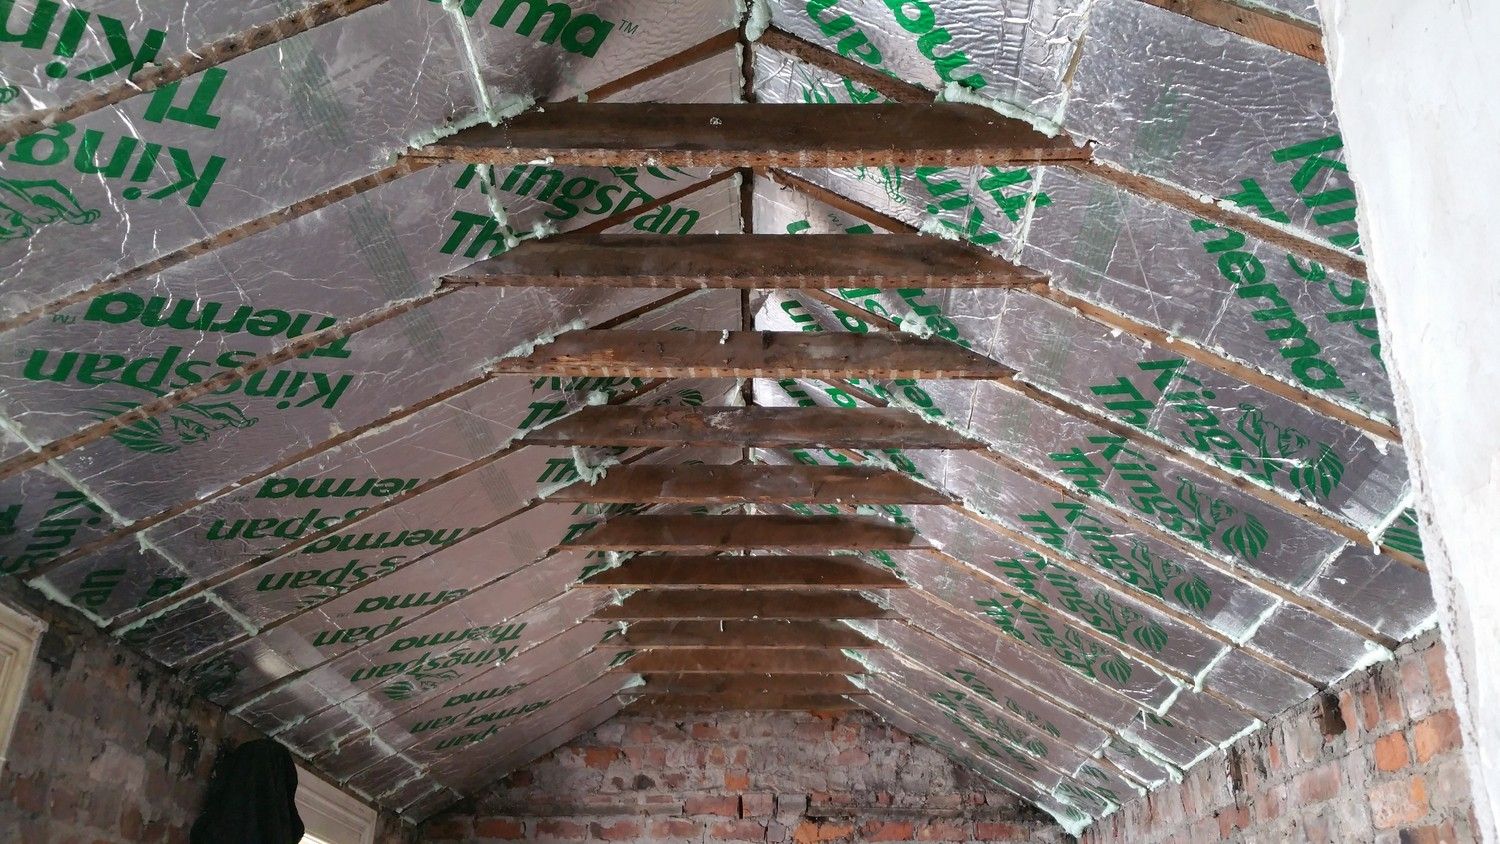
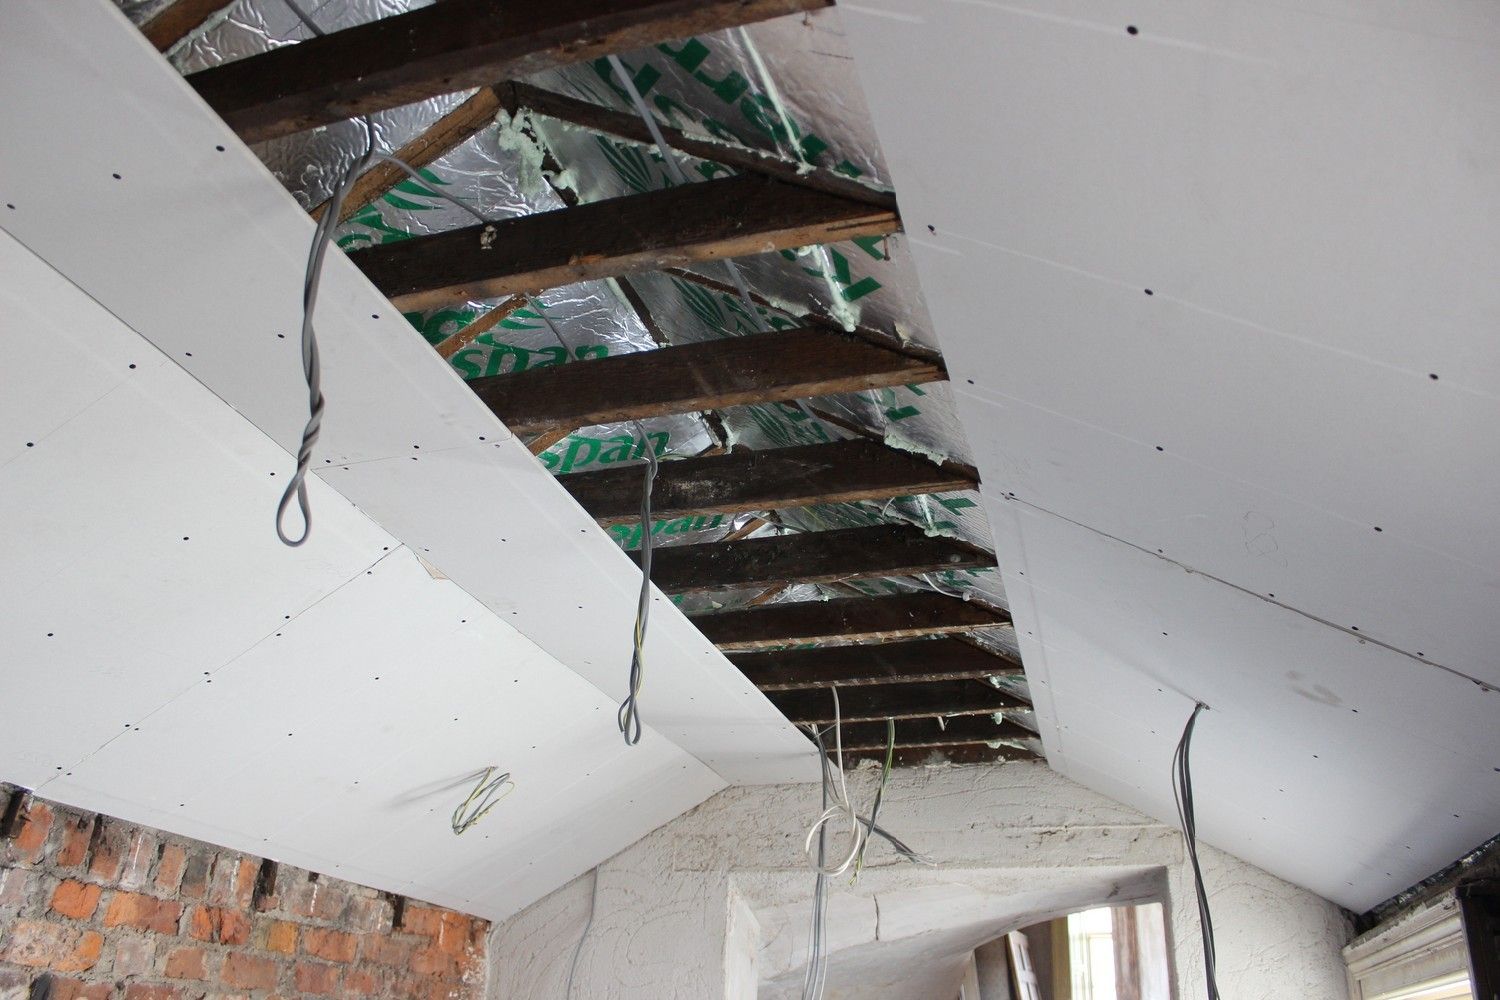
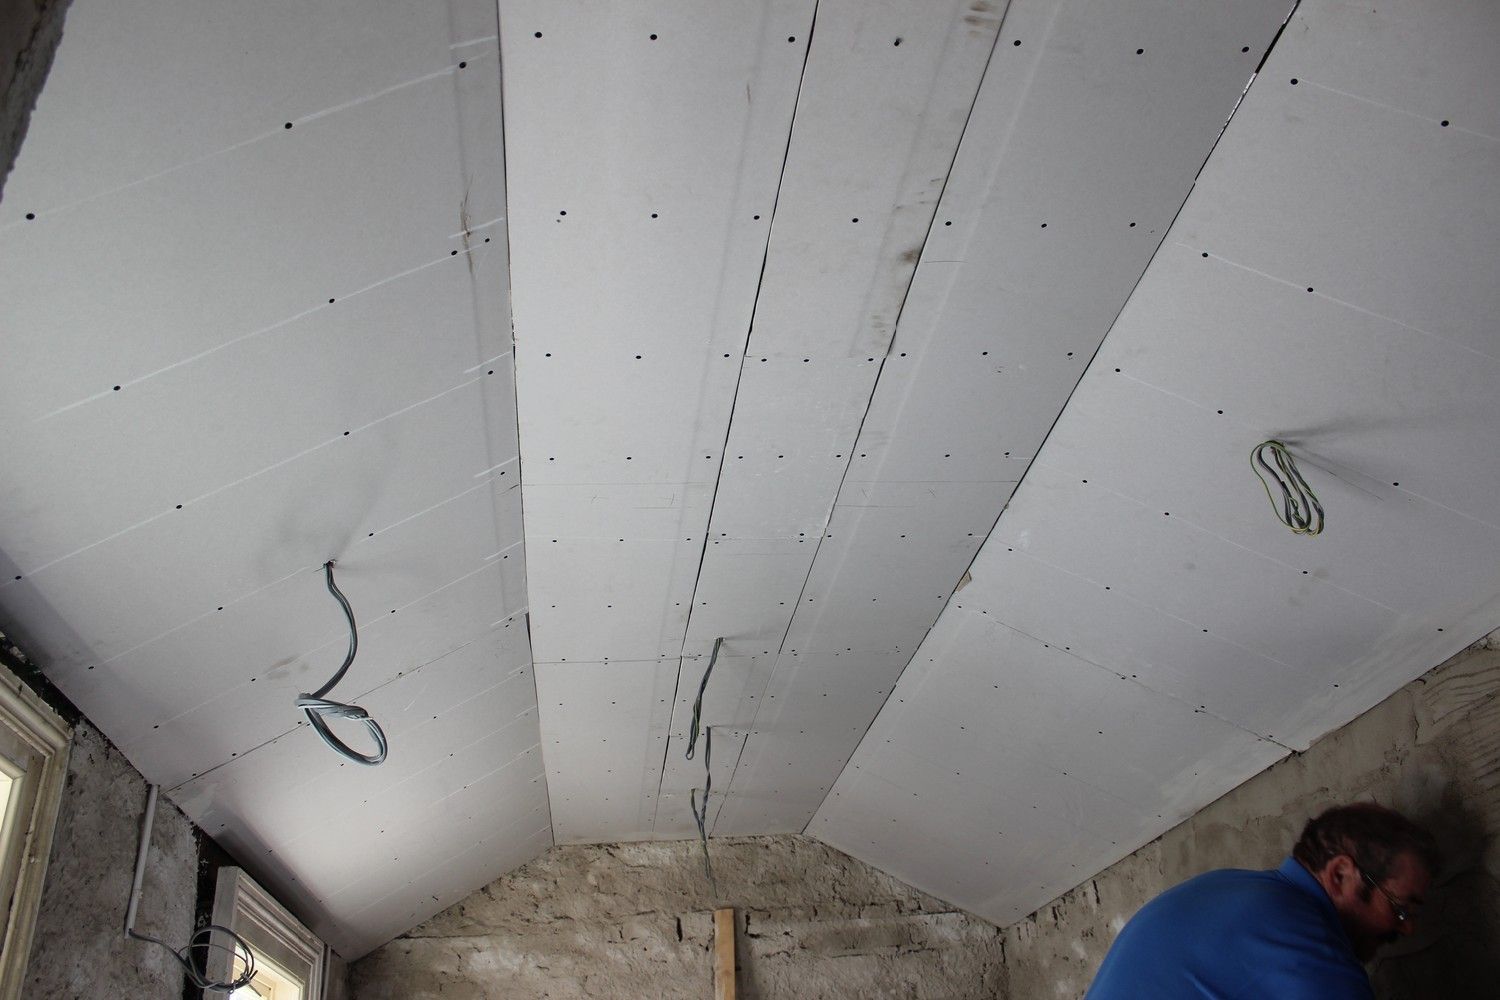
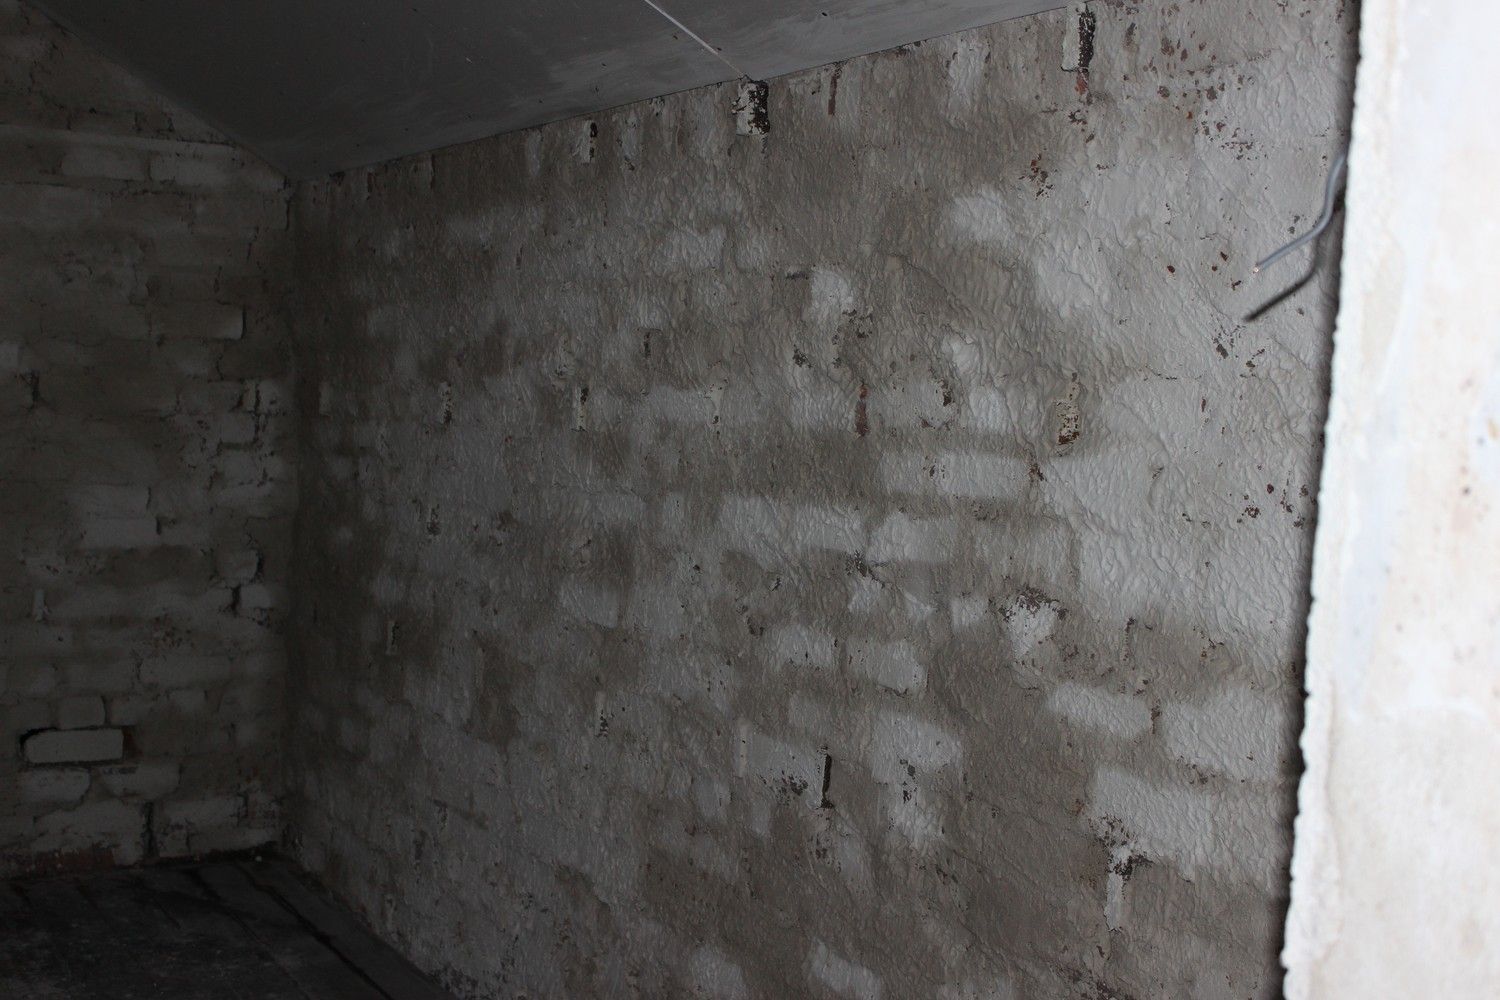
Installation of Kinspan insulated board on the ceiling:
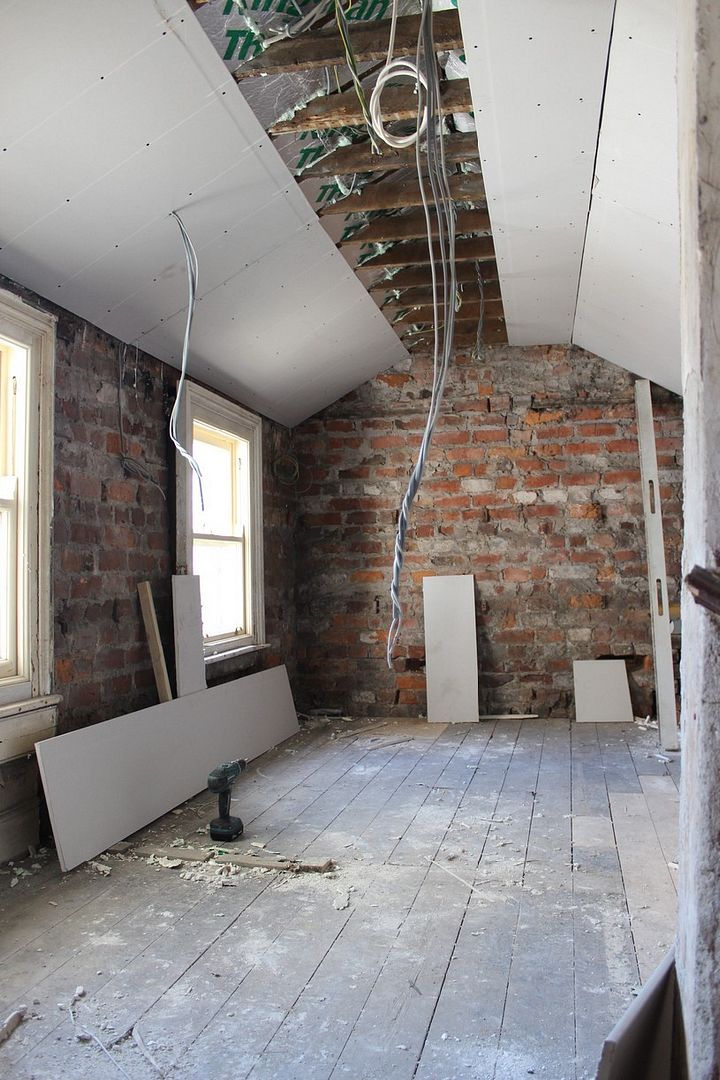
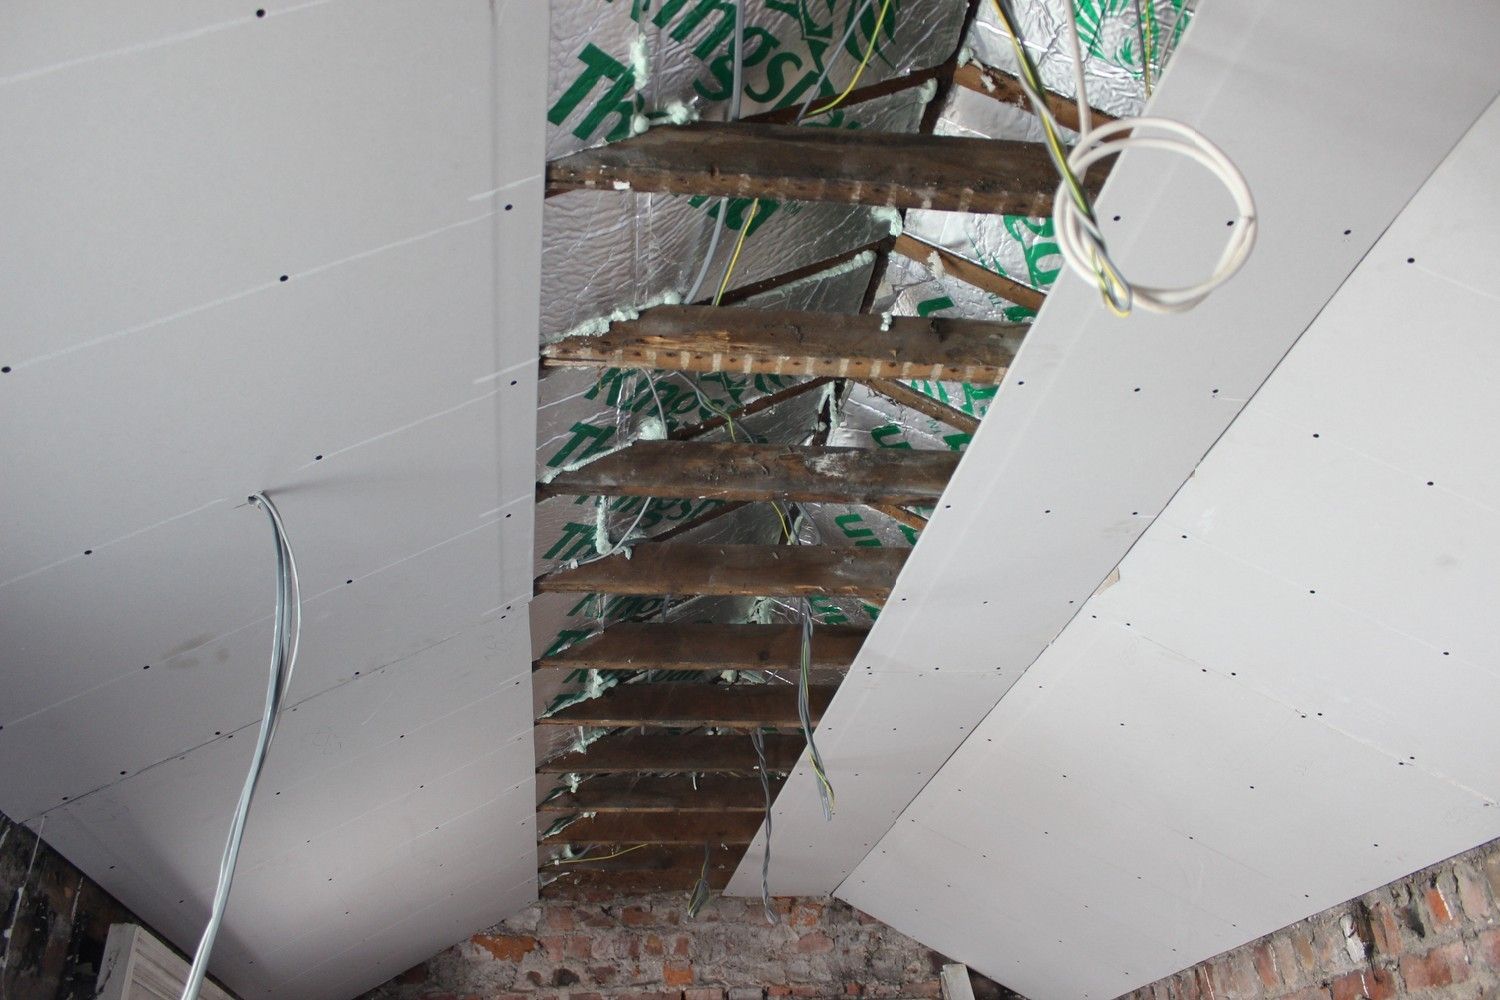
Electrical and slabbing completed very shortly, one after another:
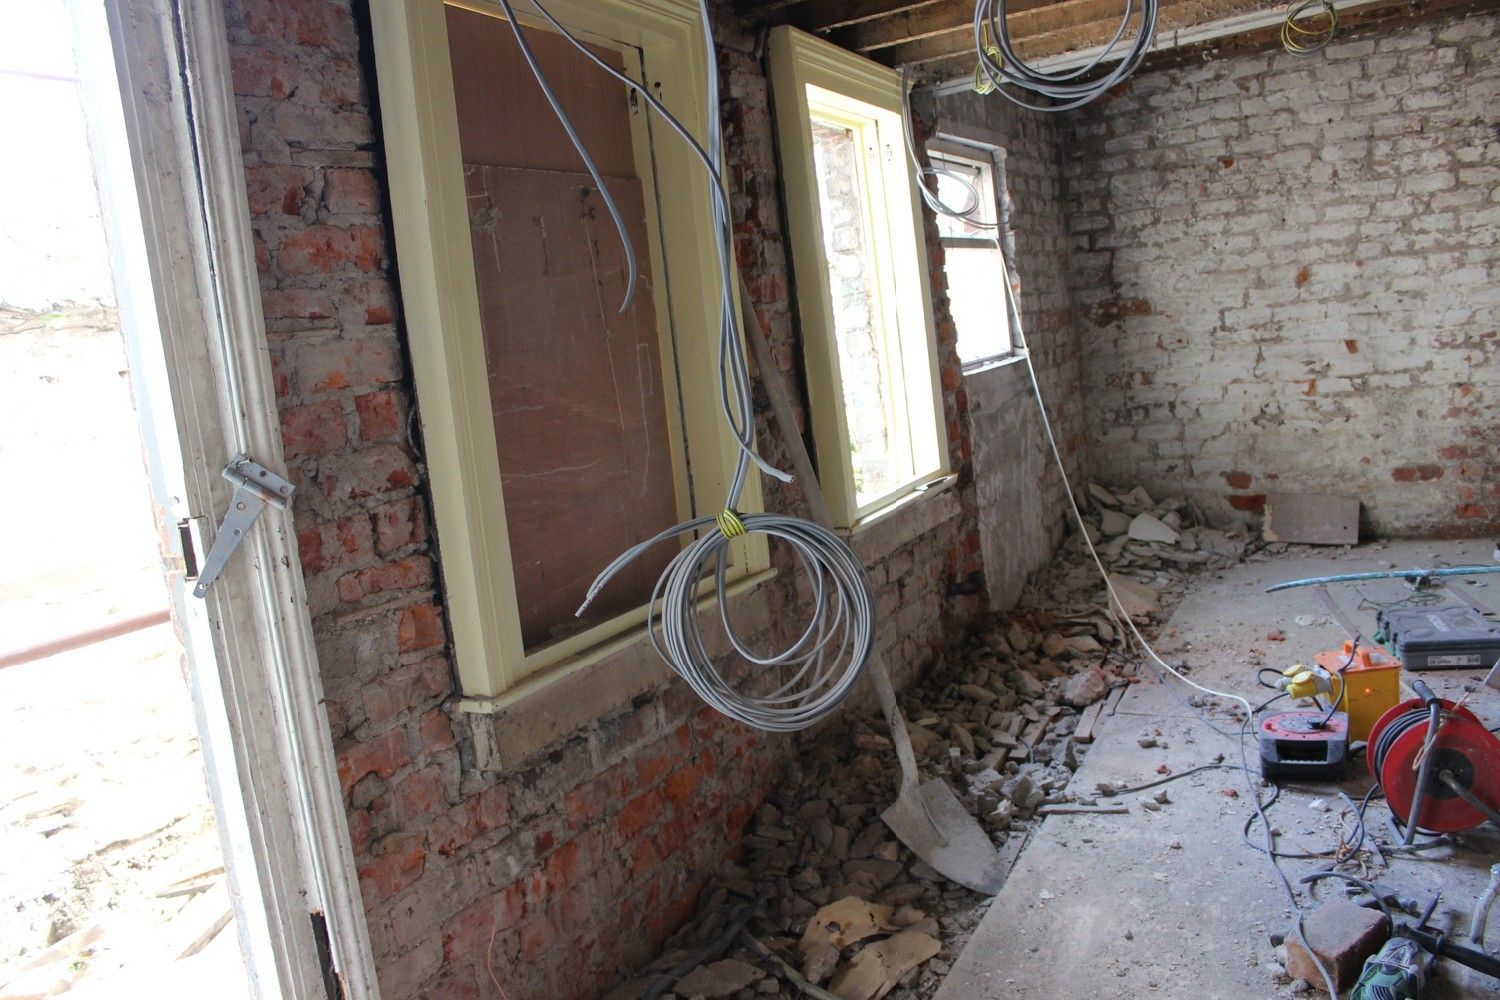
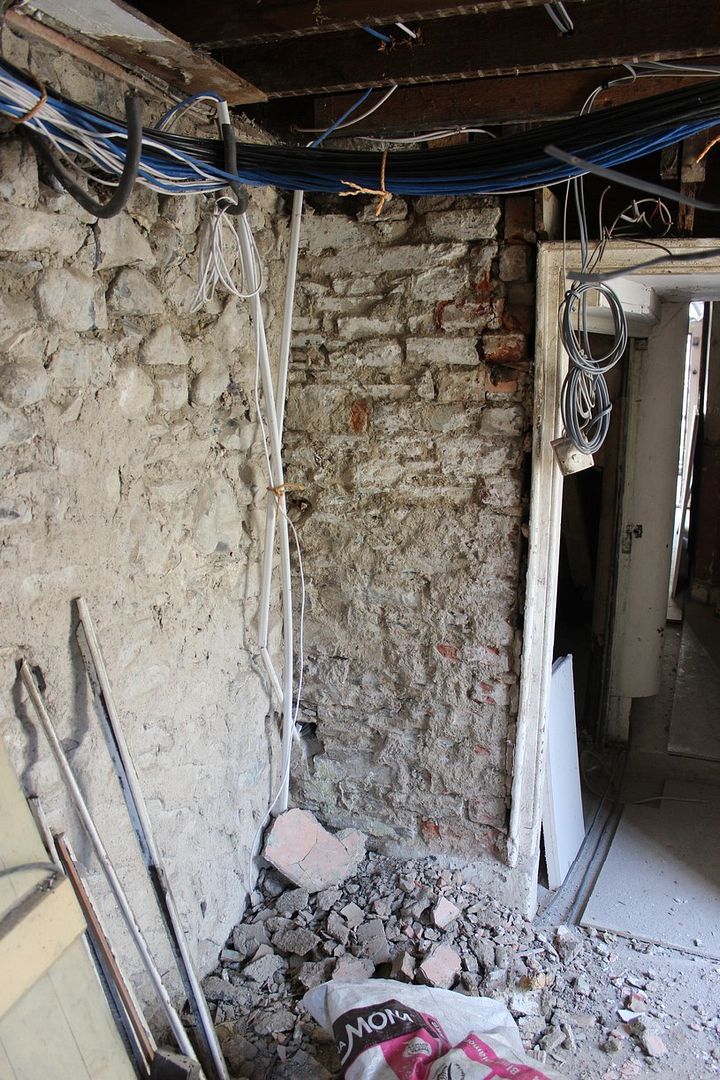
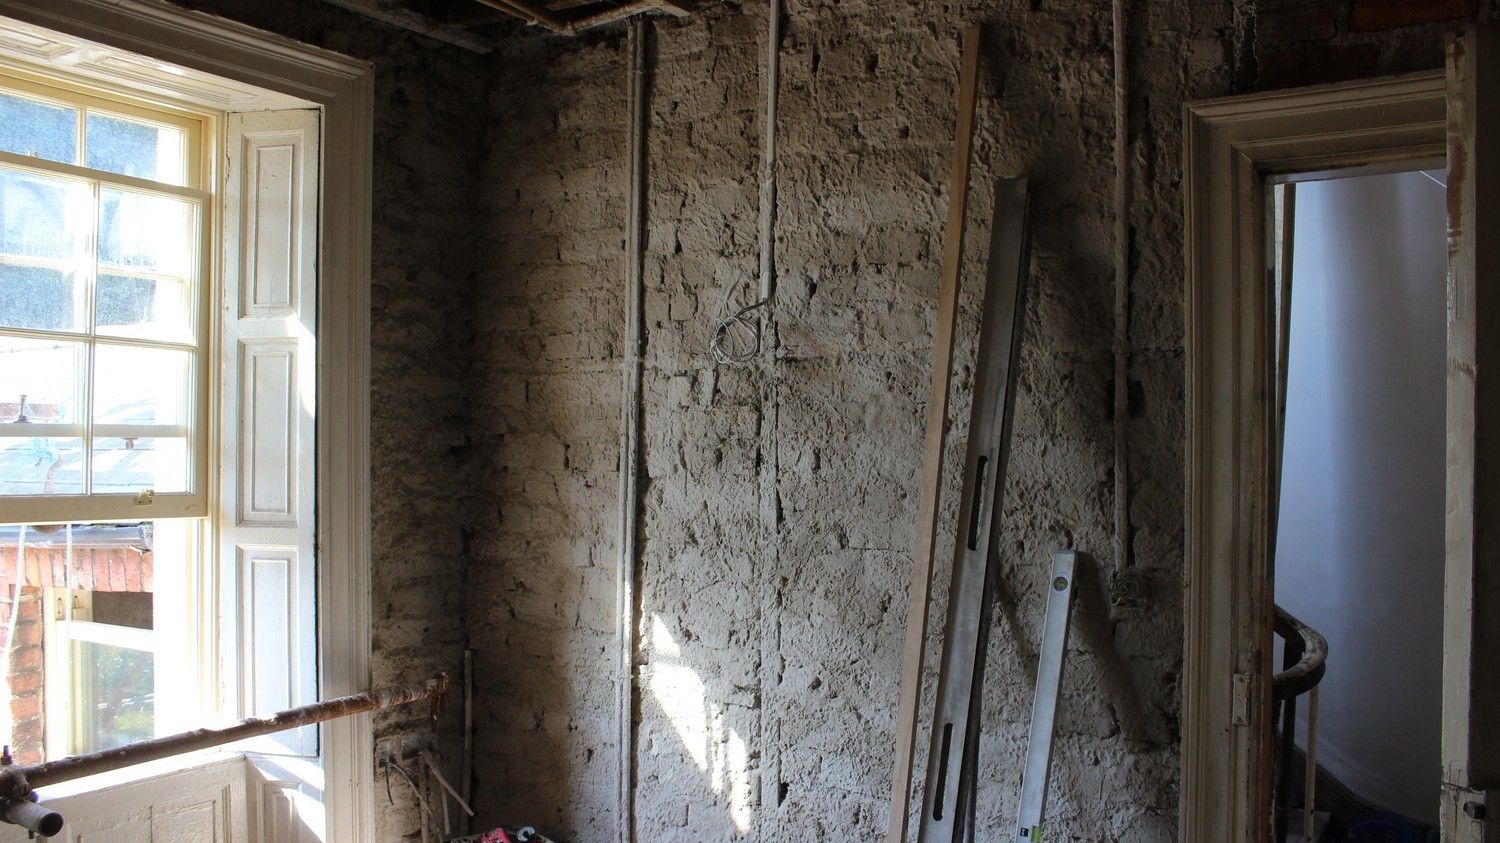
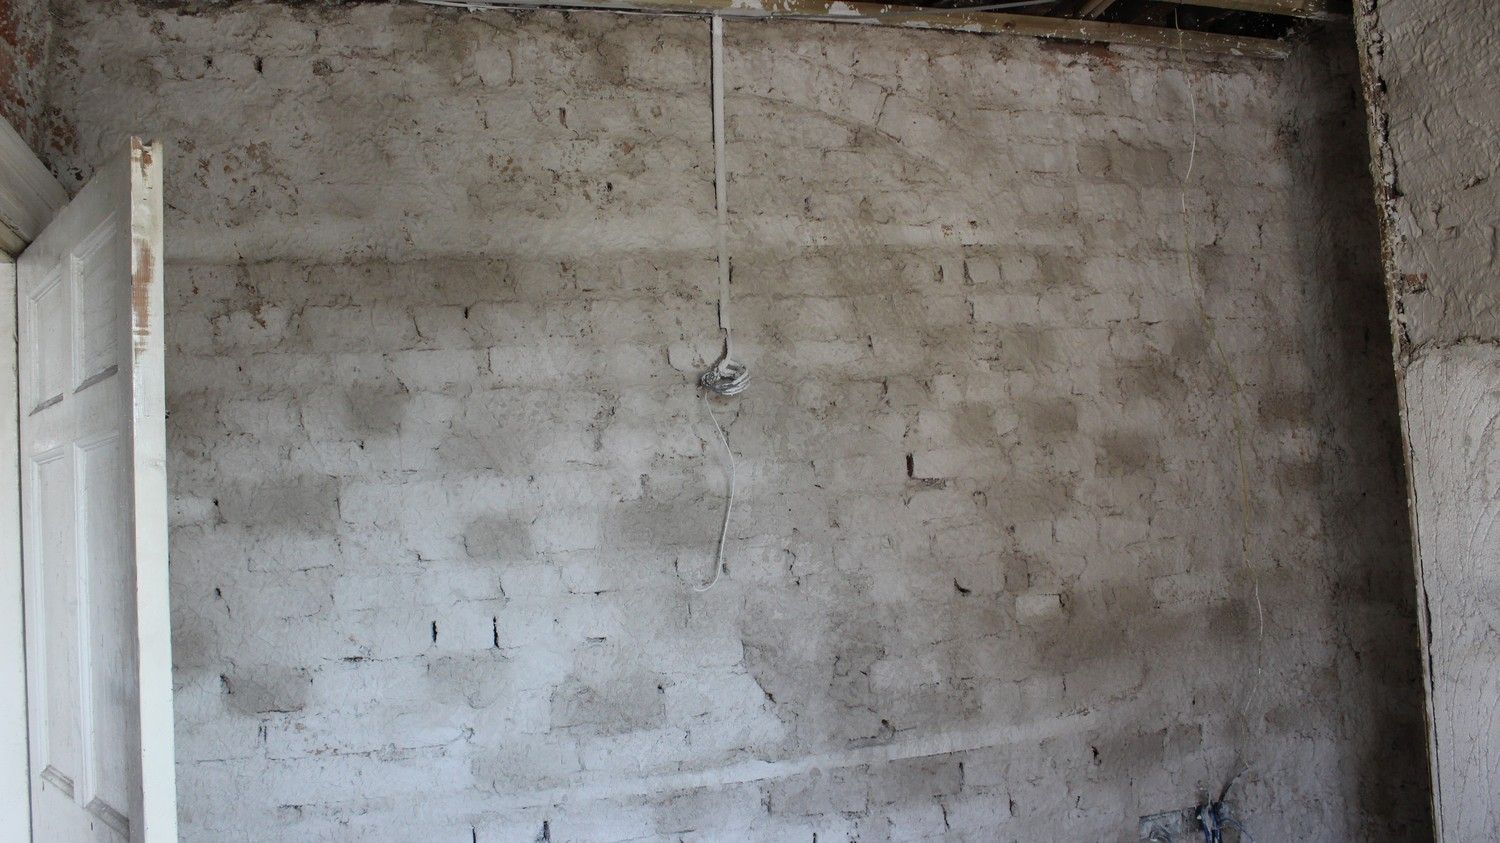
Downstairs, all remnants of lime/gypsum plaster was removed from the brick walls (plaster had been removed from the stone wall to dry out about 18 months ago). All plaster in this room was in an appalling state and was salvageable:
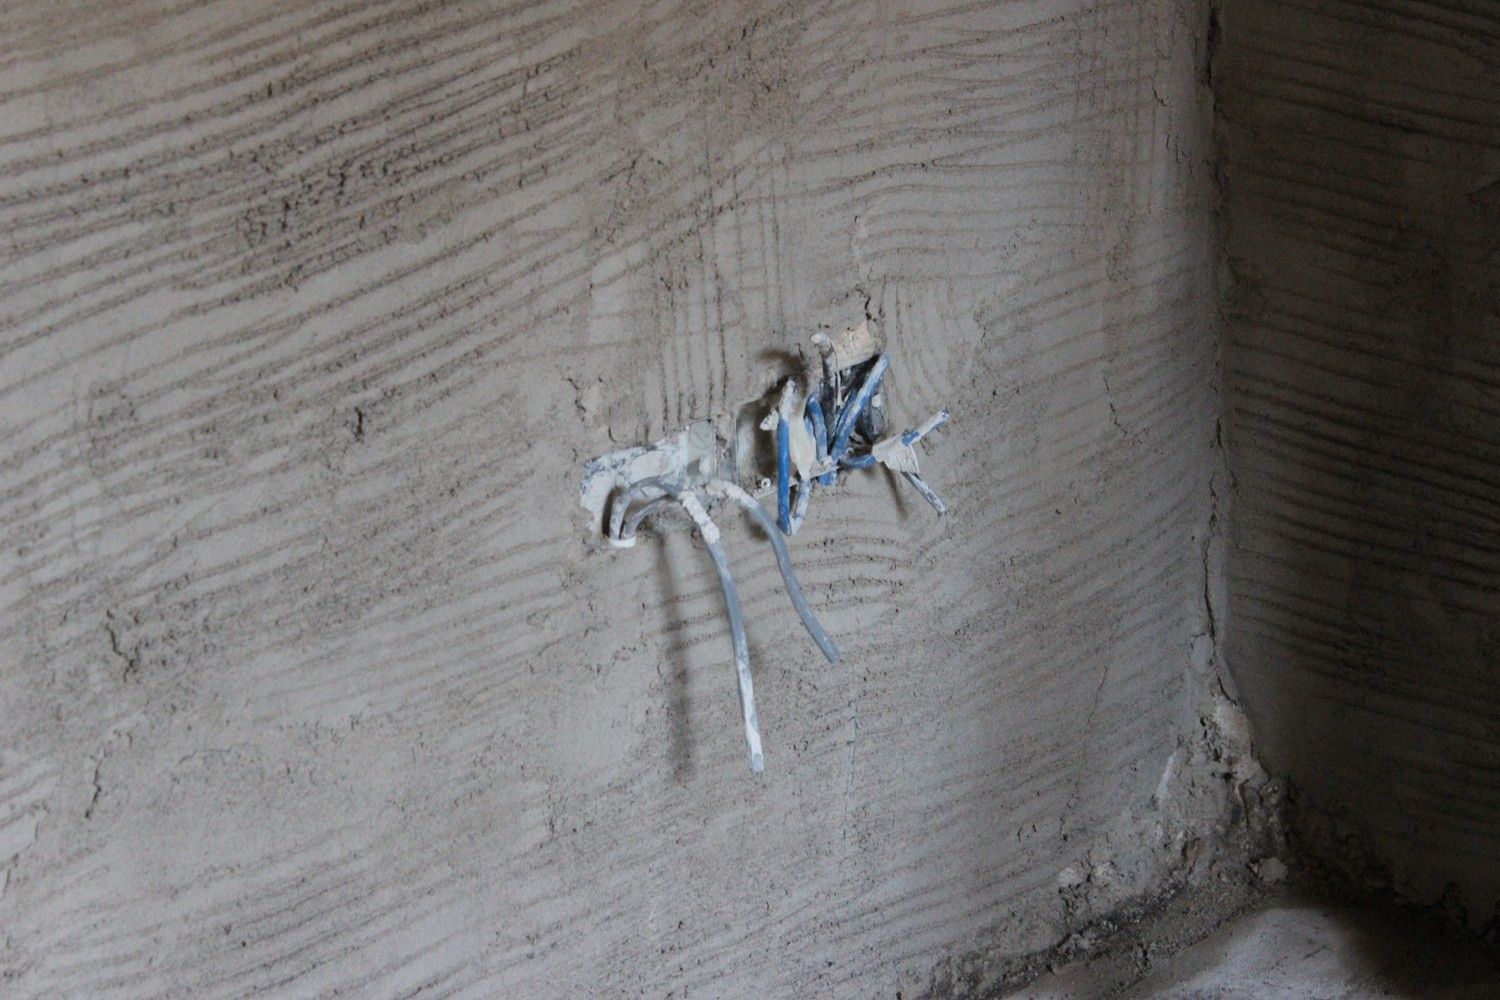
Wiring for an outside light:
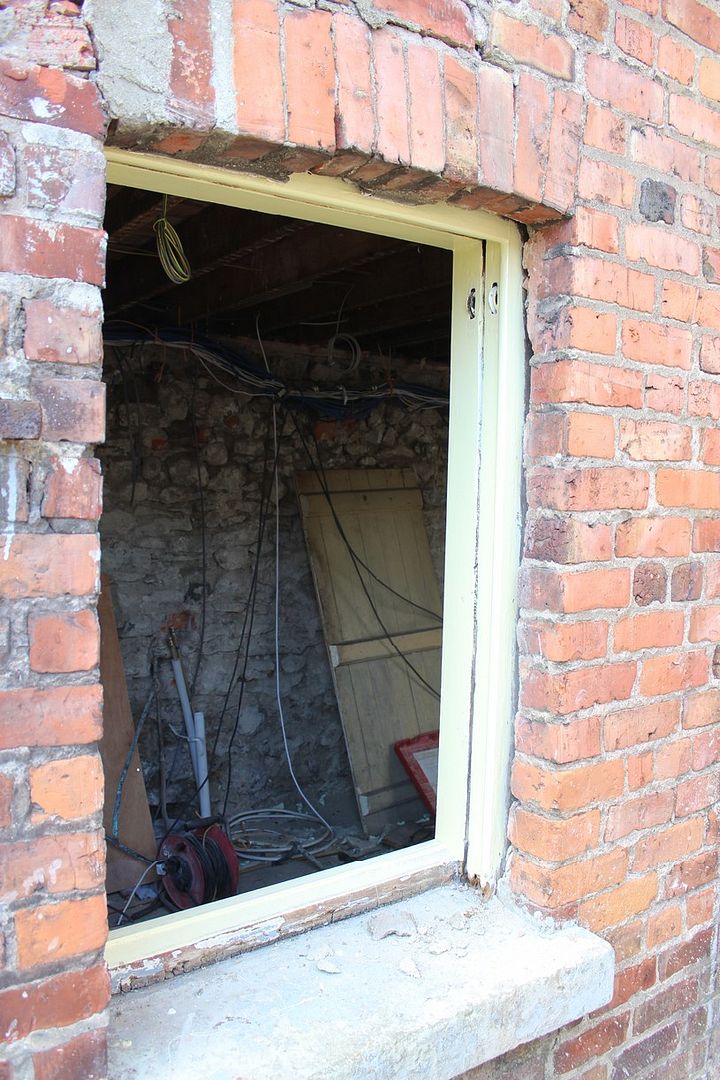
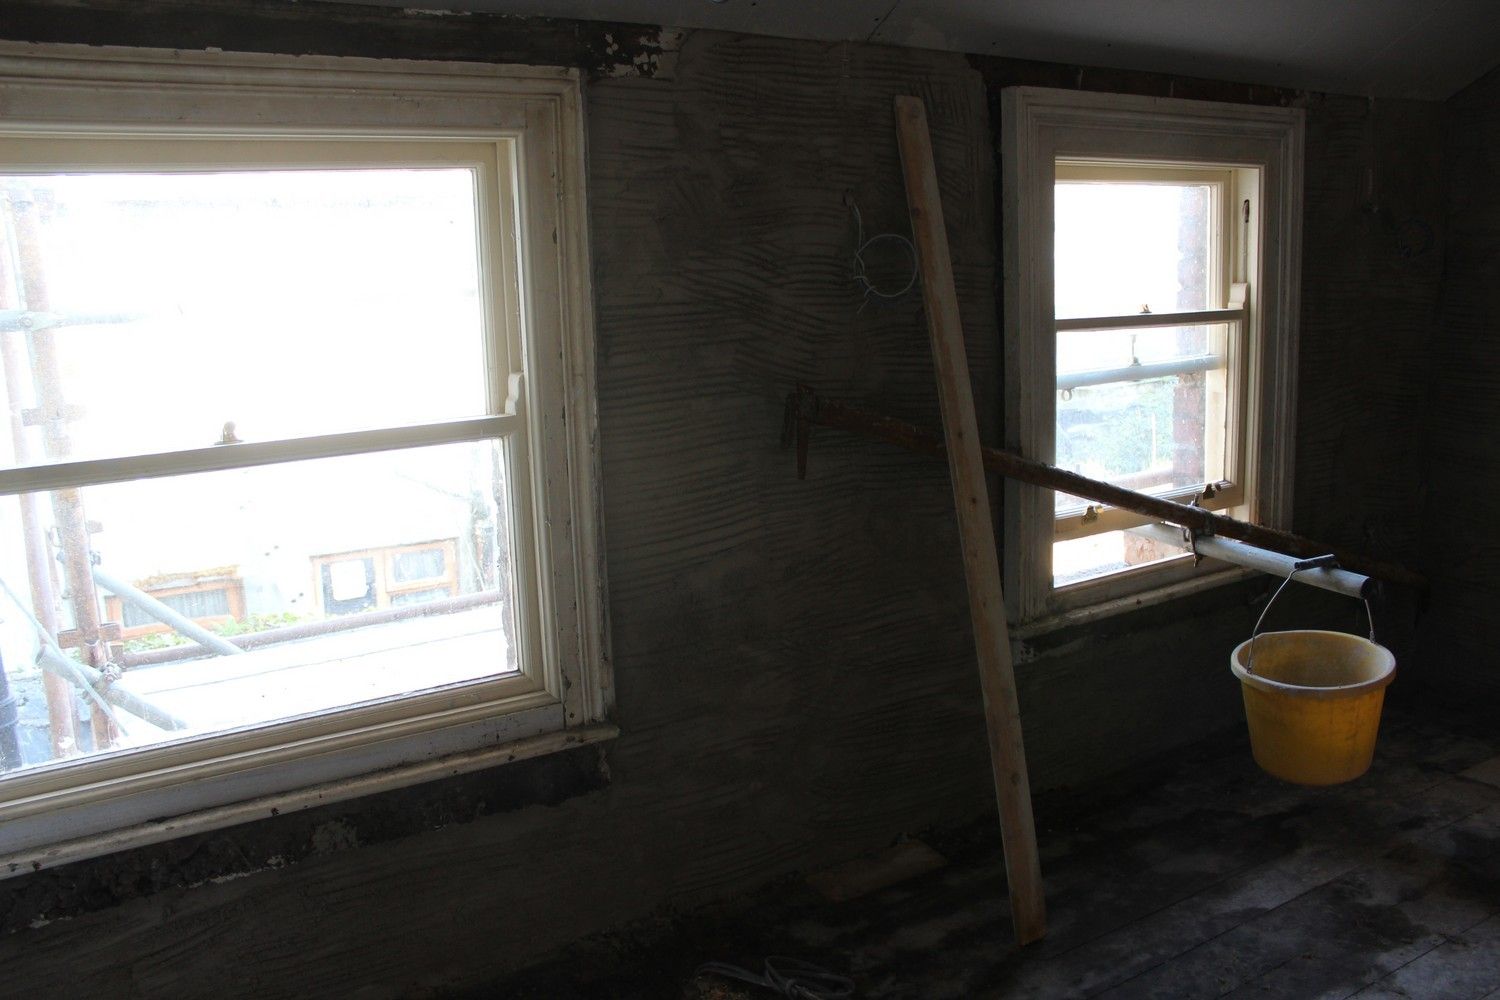
Some of the window heads require attention and will be repaired over the coming days:
Skip number...five I think?...arrived today, the works are generating a lot of rubble and waste:
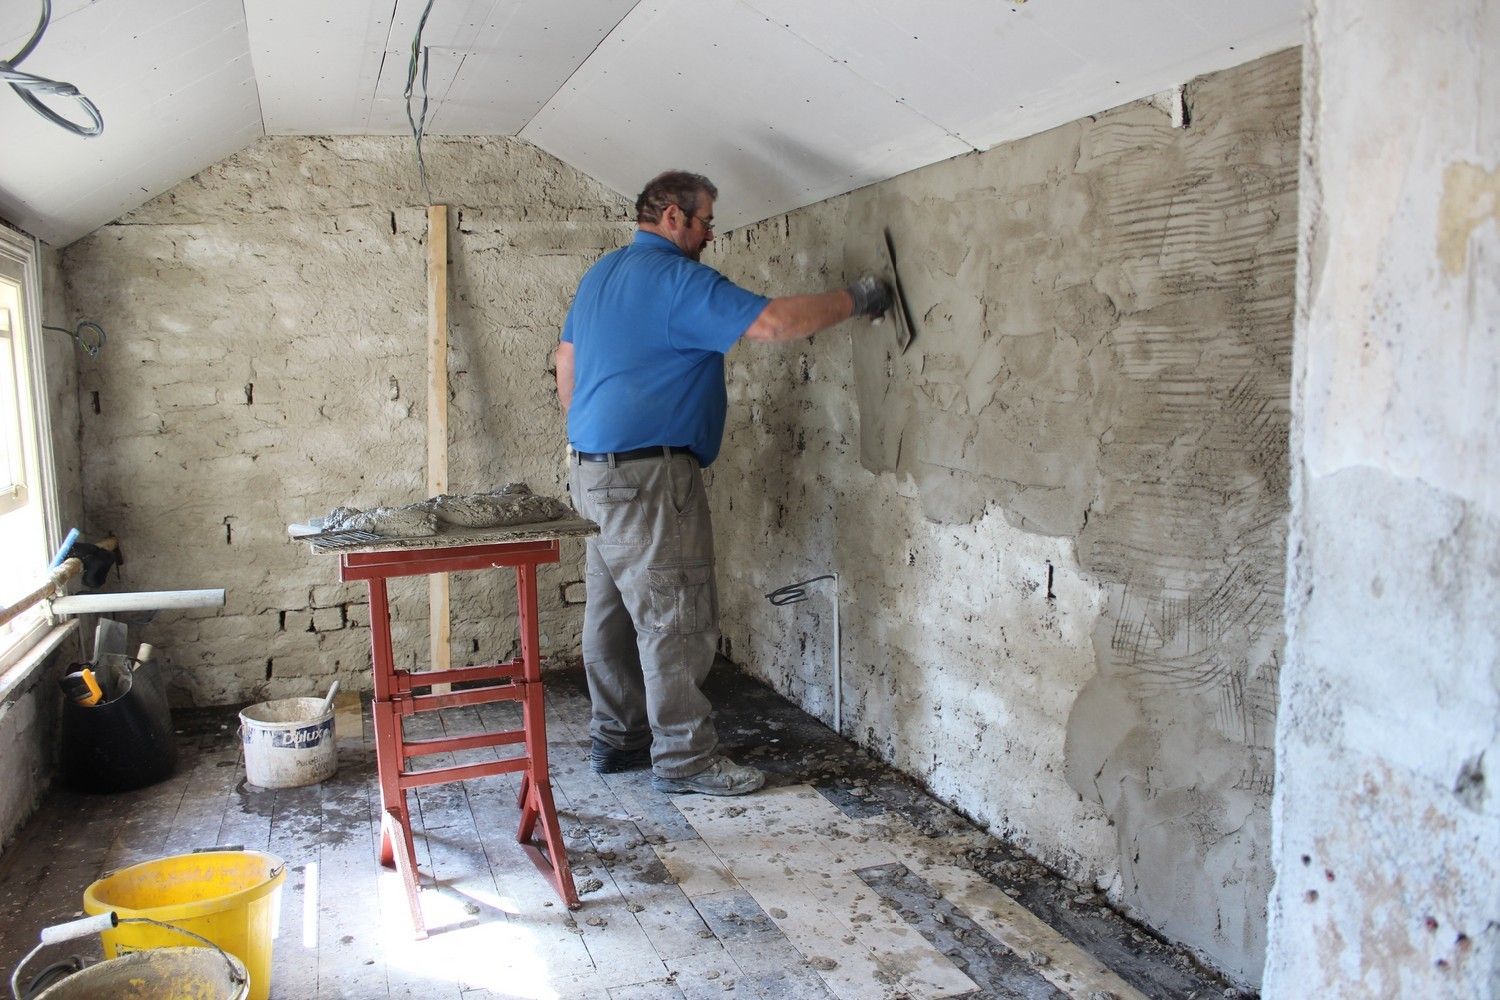
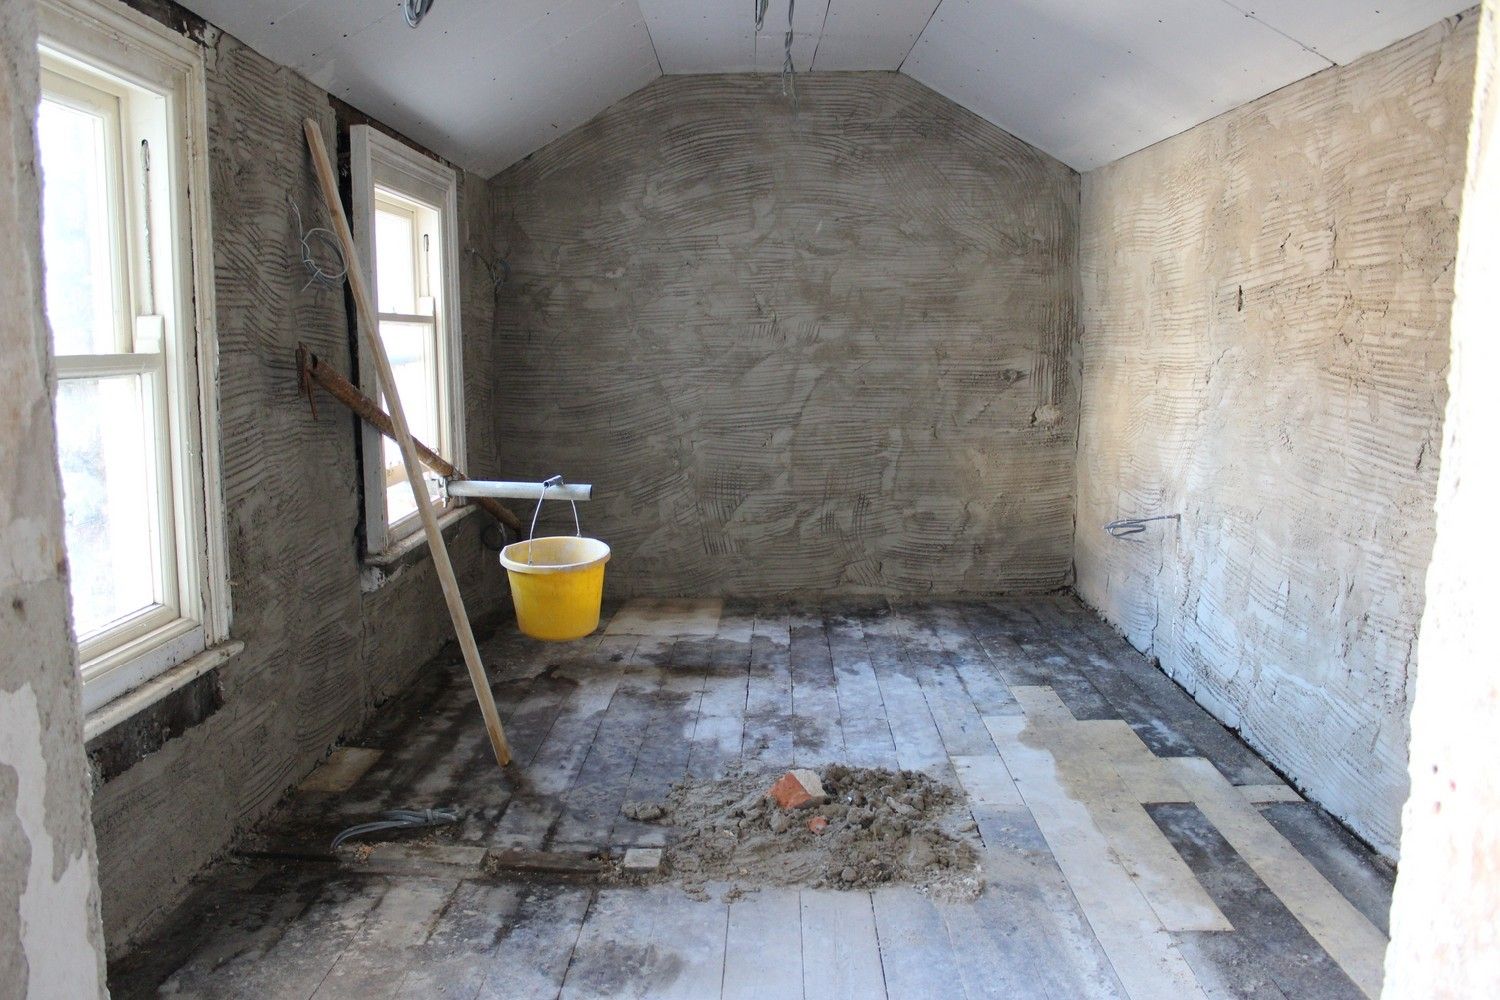
As mentioned above, Gutex wood-fibre insulating board will be used on the walls, to maintain the breathability of the structure. To attach this to the wall, they first need to be finished with lime render in order to give a flat, level surface to attach to. So two heavy coats need to be applied to the red brick walls.
This is the very first coat:
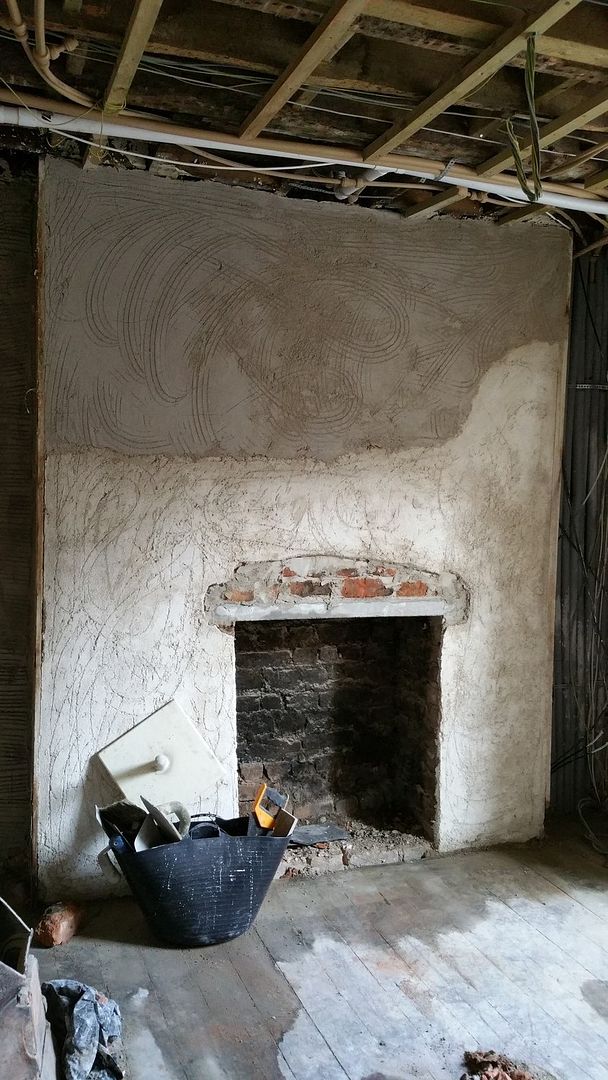
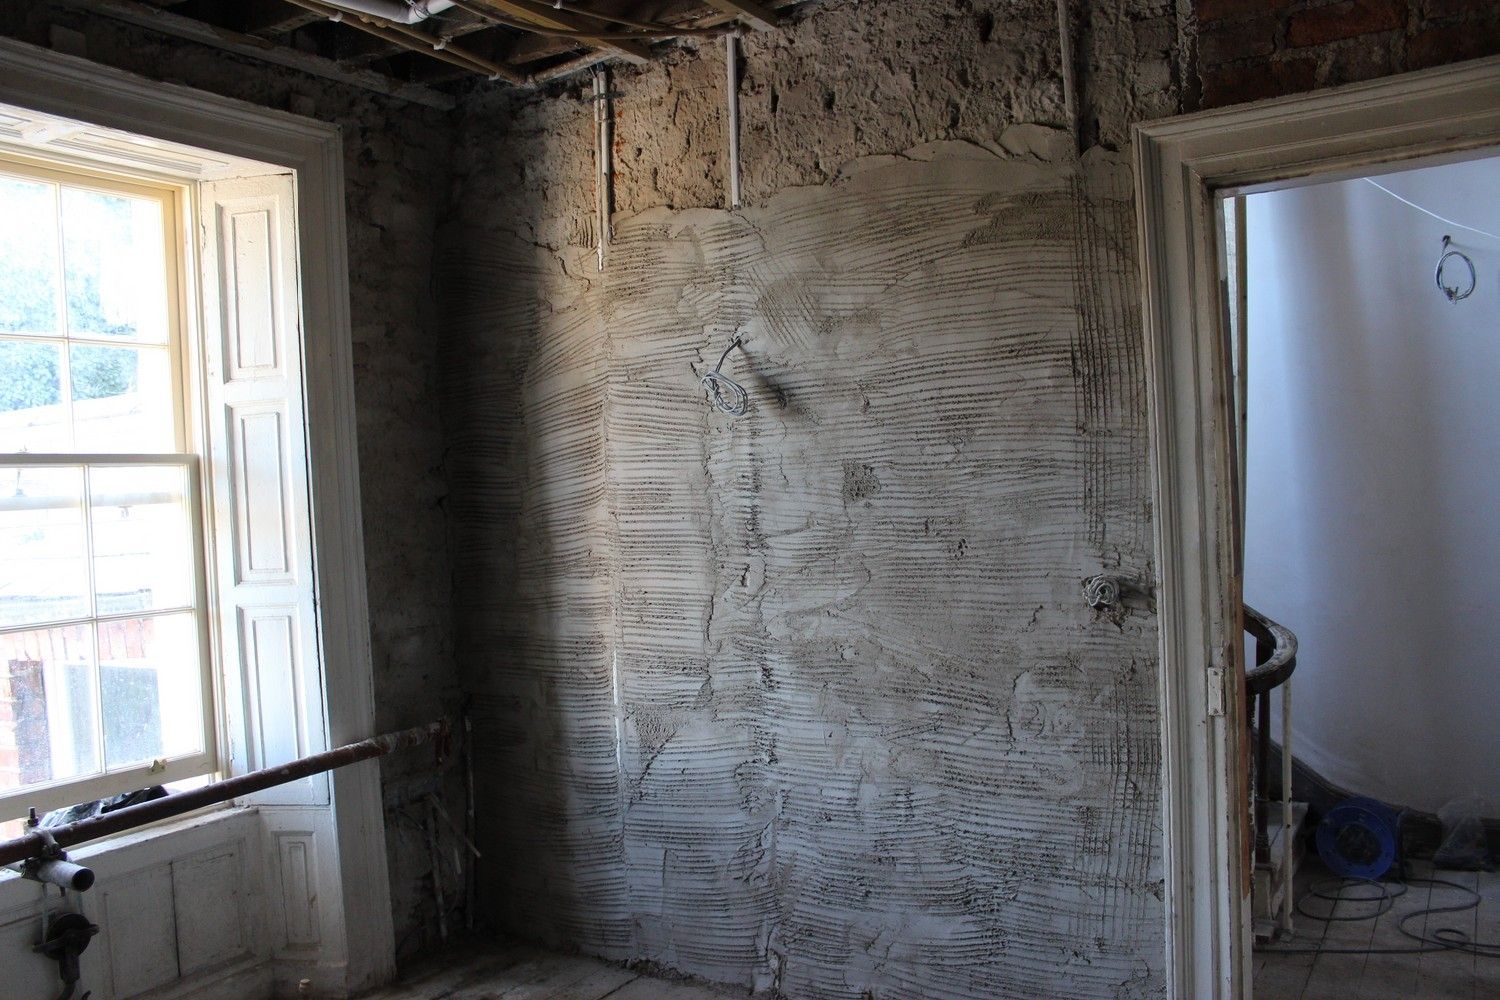
The first floor rear room of the main house was also started, as all of this plaster had to be removed for the same reason; it was in terrible condition:
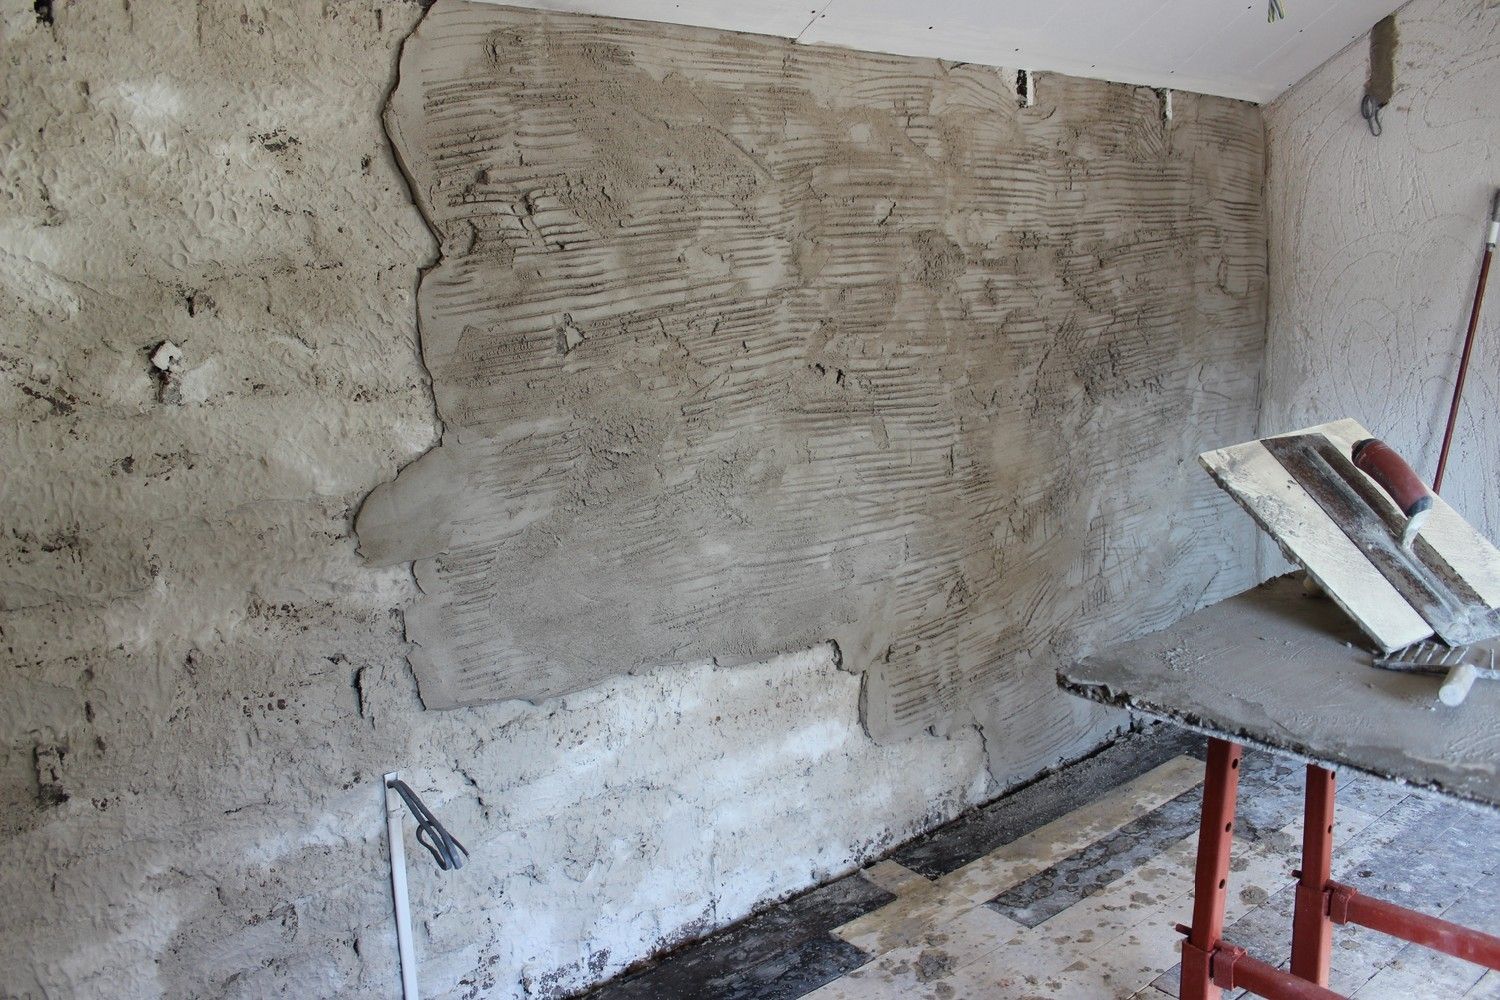
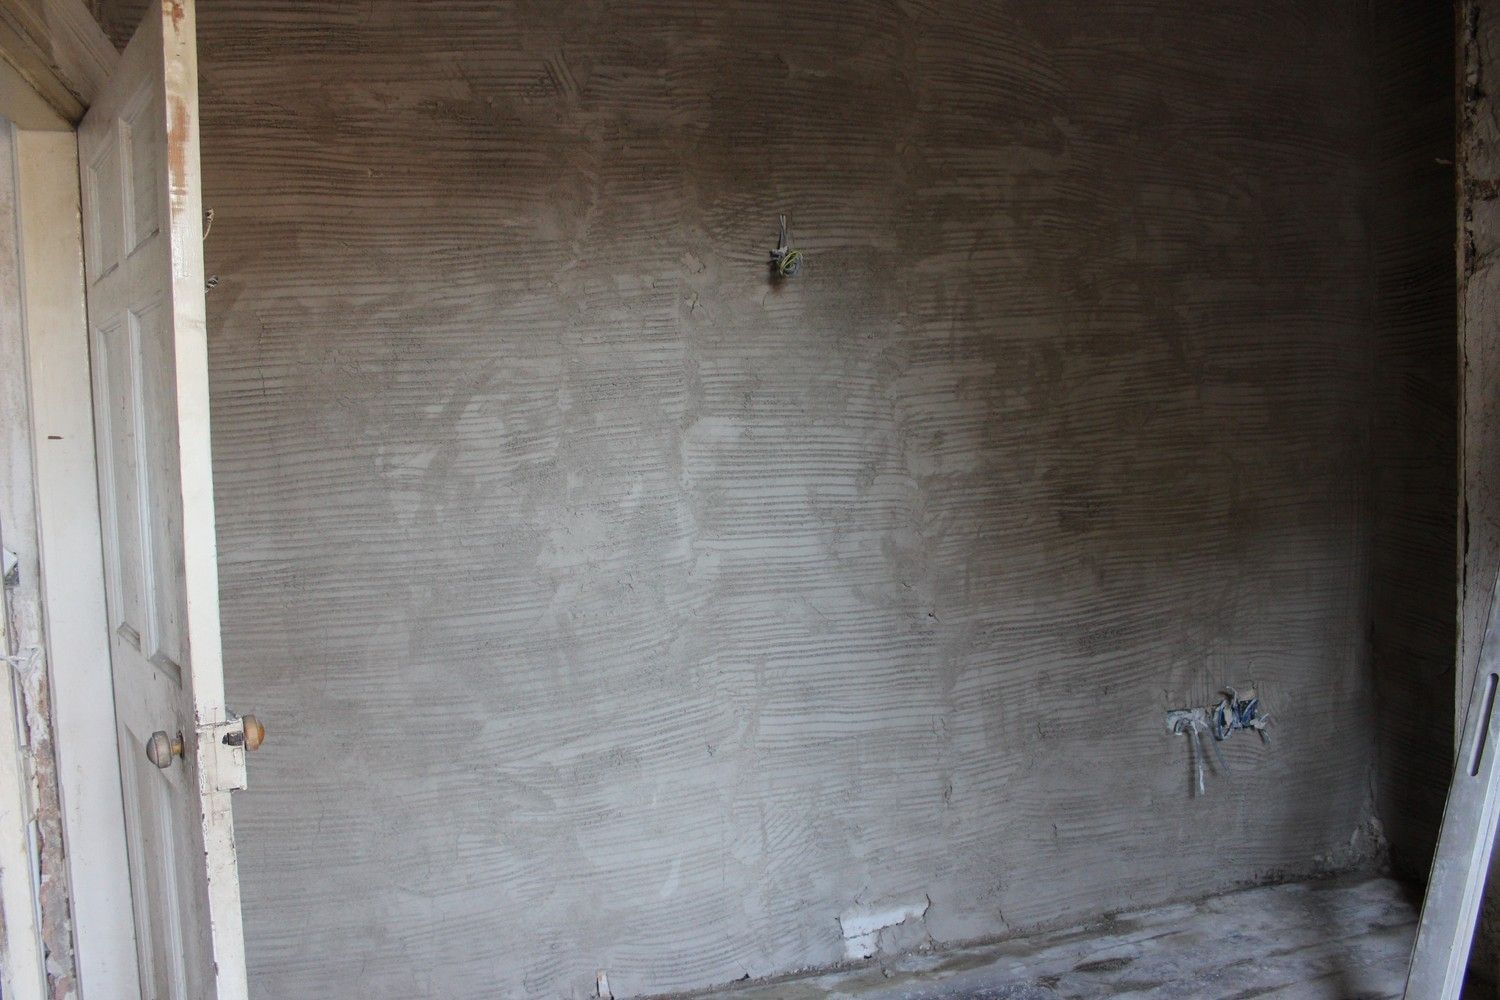
After just 24 hours, the second coat can be applied:
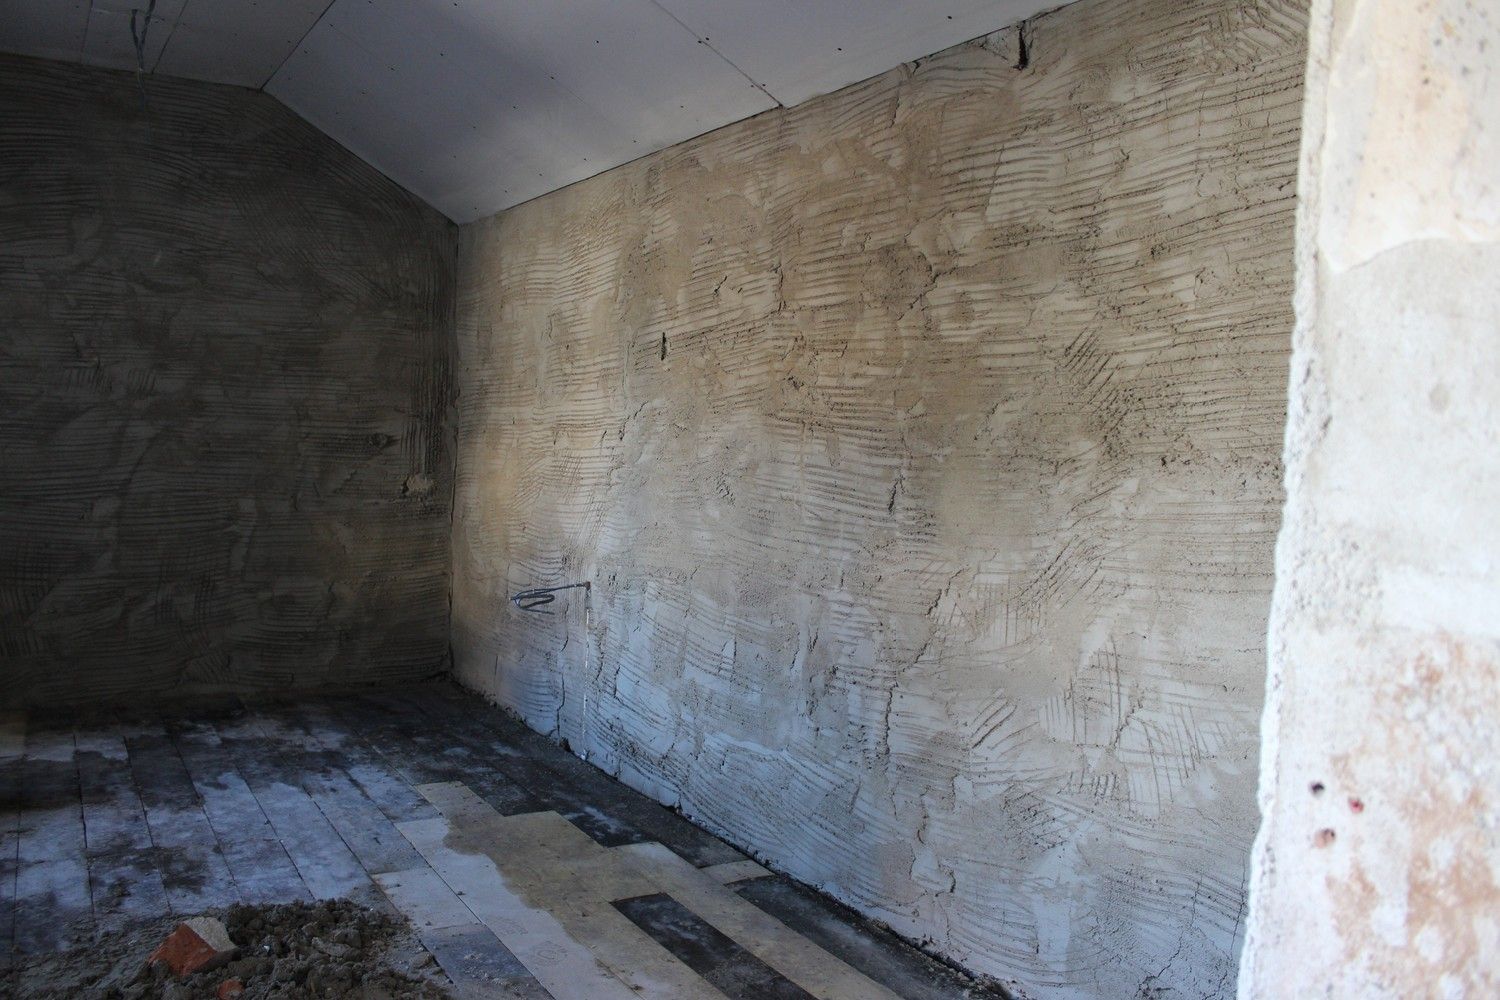
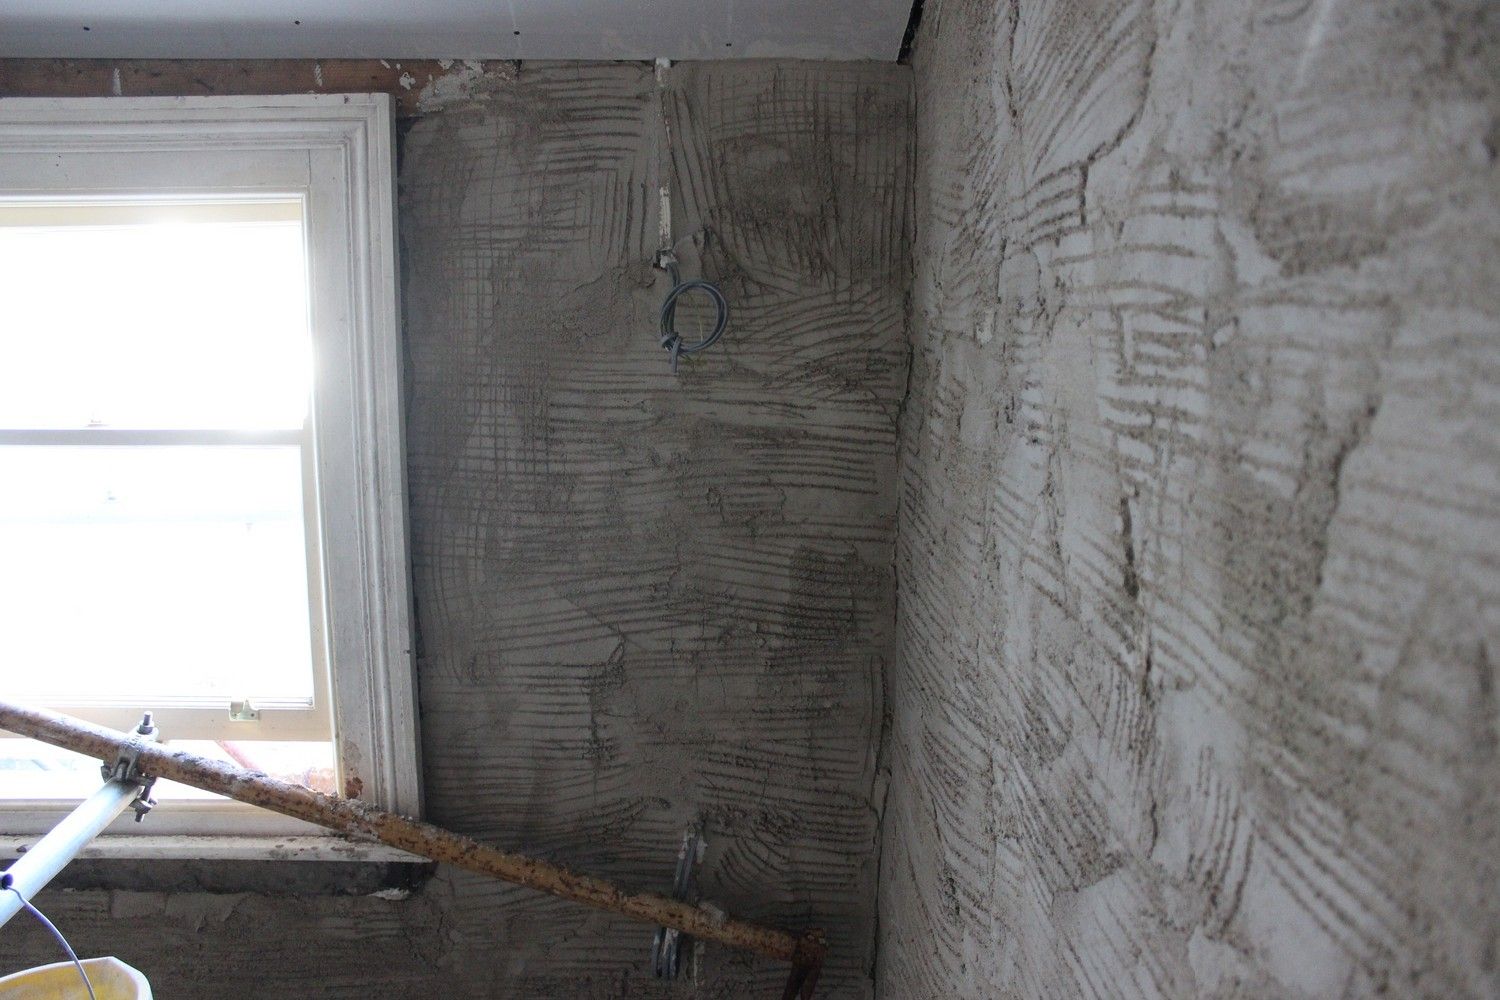
And the rear first floor room once more:
And the first video in a while! Paddy applying the second coat of lime:
I was also doing some radiator hunting for upstairs in the return, Period Homes in Newry are worth checking out:
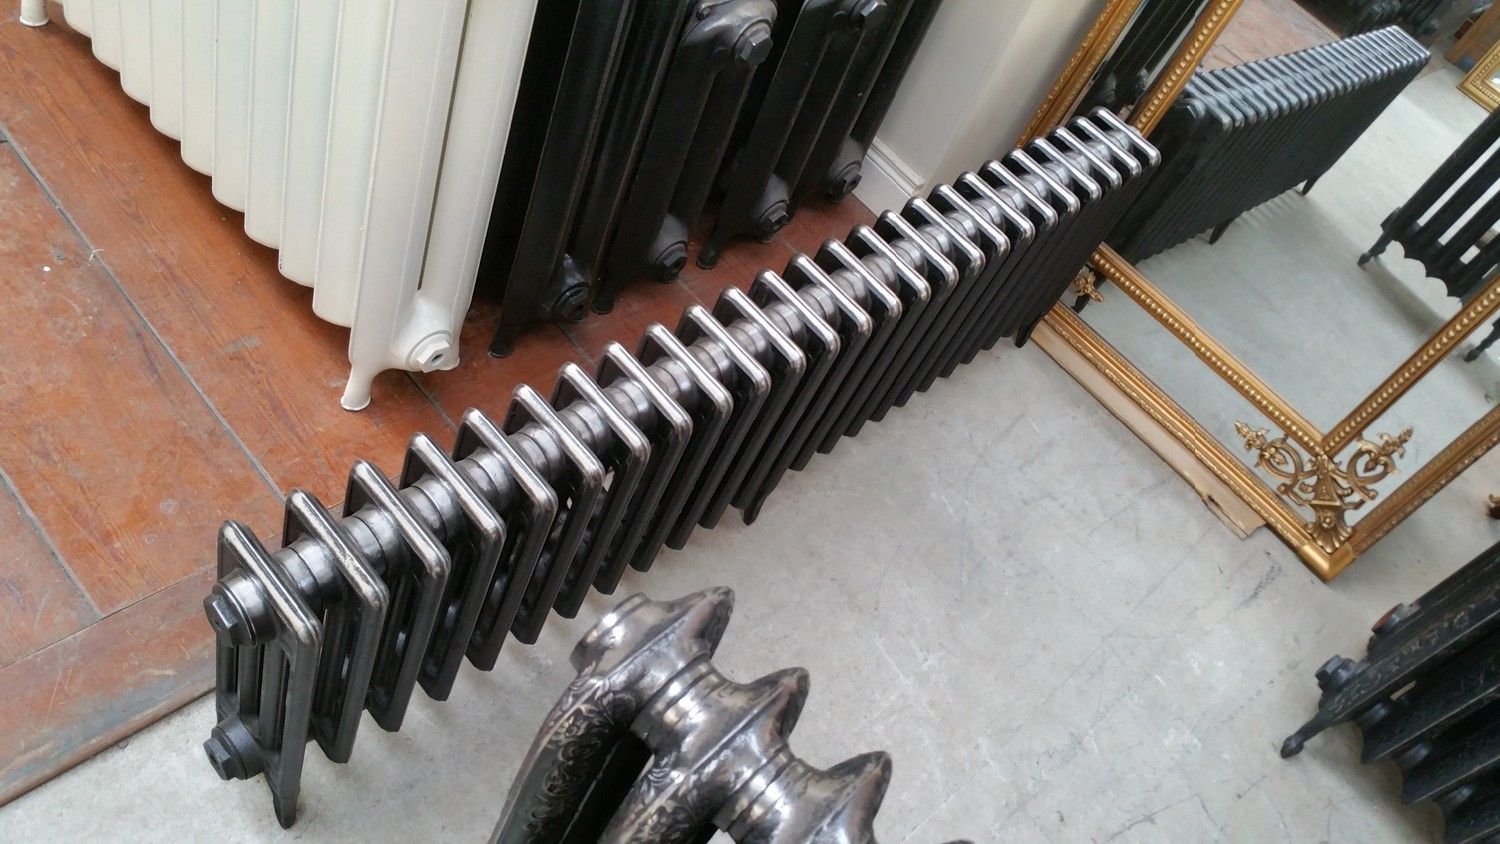
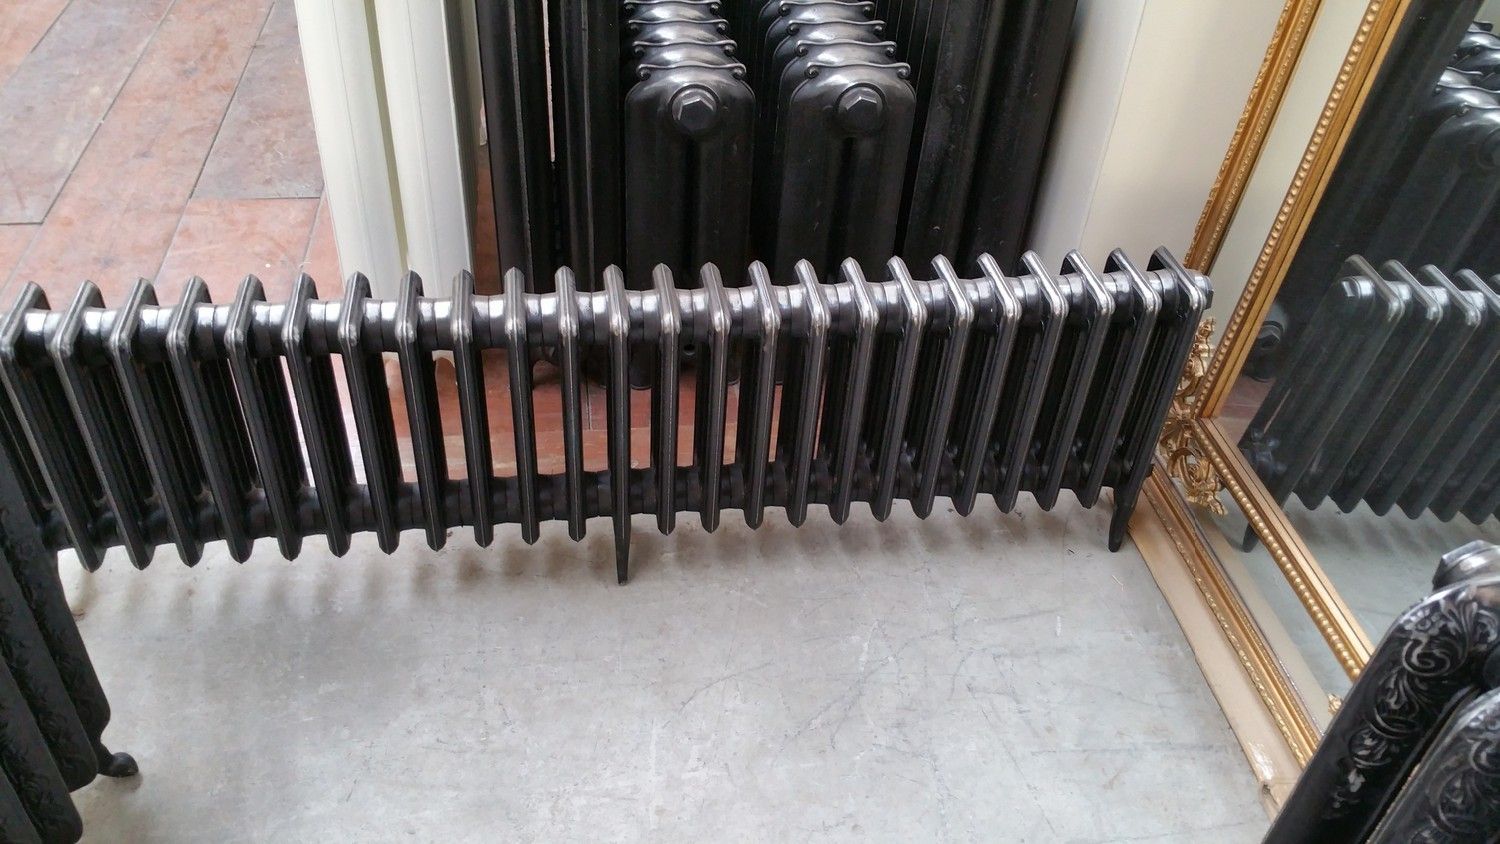
I'm having this radiator below cut in two, to place under the two upstairs windows: