Monday 23 September 2013

Roof Repairs & Lighting

I've known for some months that there was a small leak in the roof at the rear of the house, just above the stair window. It became even more obvious with the new plaster being applied to the internal wall above the window with some recent heavy rain.

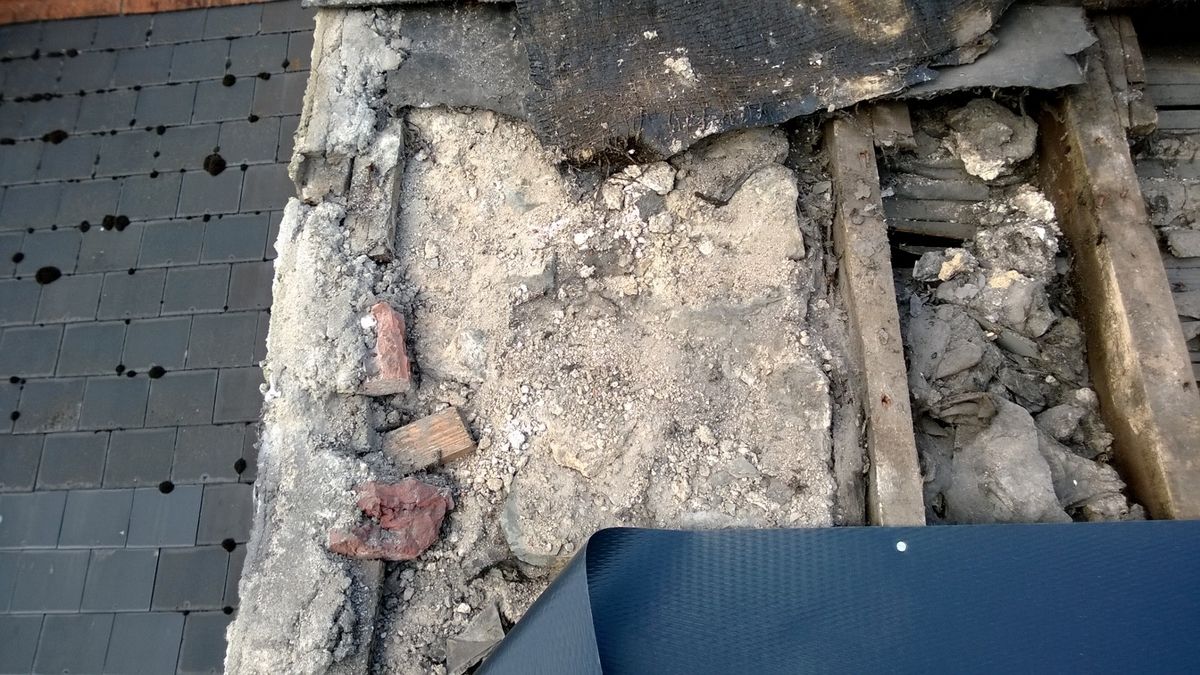
Instead of repairing the entire roof, I decided to just tackle the lower four rows of slate and have them replaced. These were massive 300mmx600mm slates which weren't even attached to the roof.

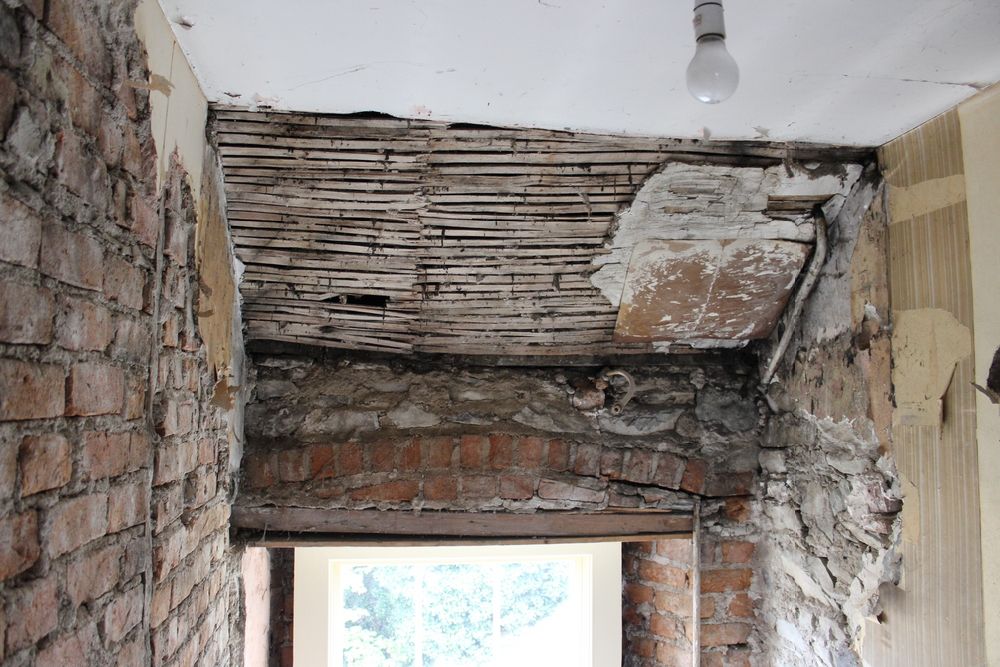
Repairs began on Friday. Removing the felt below the tiles exposed the ceiling below:


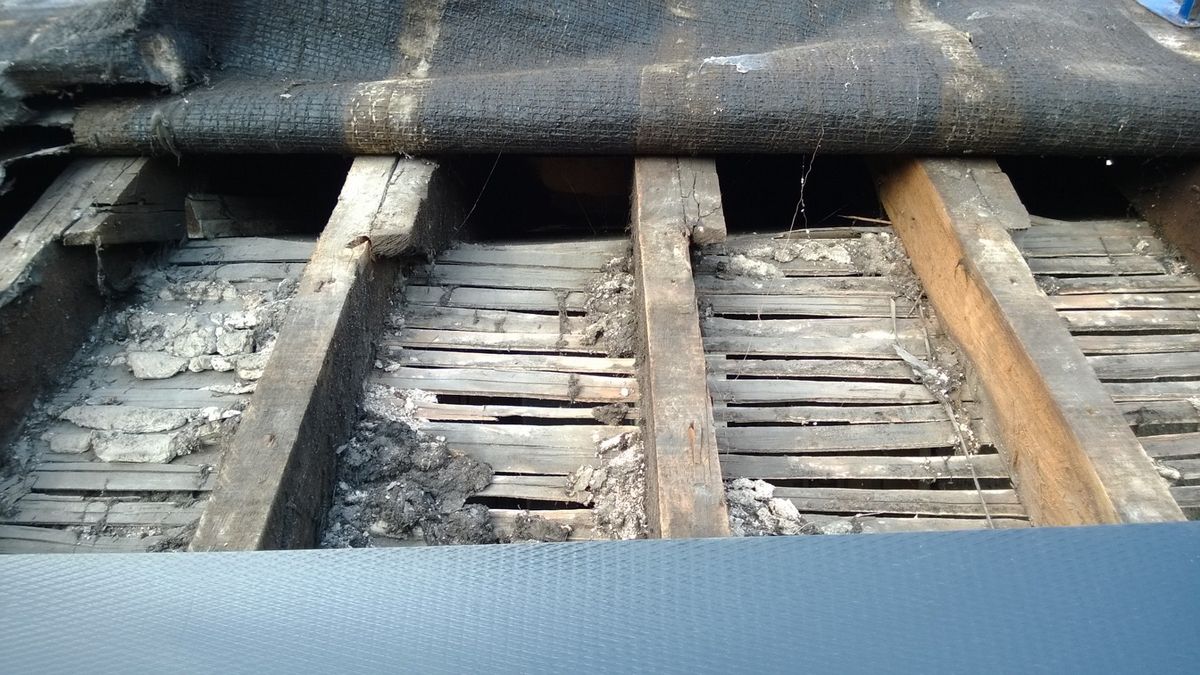
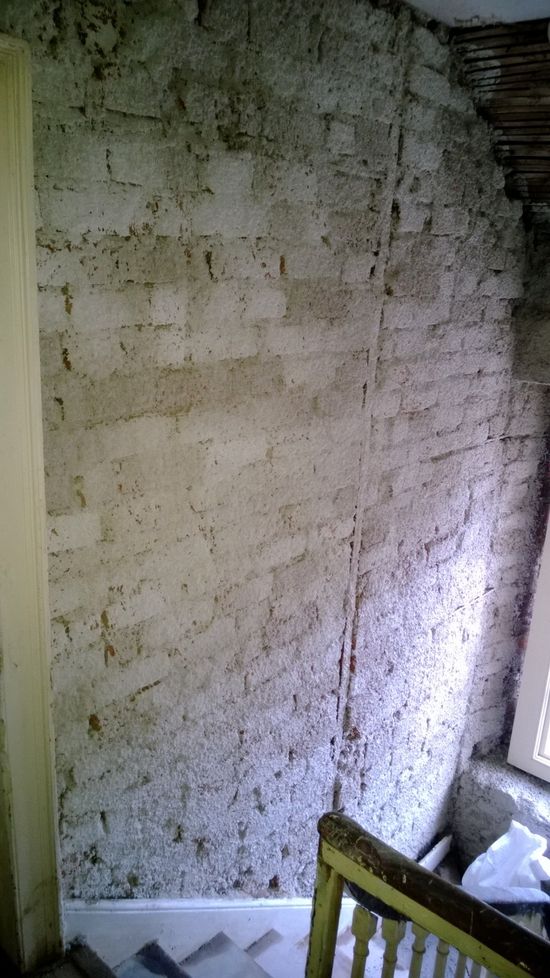
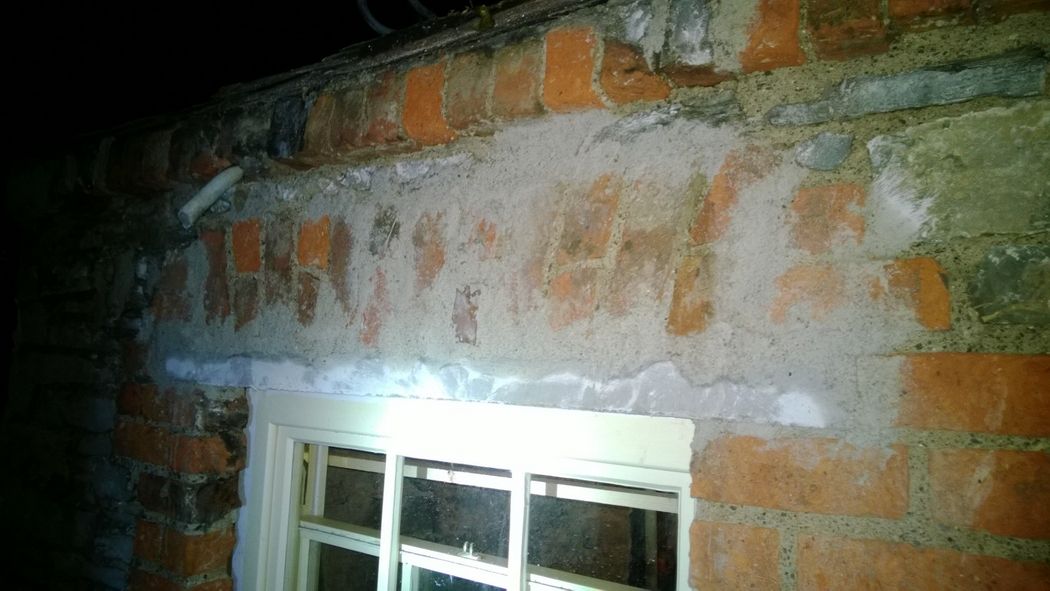
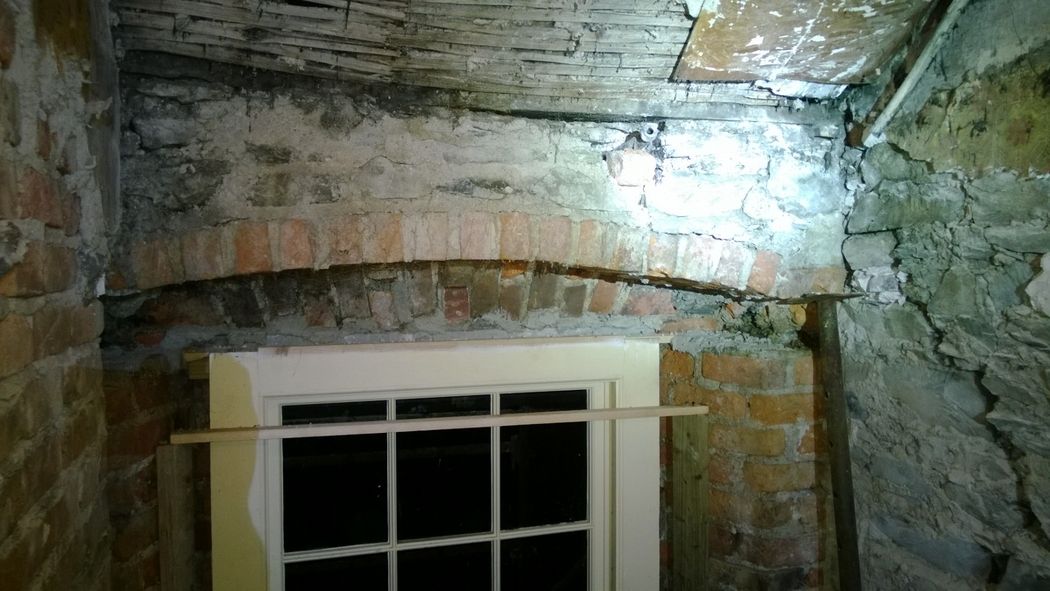
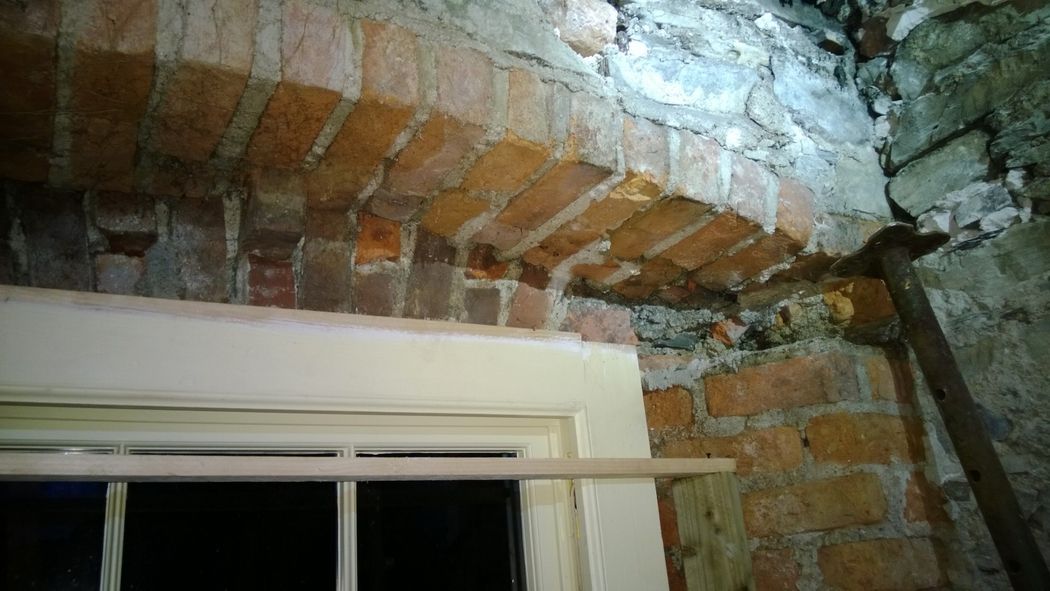
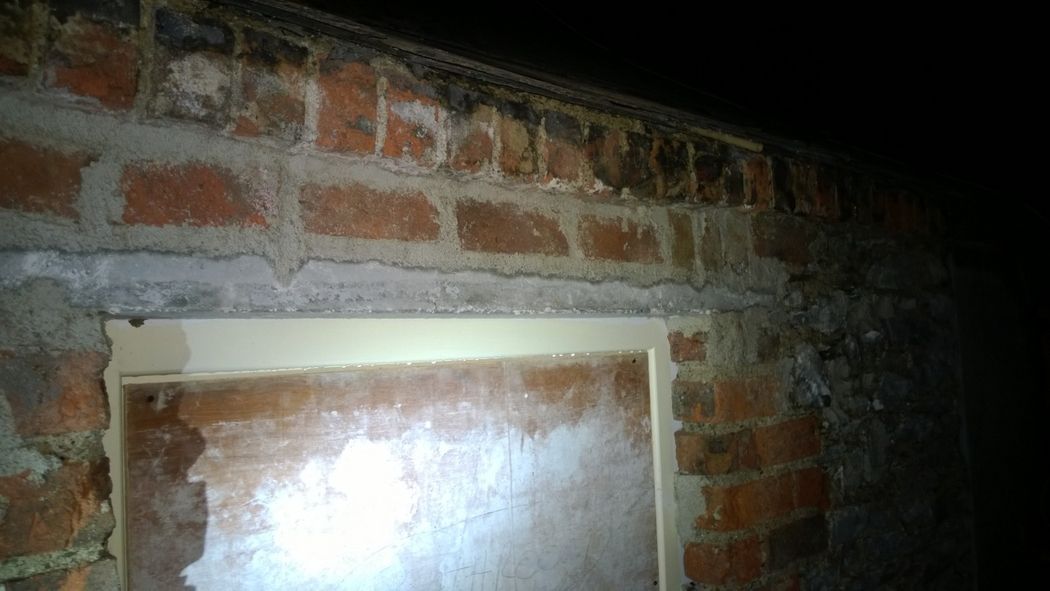
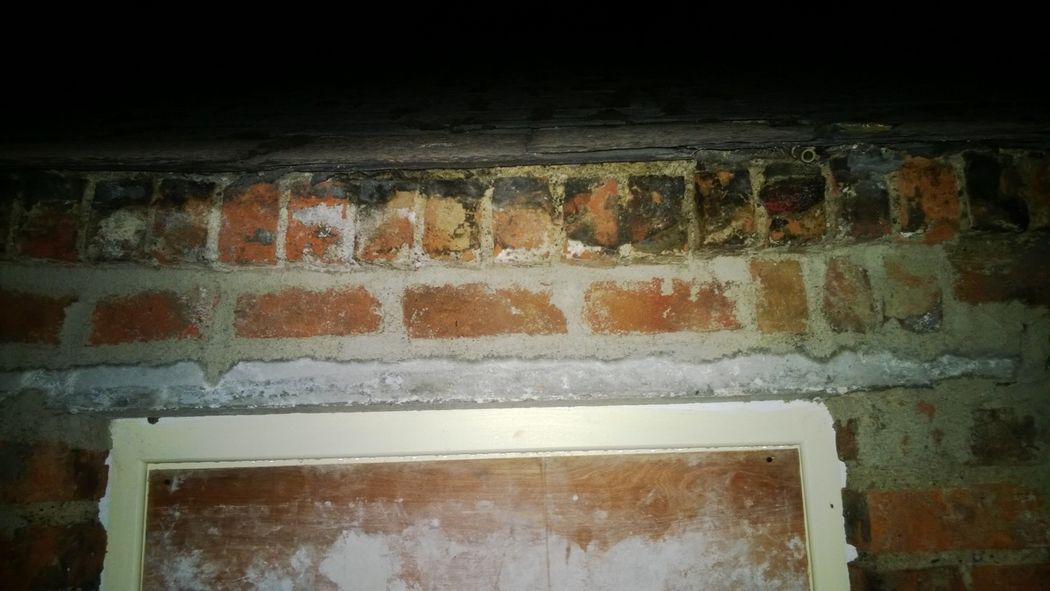
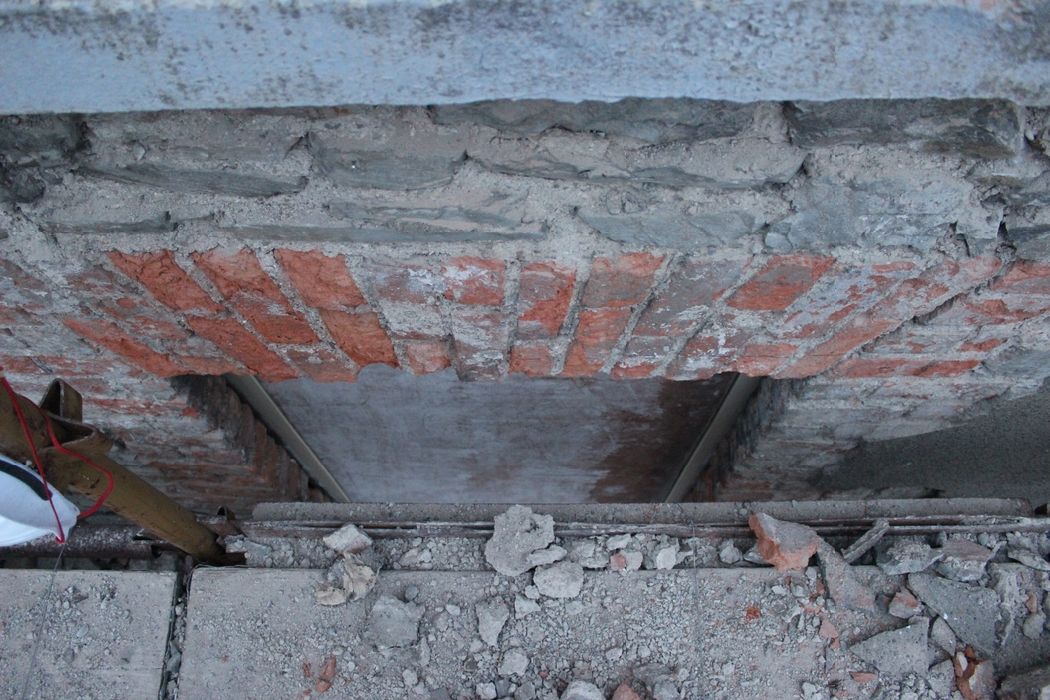
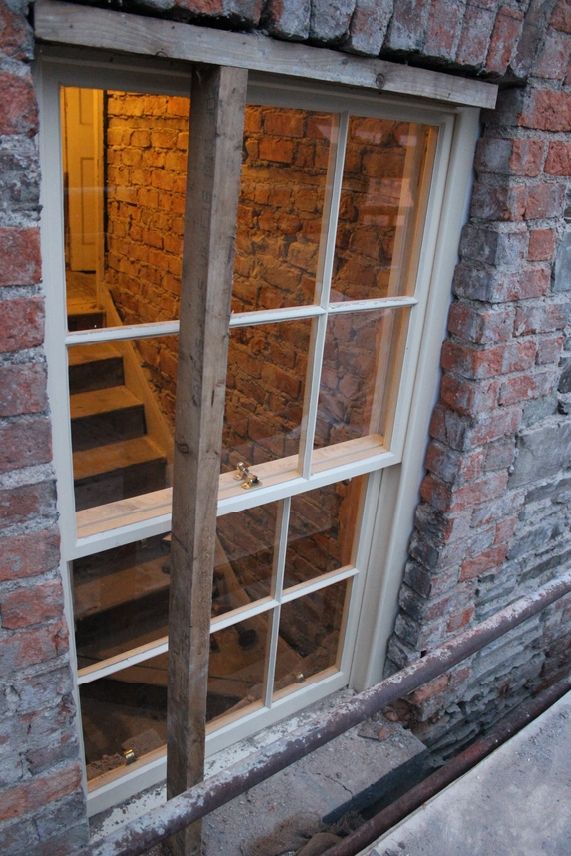
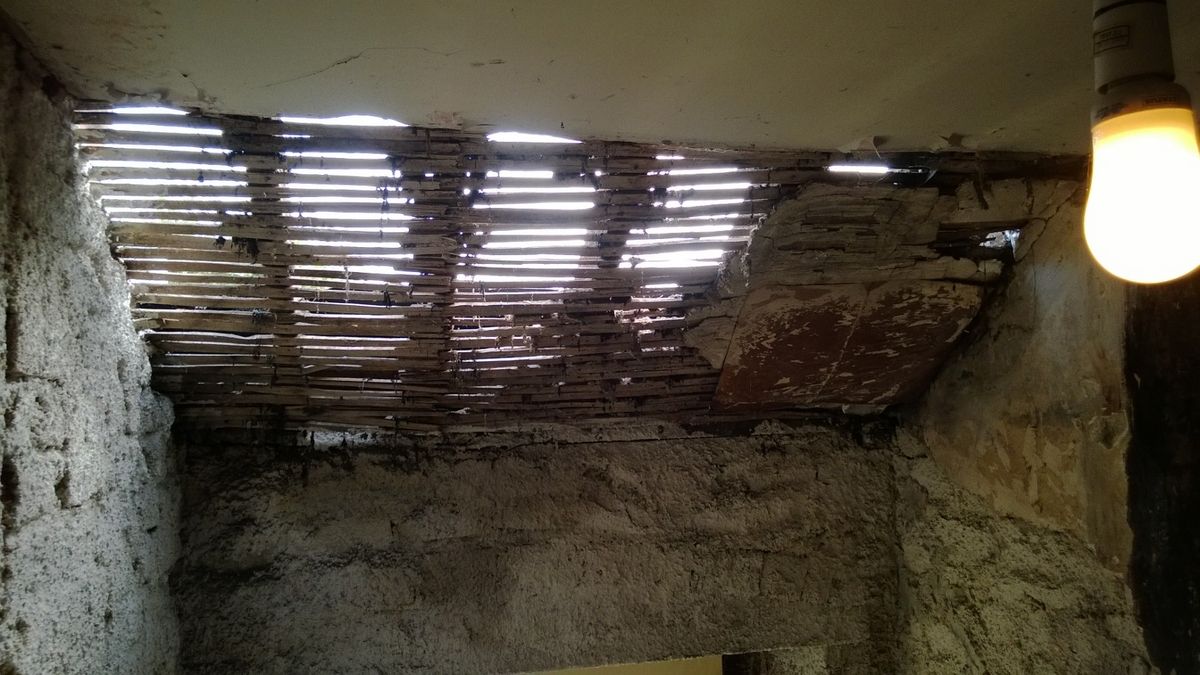
The view from underneath:


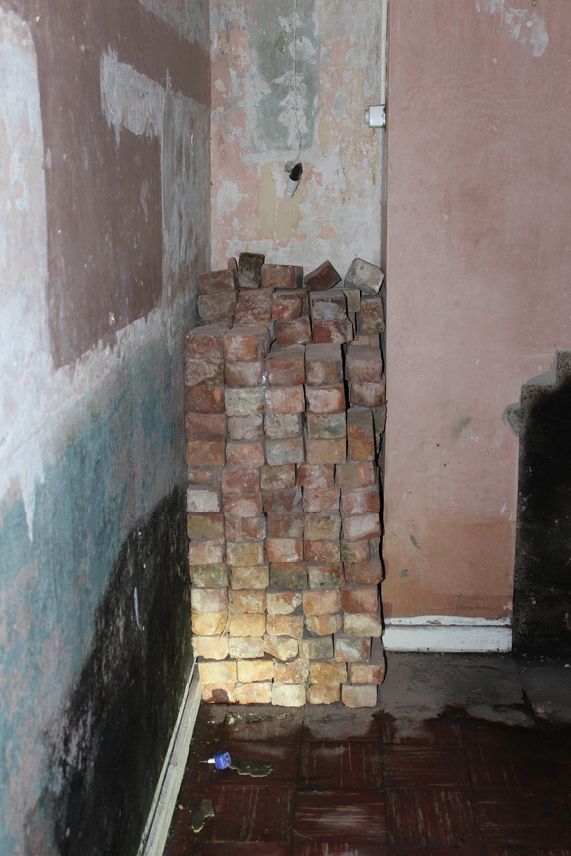
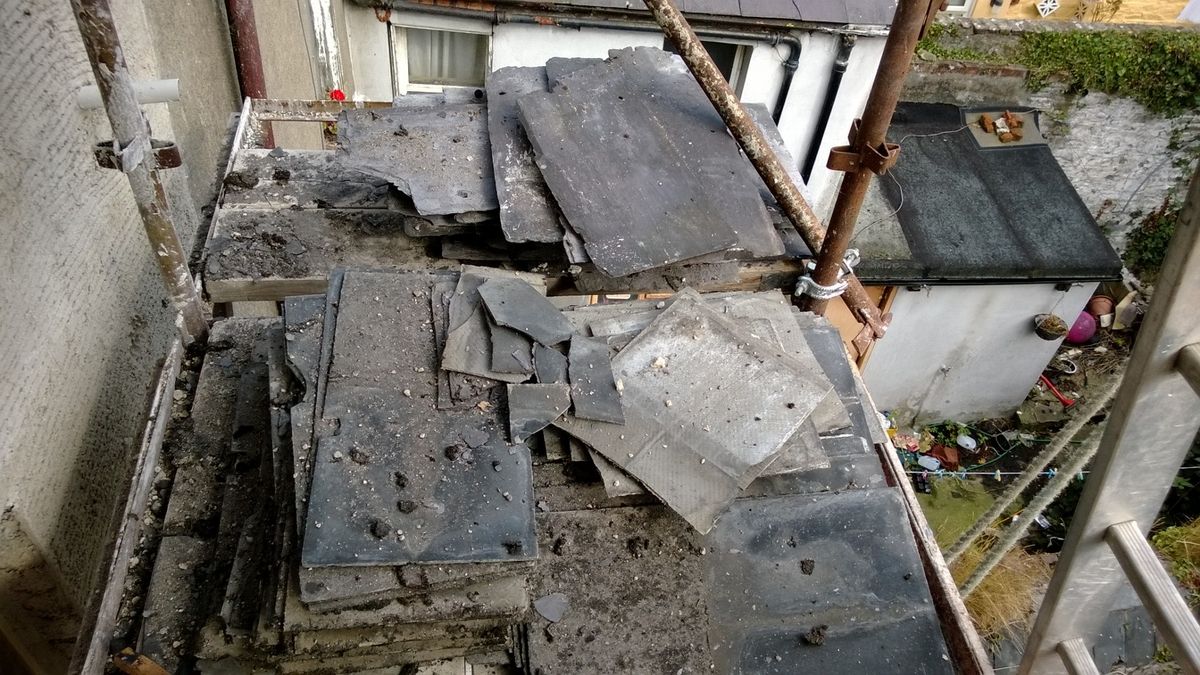
The old removed tiles below. In very poor state to be of any further use, they would crumble in your hands:


The thickness of the outside west wall, exactly twenty inches wide:


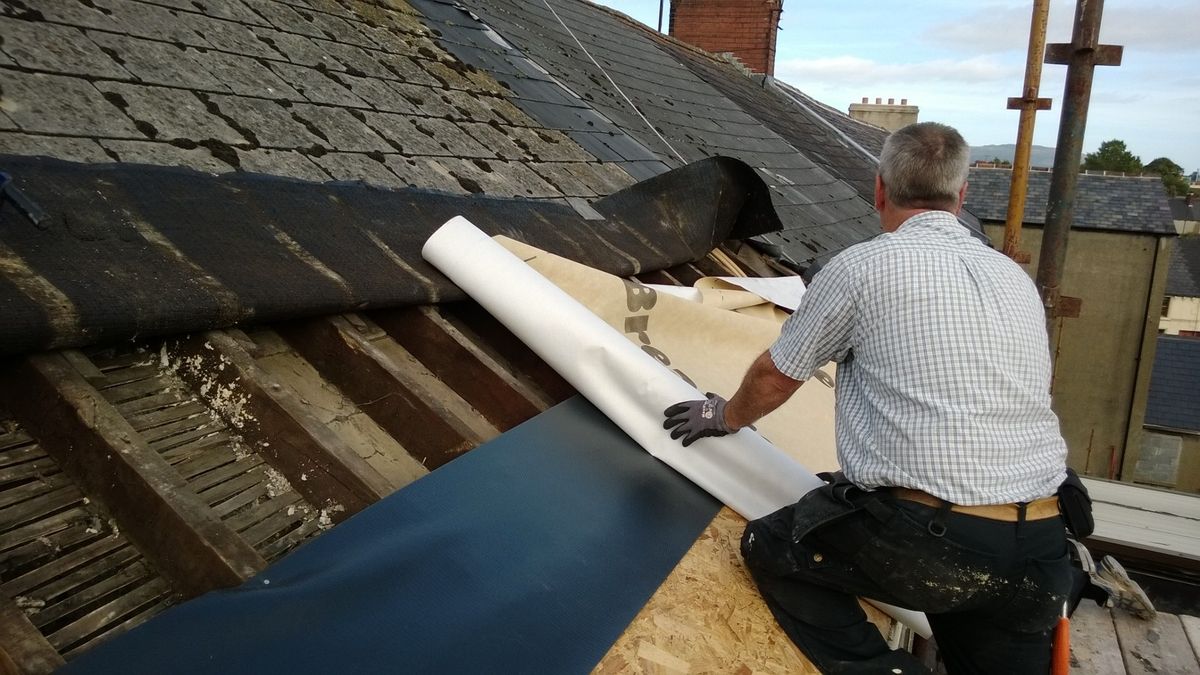
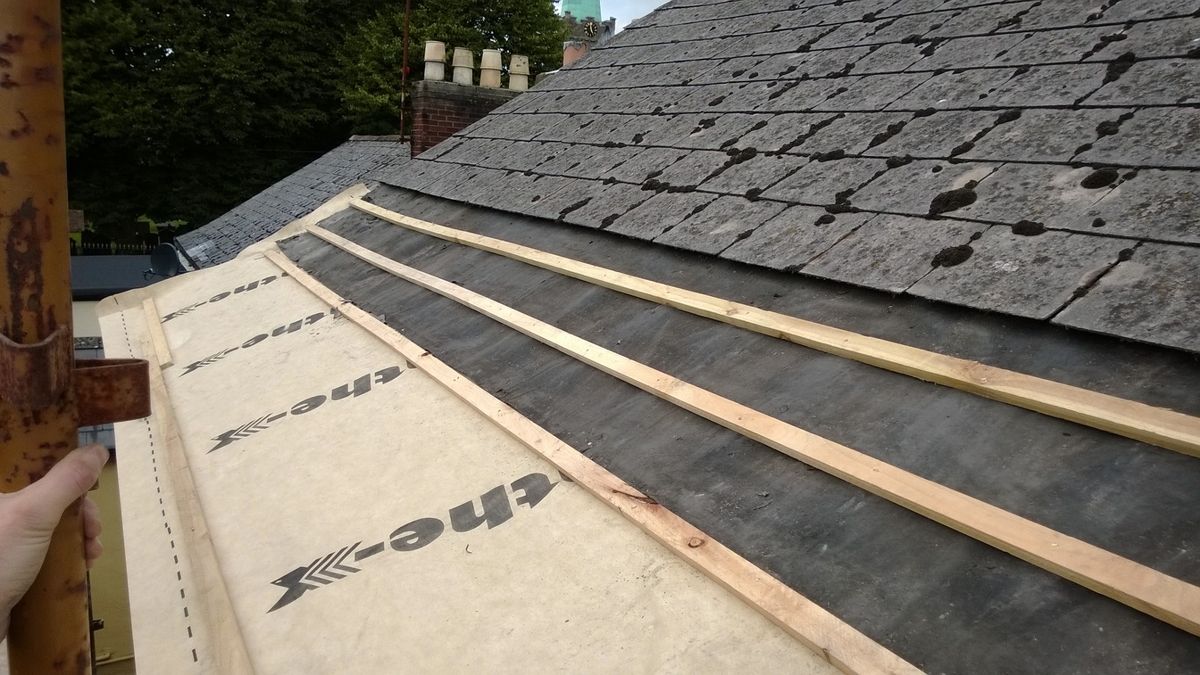
EcoIsle hard at work, adding the new protective layers:


The layers down, secured with new batons:


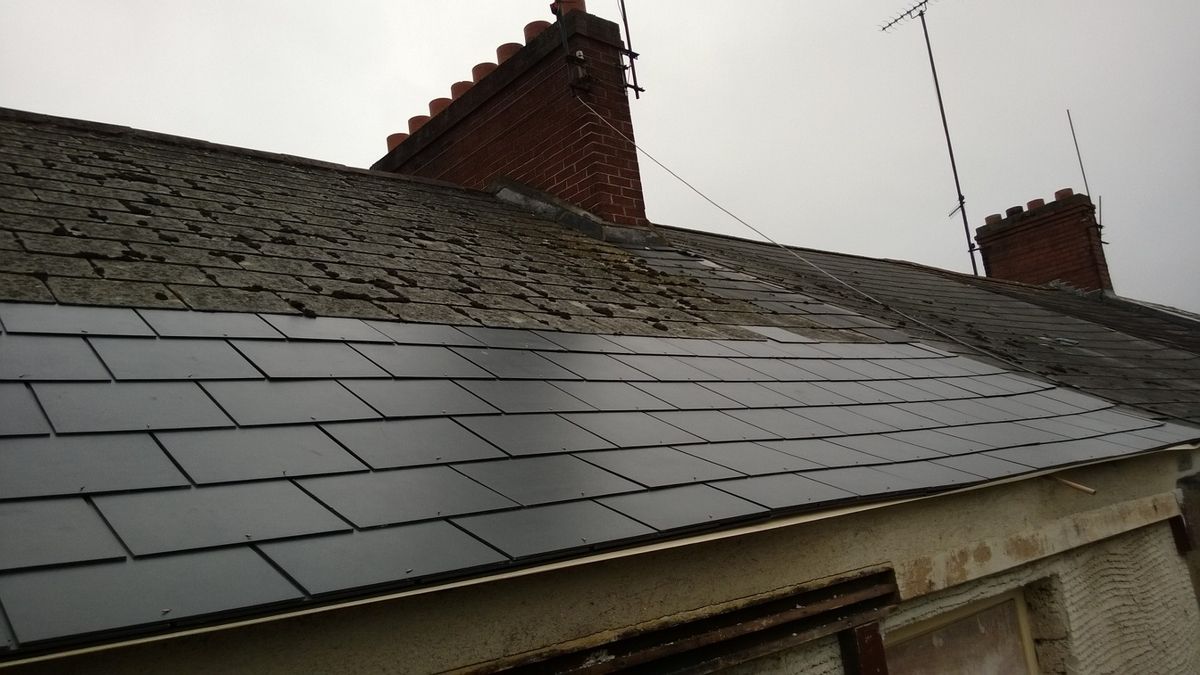
The finished job below. Despite their looks, the tiles are actually exactly the same as the ones above, albeit 20 odd years younger. The spacing on the older tiles is the same also; the gaps have been filled with moss and grime over the years:


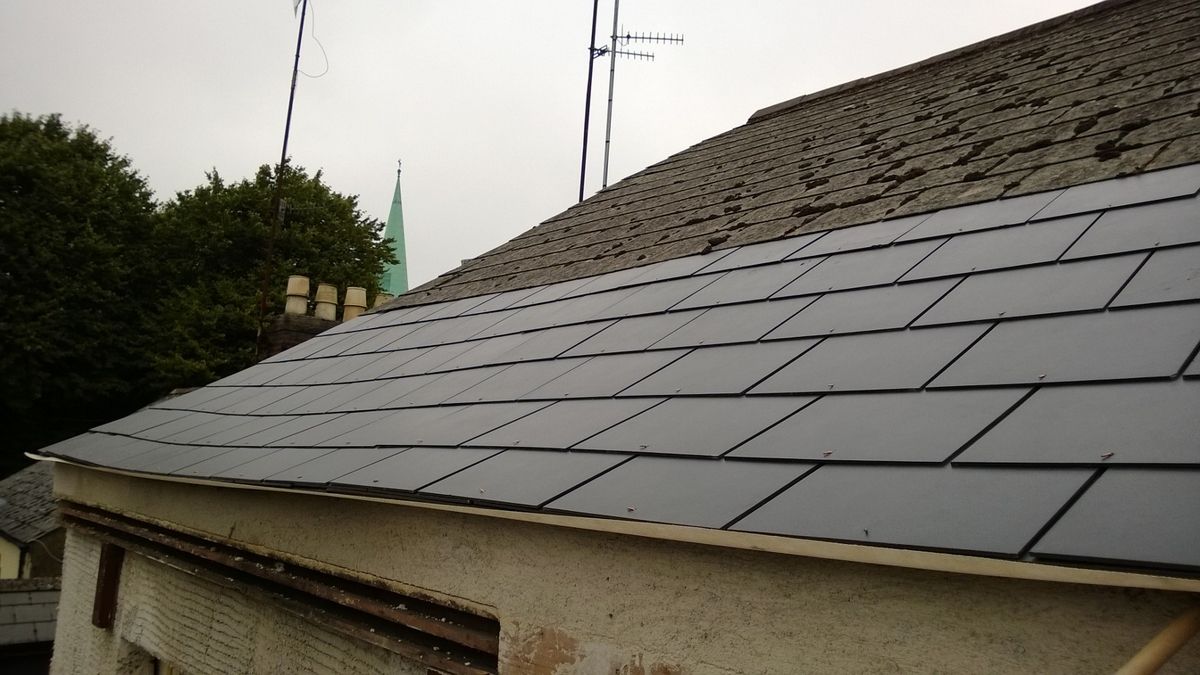
The dip in the roof is caused by a combination of a partially rotted wall plate and sagging rafters. The rafters will be braced from the underside. The main objective of this repair was to keep the water out:


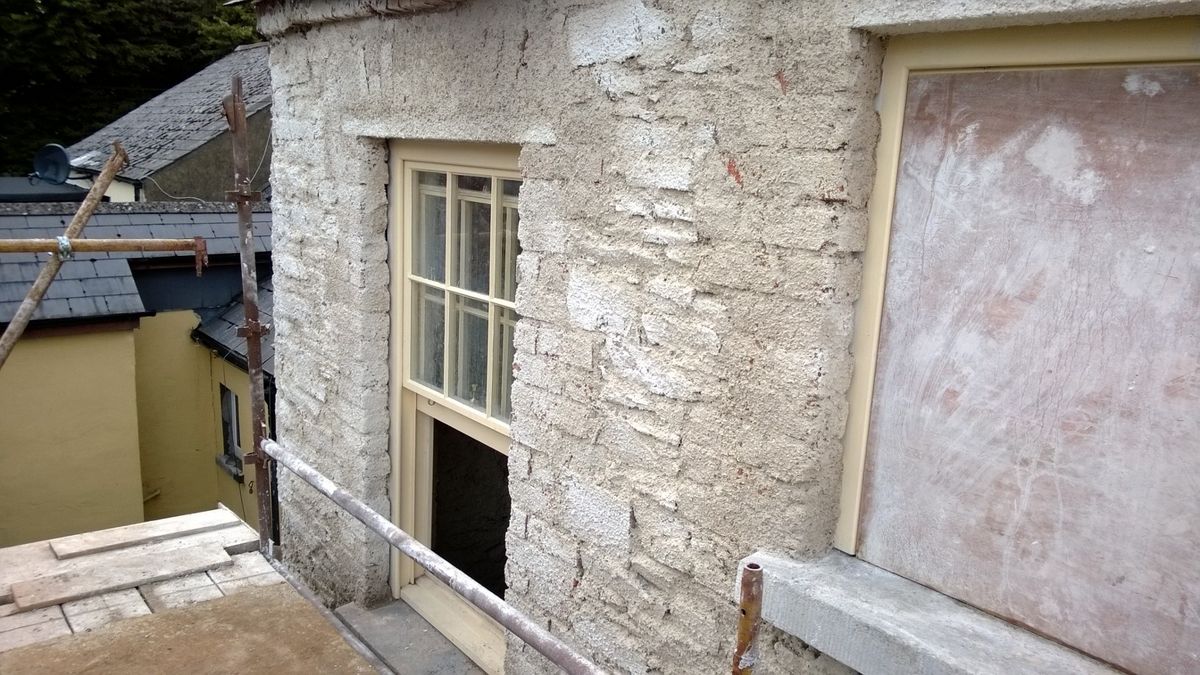
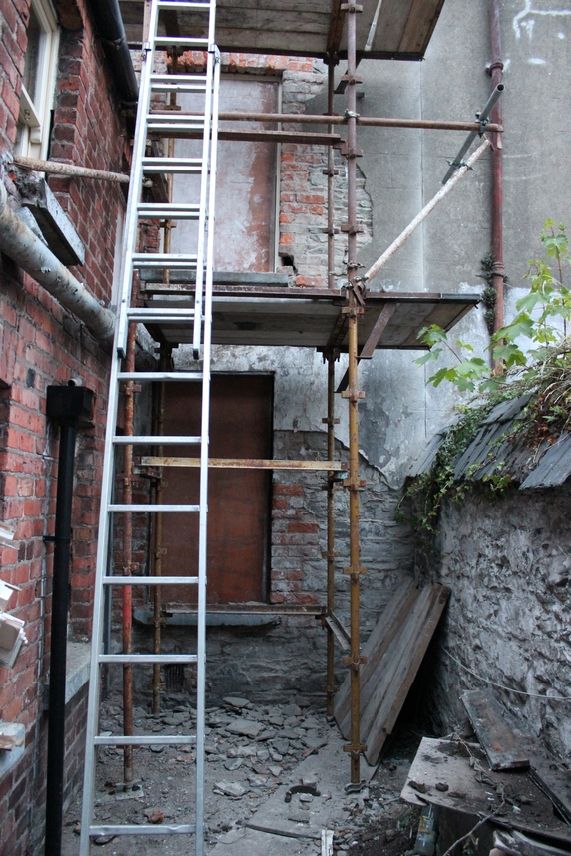
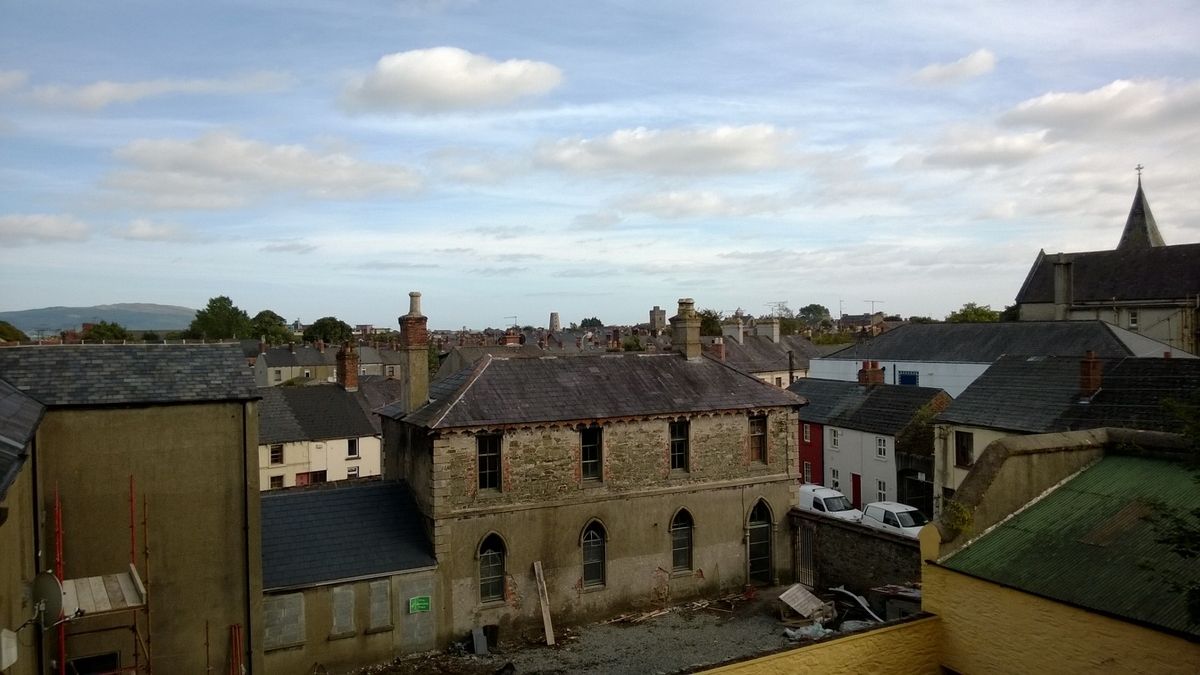
The view of Dundalk from just gutter height:


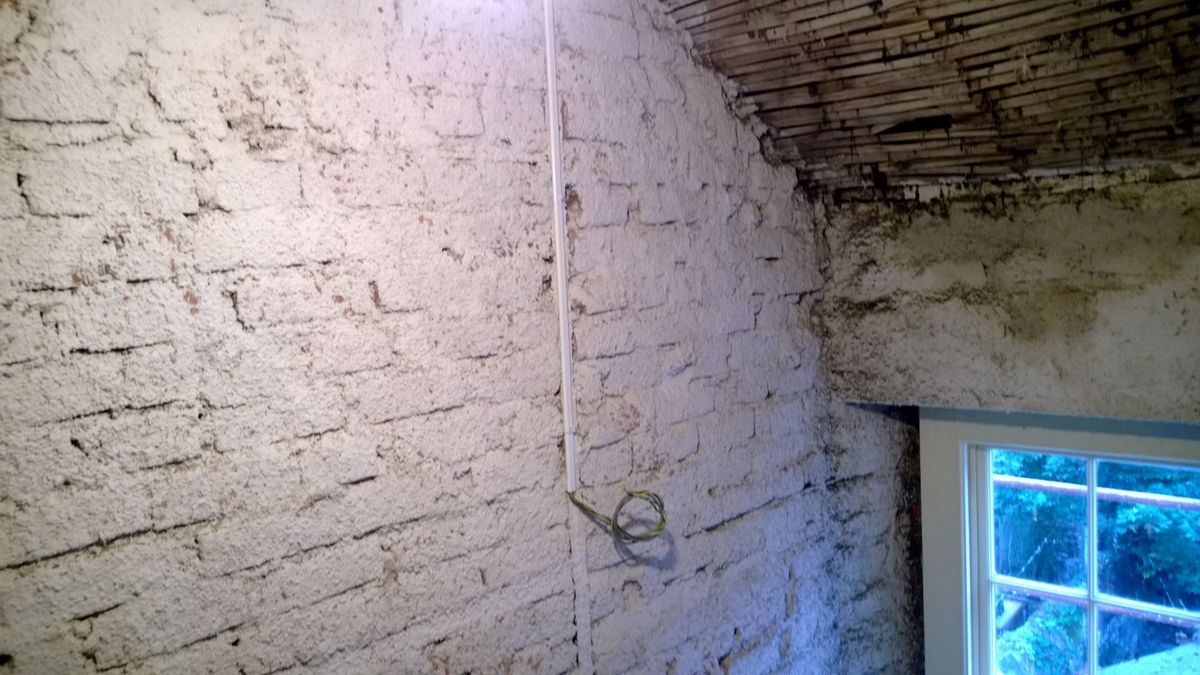
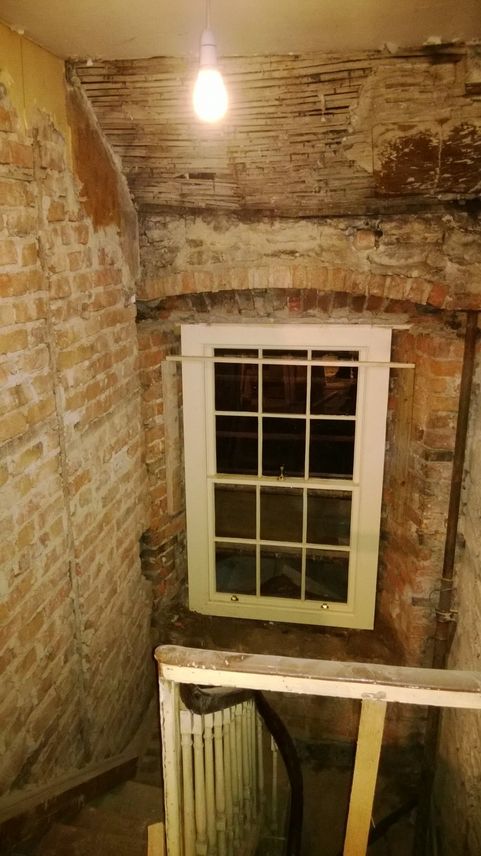
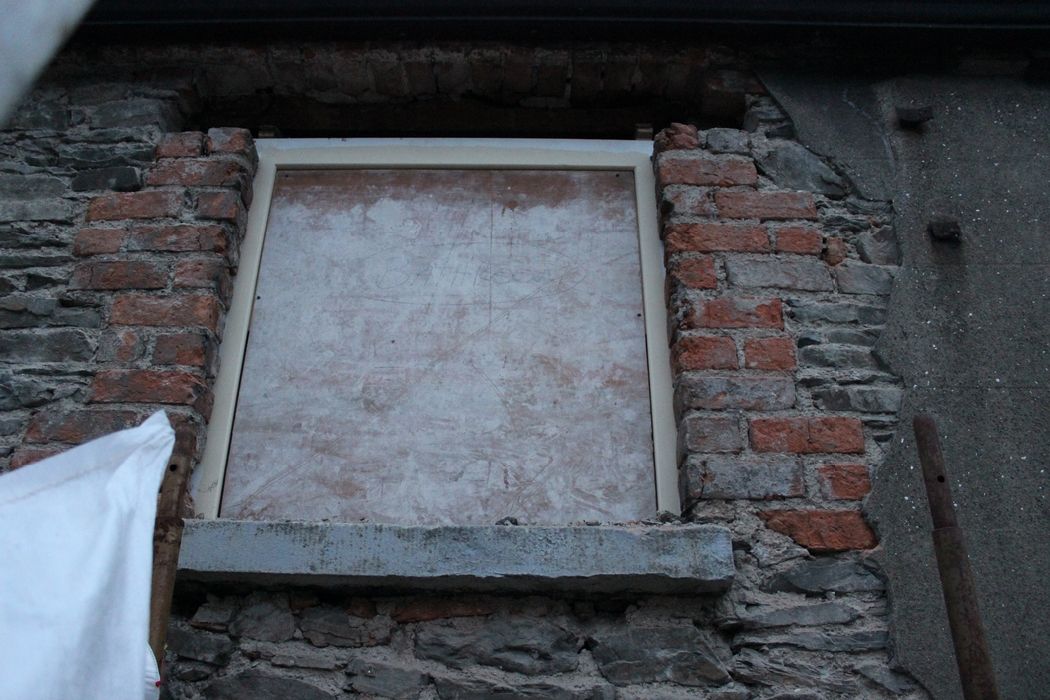
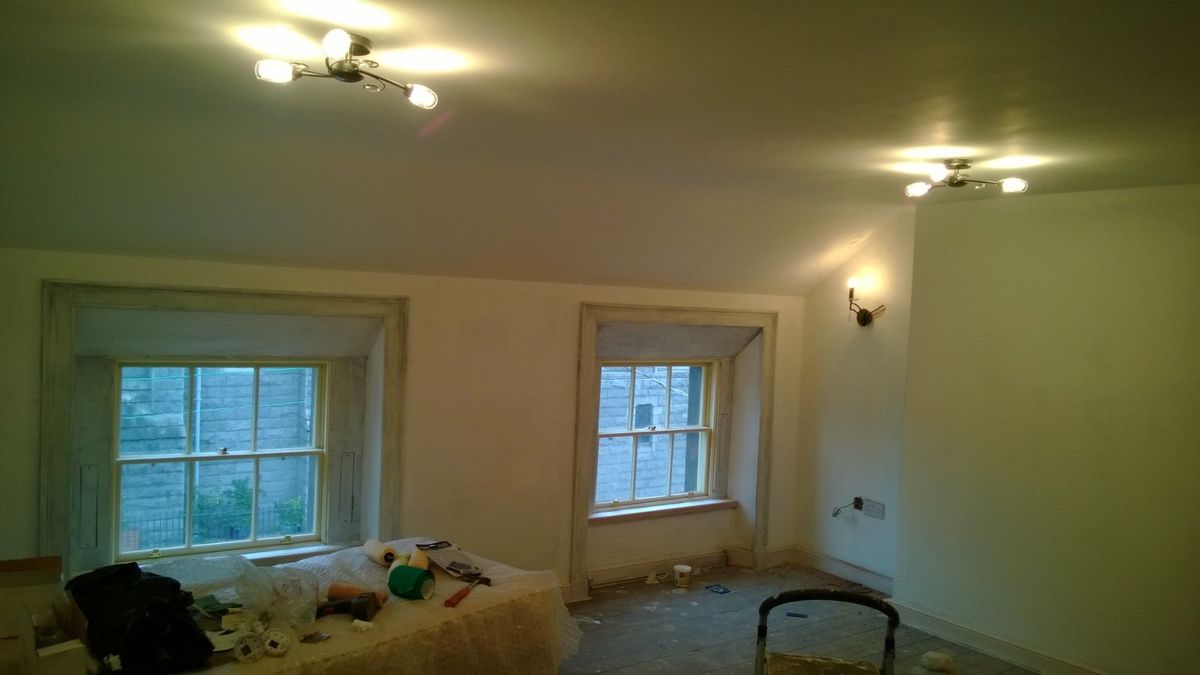
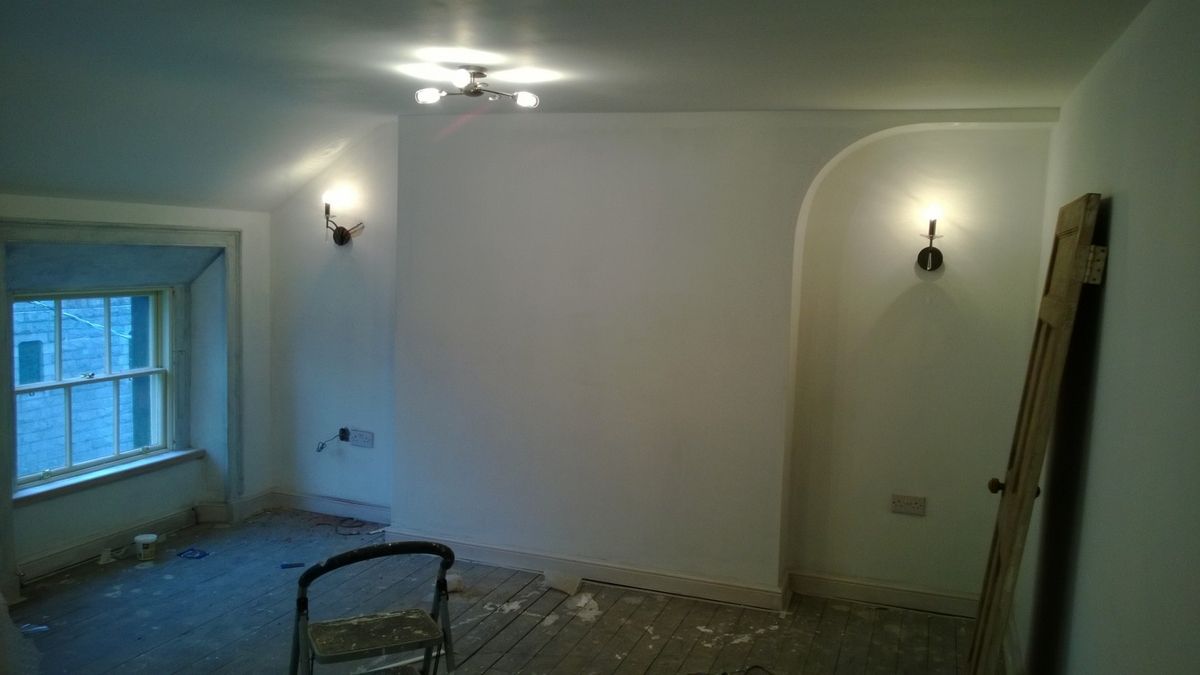
I purchased some new light fitting for both the bedroom and bathroom, the bathroom ones are yet to be installed:


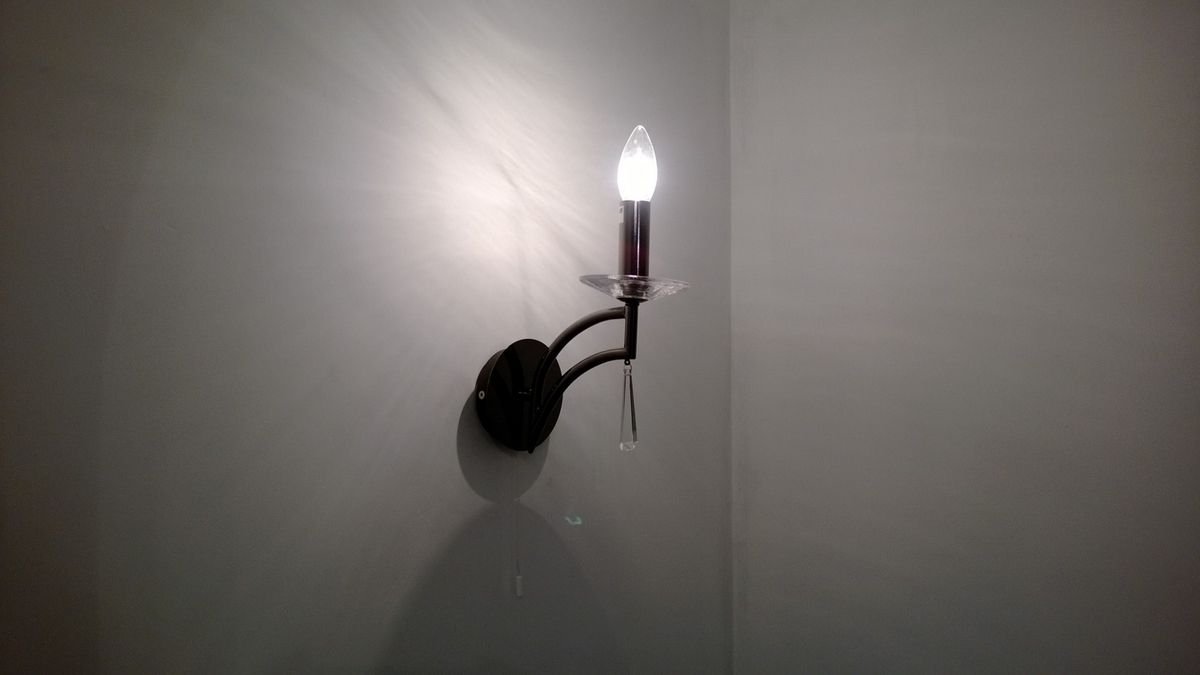
I may remove the hanging decoration and pull cord:


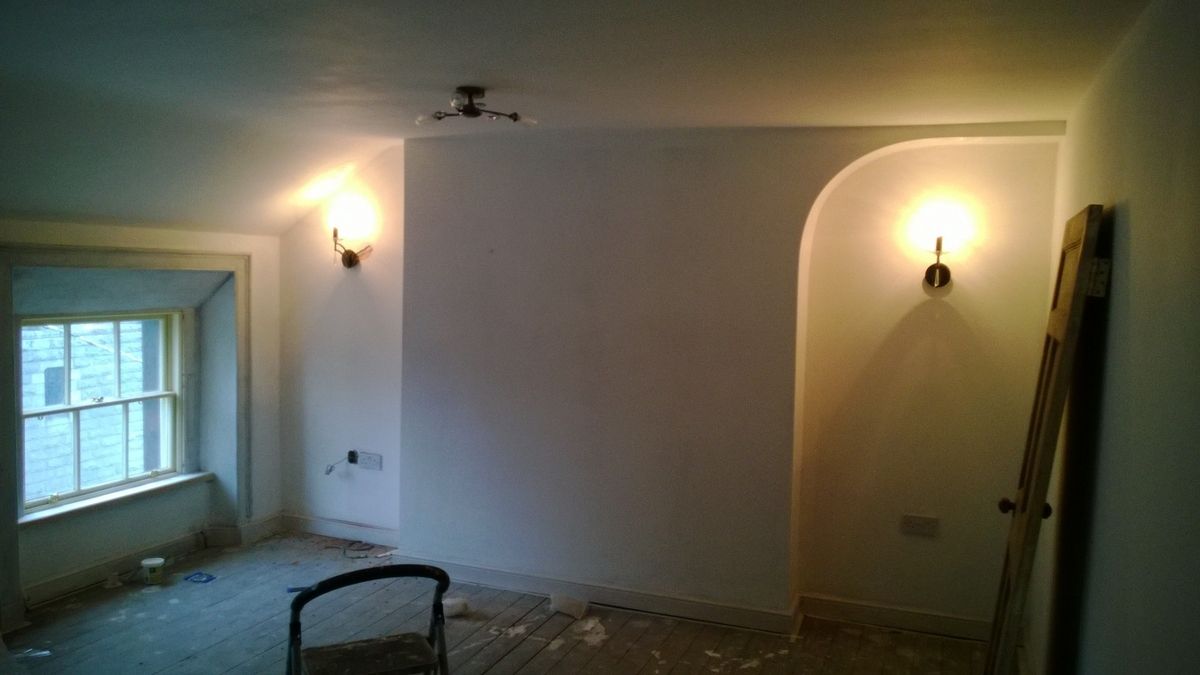
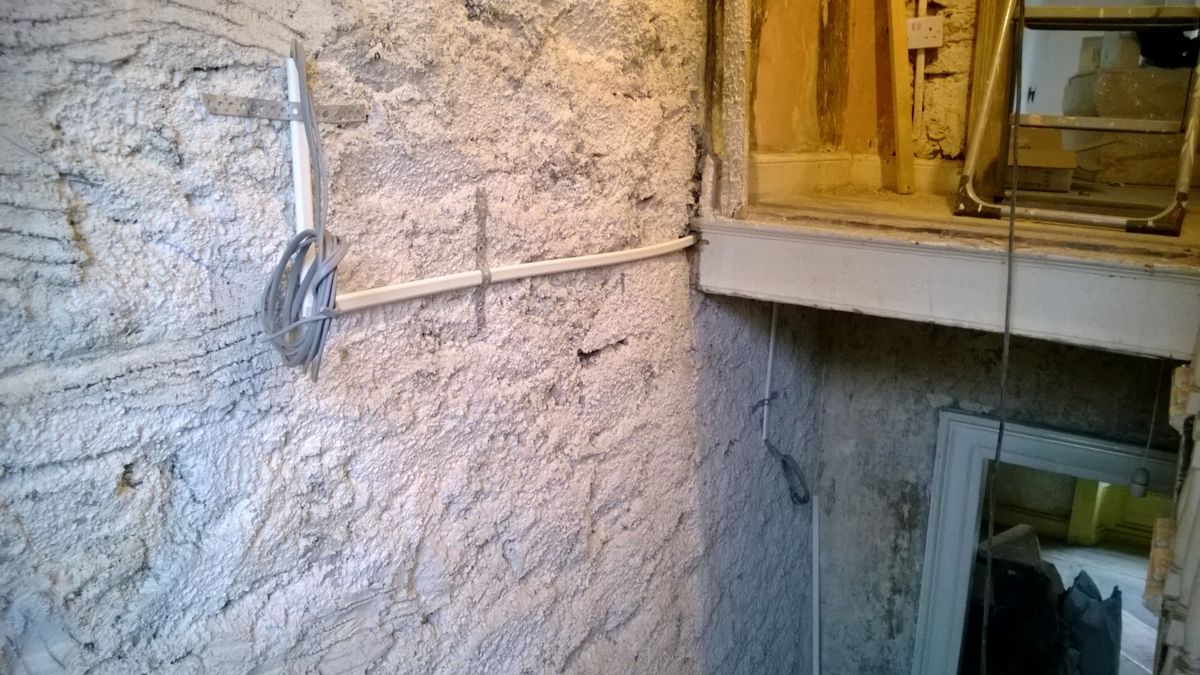
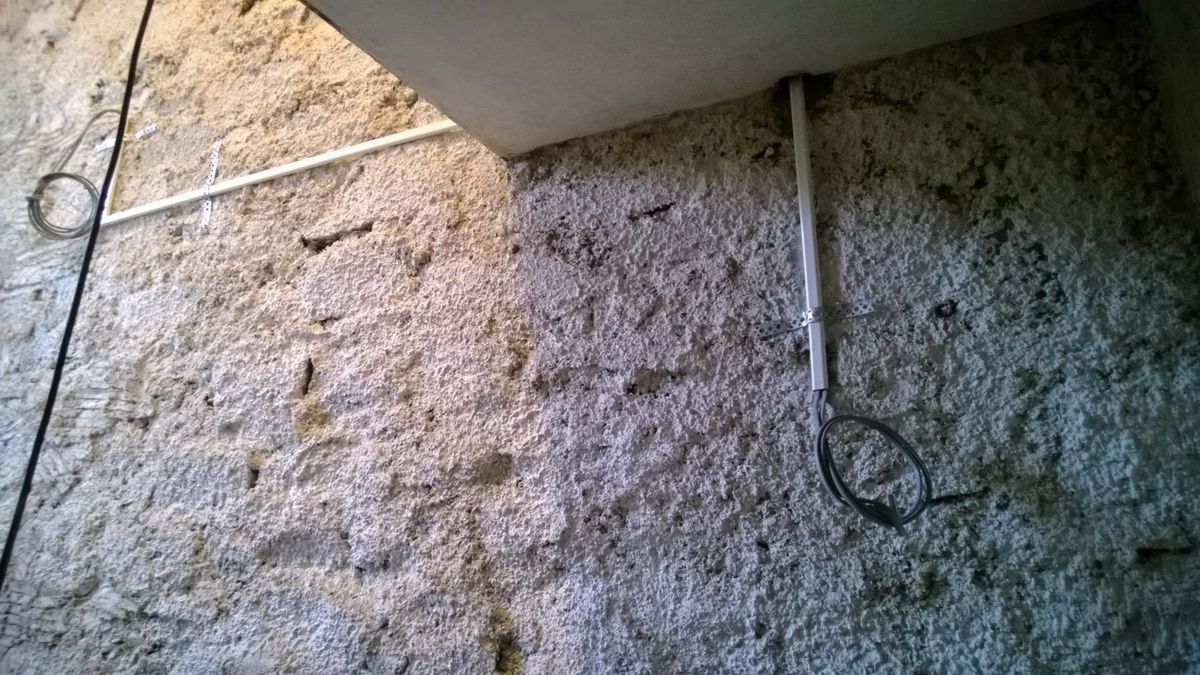
The upper stairs was also wired for wall lights before the plastering is finished. It's not clear yet if the plaster will fully clear the conduit yet, it may have to be chased deeper into the wall:


Tuesday 17 September 2013

Rendering Begins

The first coat of render was applied on Friday, the scratch coat. The idea of the first coat is to even out the wall surface and to give a key for following coats to adhere to.


The inside of the house was also started. Before the scratch coat was applied to the stair wall, steel rods were inserted to tie the large crack together. The opposite red brick wall was also tied to the outside wall with more steel rods:


On the first floor:


Various sections of internal plaster were also added to:


I also opened up the first floor fireplace:


It's a little unusual, as it shows signs of use (the entire fireplace area was full to the top with three feet of soot), yet there is no hearth or signs that there ever was one.


Thursday 12 September 2013

Window Head Replacement

Where required (in nearly all instances), dilapidated brick window heads are being reinforced with concrete heads. Apologies for the pictures, they were taken 25ft in the air in near darkness. :/

The top floor stair window below. You can see the concrete head cemented into place below the red brick:


The inside view of the same window below. This has yet to be reinforced and is currently supported in place:


A reminder below of what it looked like before. And proof that the timber head was doing little in the way of support:


The new bathroom window head:


The waste from the bathroom now cemented in place:


A view of the stairway wall, bathroom on opposite side. Note how this interior wall is in no way adjoined to the external wall:


A view of the top of the stairs, much work to be done!


Wednesday 11 September 2013

More Render Removal

Work is progressing at a decent rate at the back of the house. Windows are boarded up for protection and the red brick window heads and surrounds are gradually being exposed:

More render removed:


First floor rear window:


Above the return:


Top floor bathroom window:


Removed head:


Top floor stair window:


The corner of the house; gives an indication of the current sand/cement render thickness, as well as how well the stonework is finished:


Some of the removed red brick: