Thursday 23 May 2013

Plastering Window Reveals

So just a small update this week. The top floor front window reveals and the area below each window was annoying me, in that it was all covered up with cheap pieces of 5mm board, as seen below:


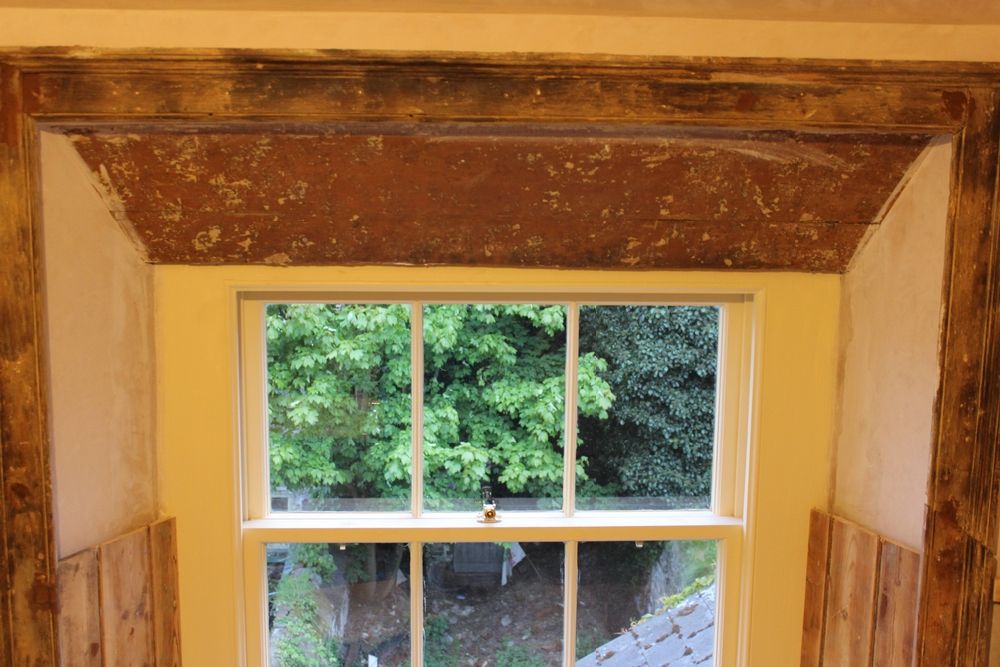
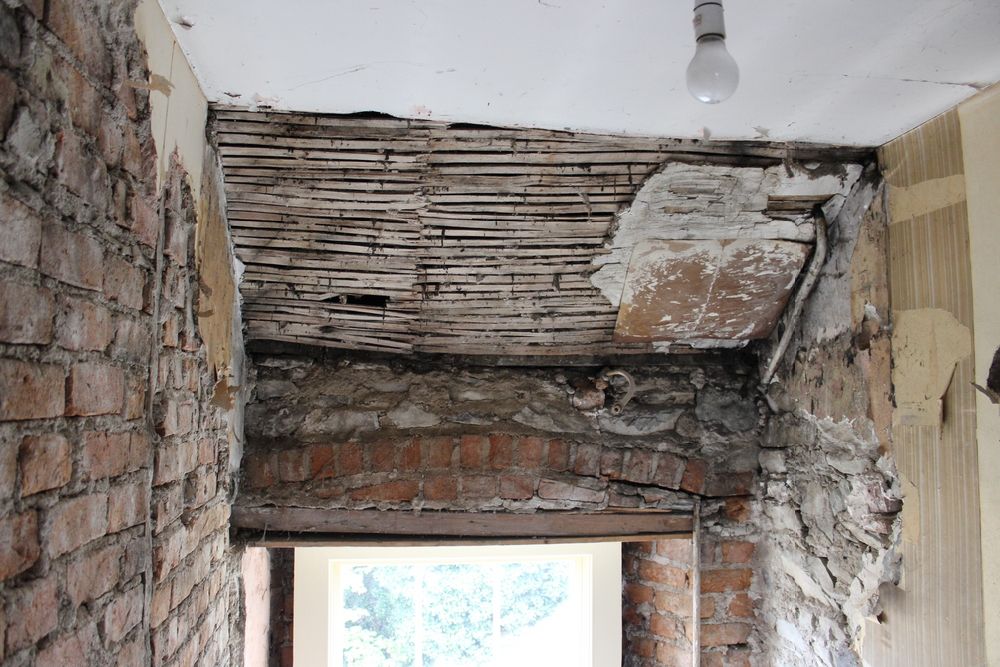
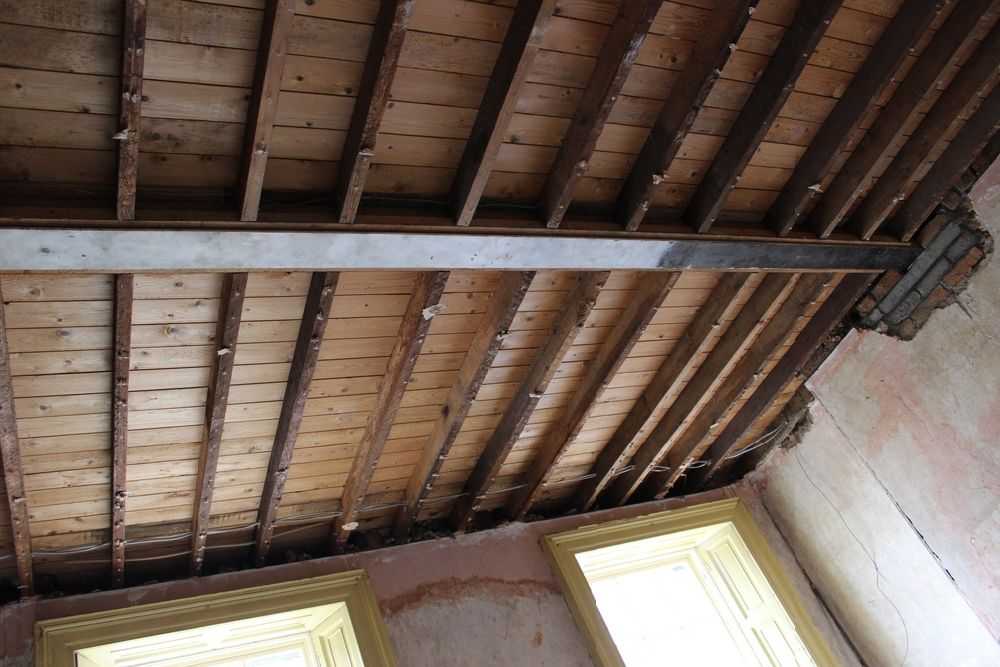
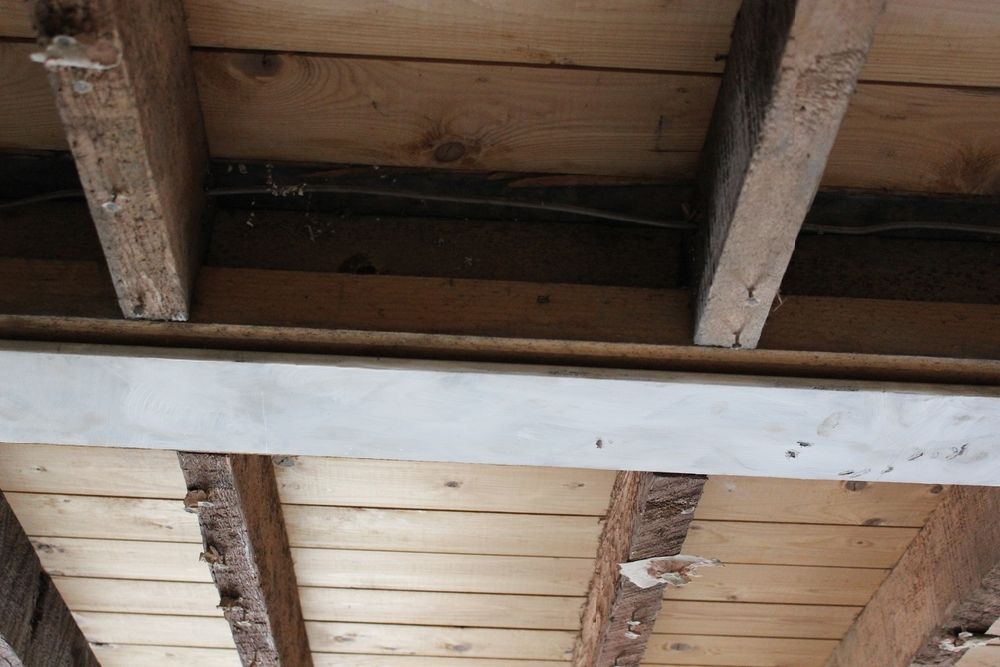
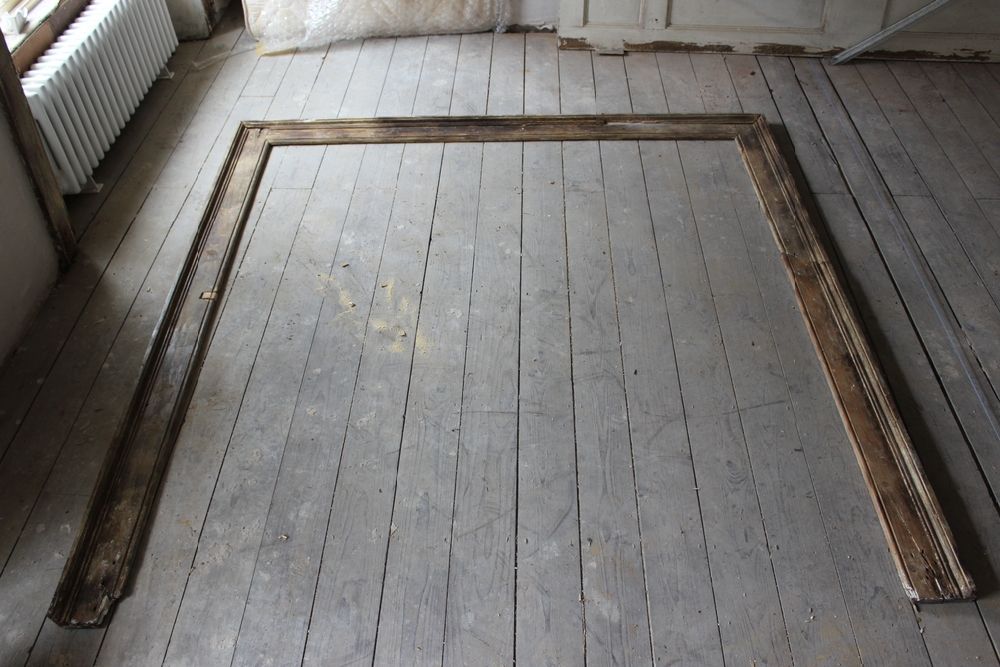
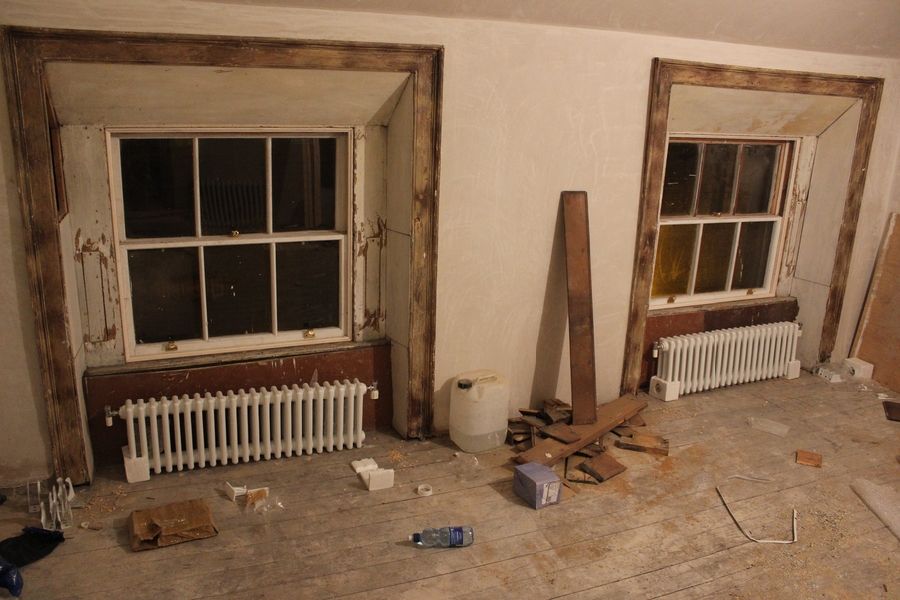
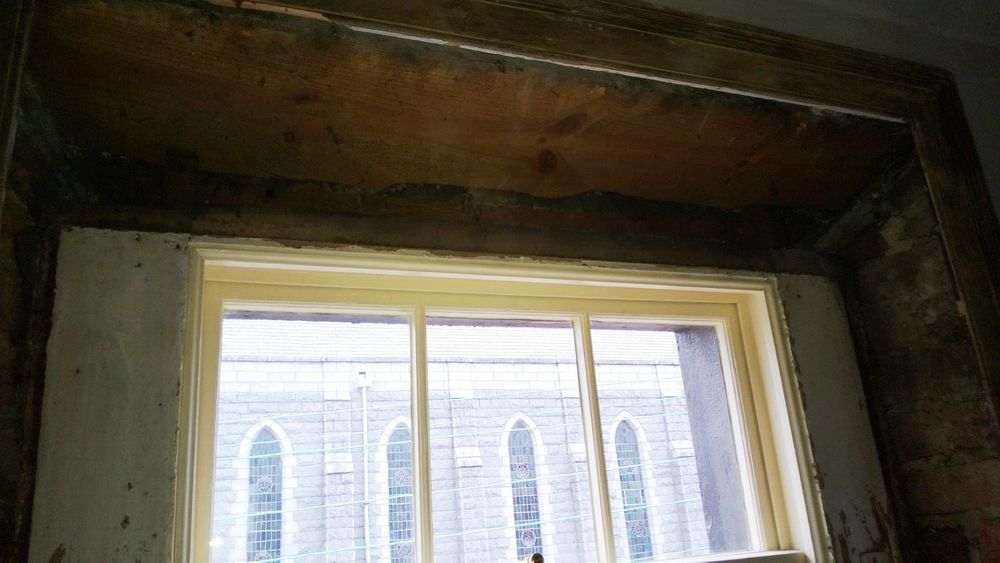
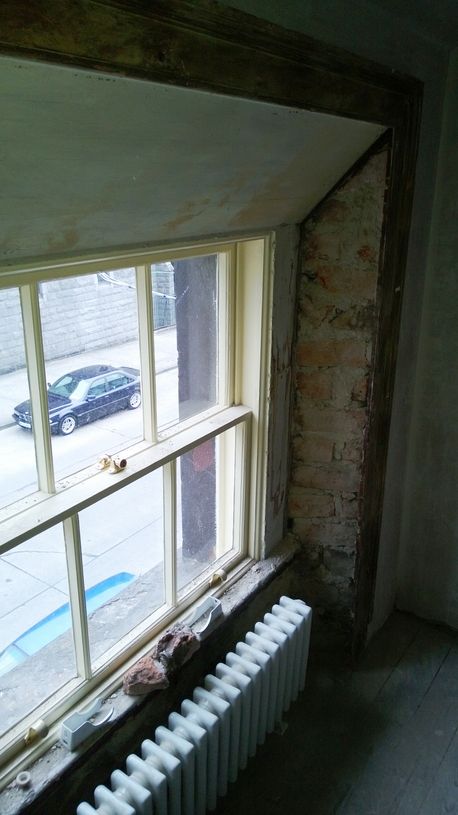
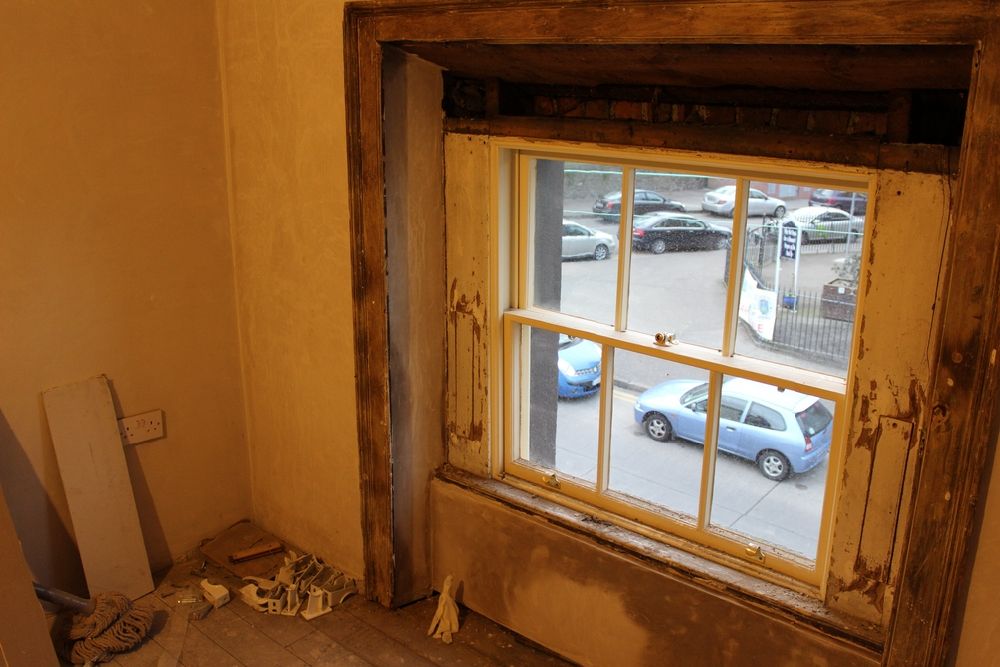
The idea the whole time was to replace the pieces of board with larger, newer, cleaner cut board. But on removal of these panels, it became clear that the reveals were originally plastered, set back behind the architrave. This plaster was in very poor condition, so I set about removing it and exposing the red brick behind. It also exposed the window head, comprised of what can only be described as a giant piece of tree:


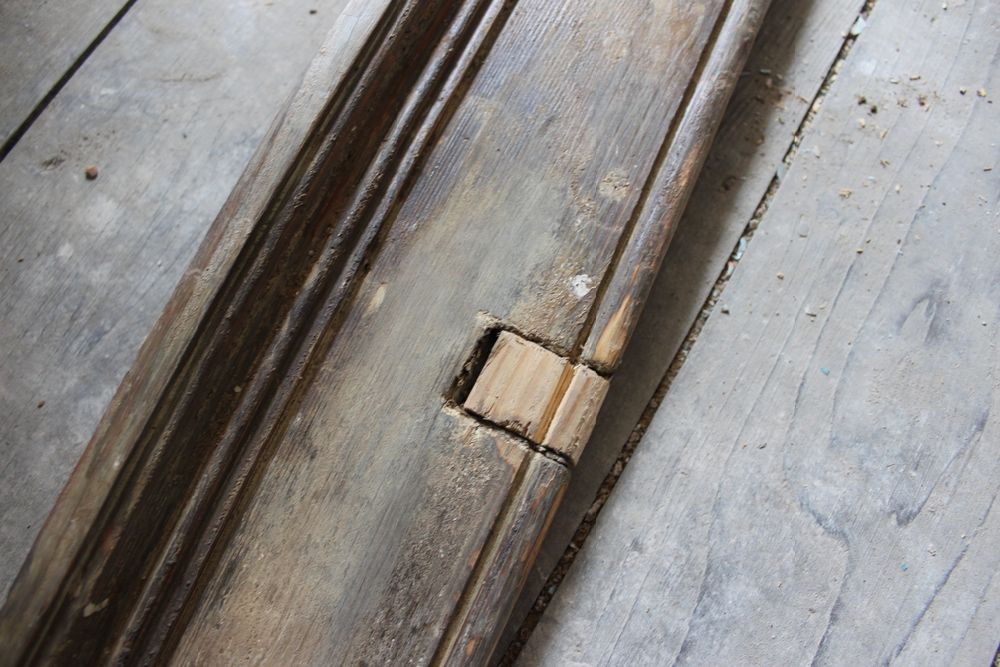
The window head appears to be a very crudely cut tree trunk, which is set rock solid in the wall. It's un-planed and rough to the touch.


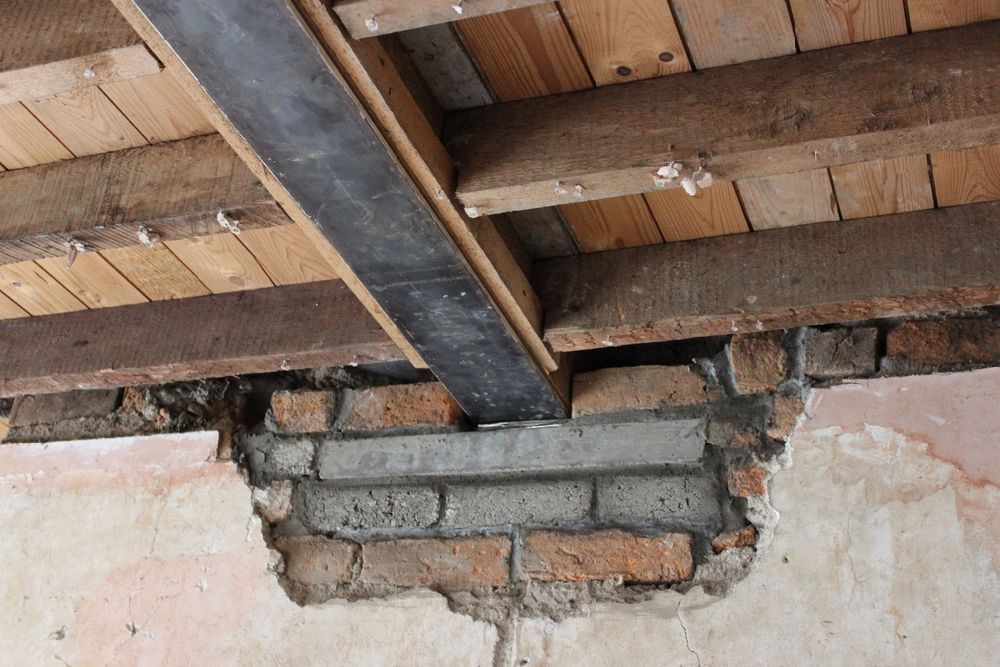
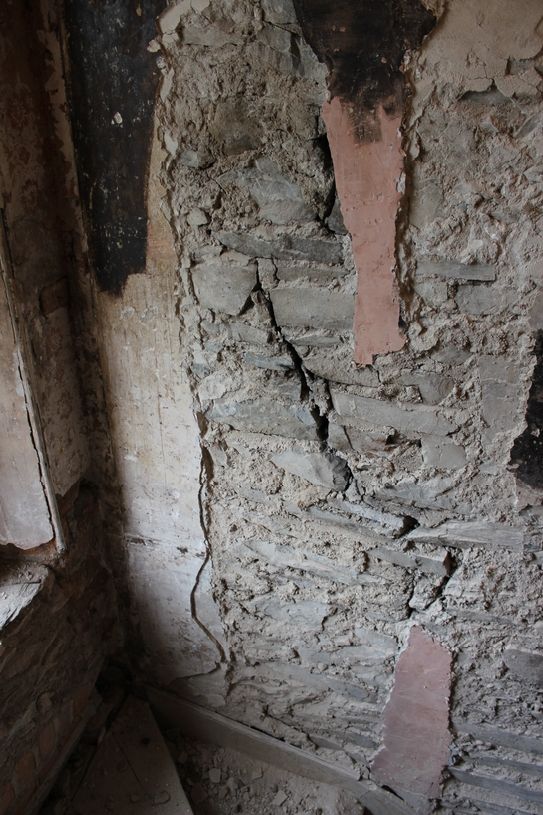
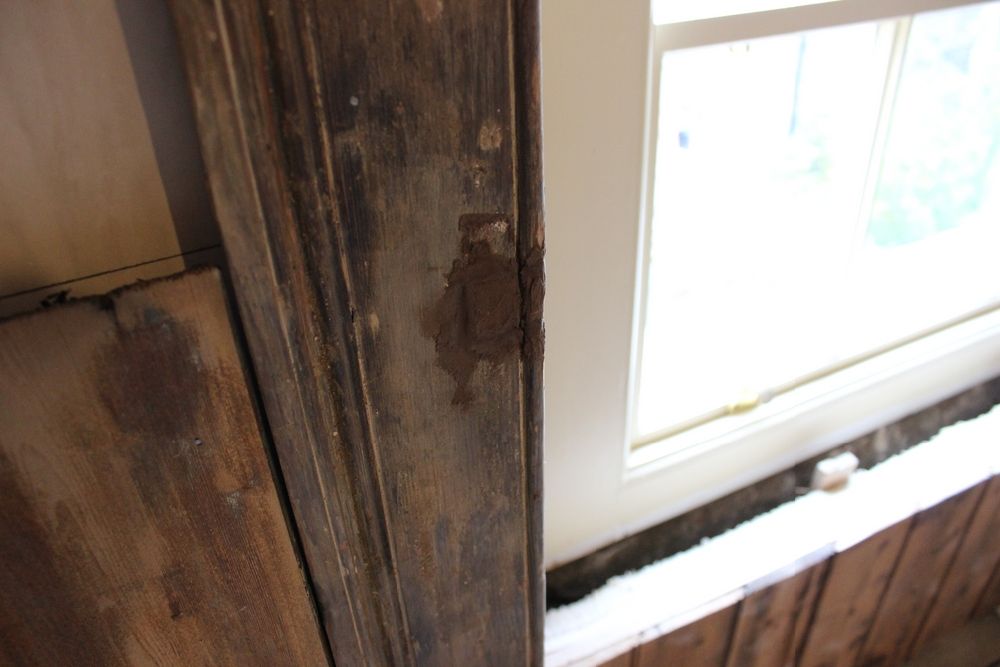
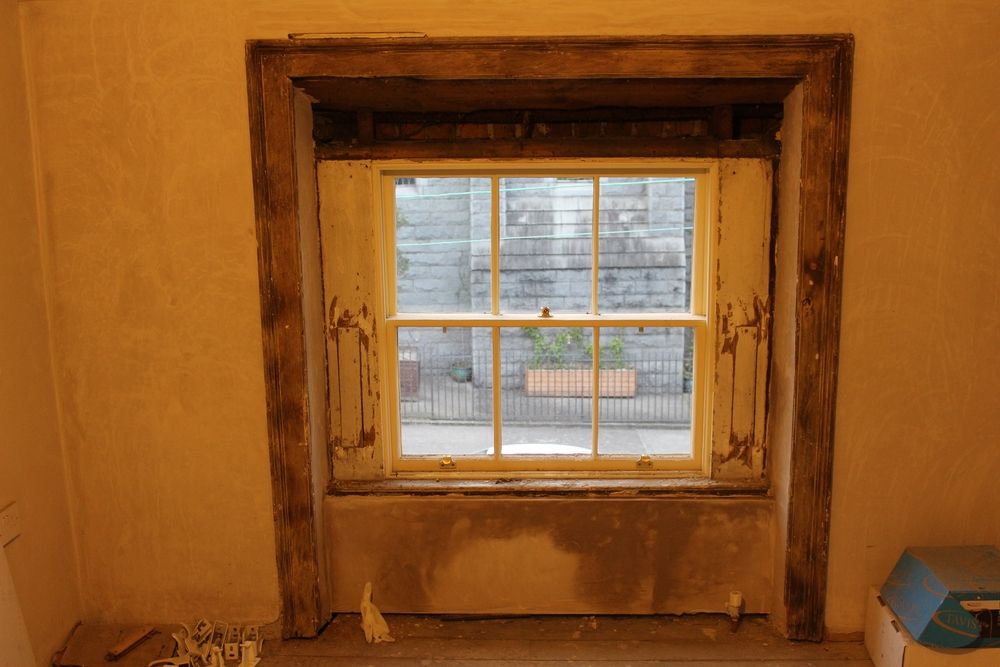
The right hand window below. After the amount of effort removing the cracked wooden panel that covered the left window head, I decided to leave this one in place as it's undamaged and should sand nicely:


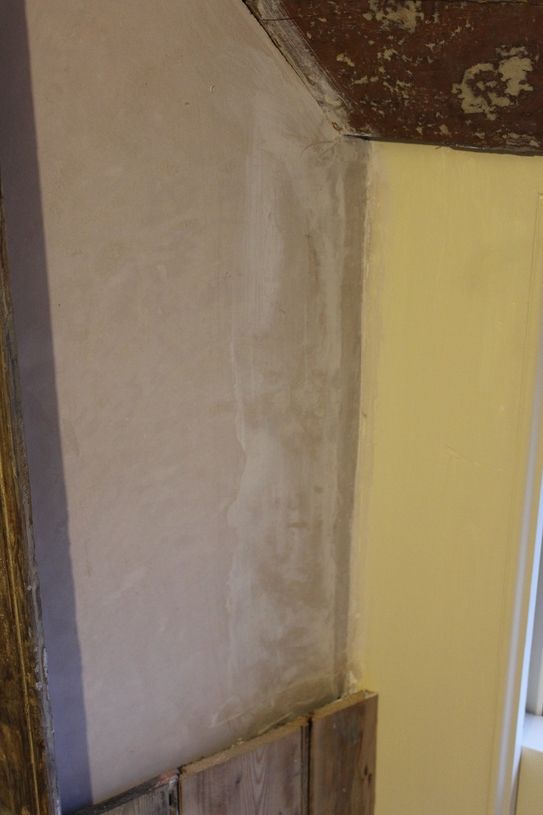
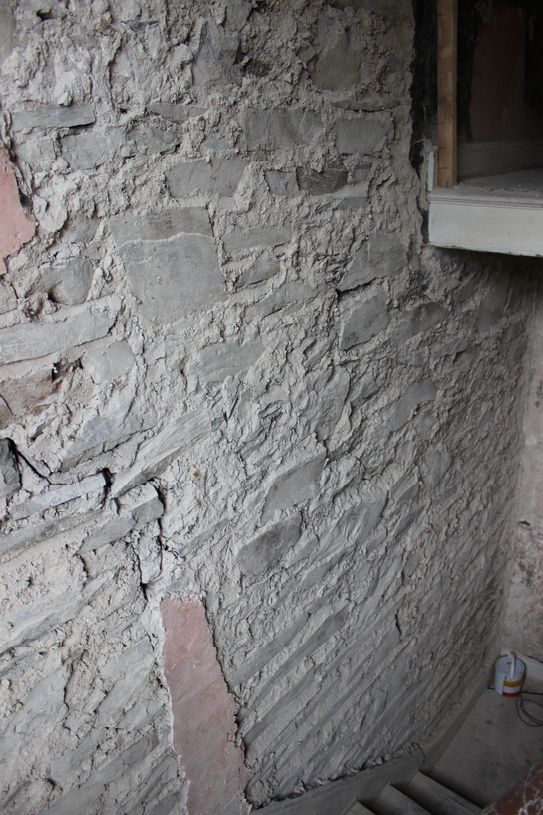
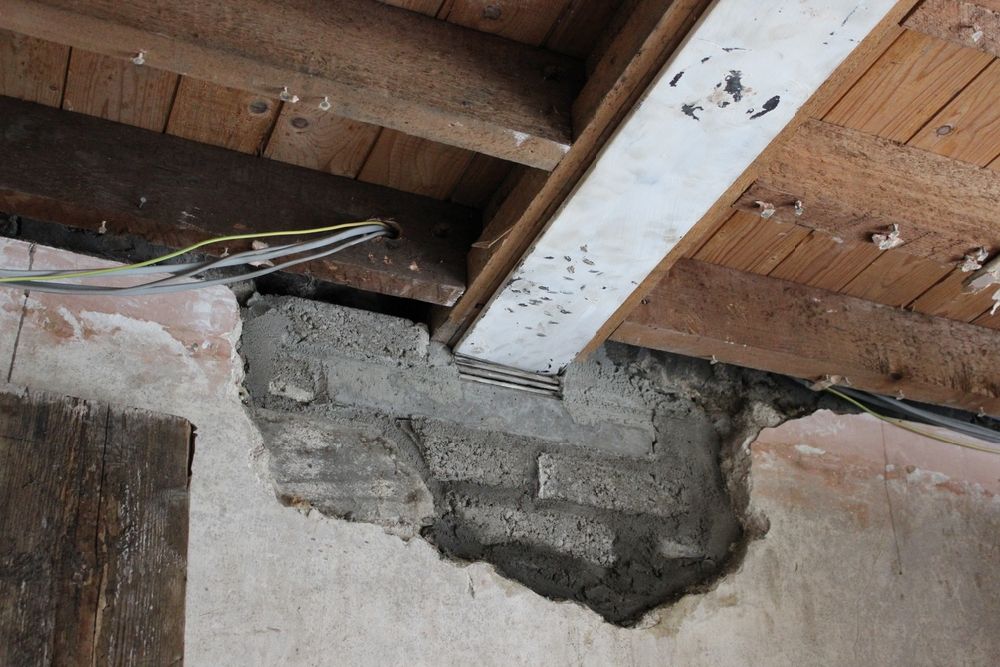
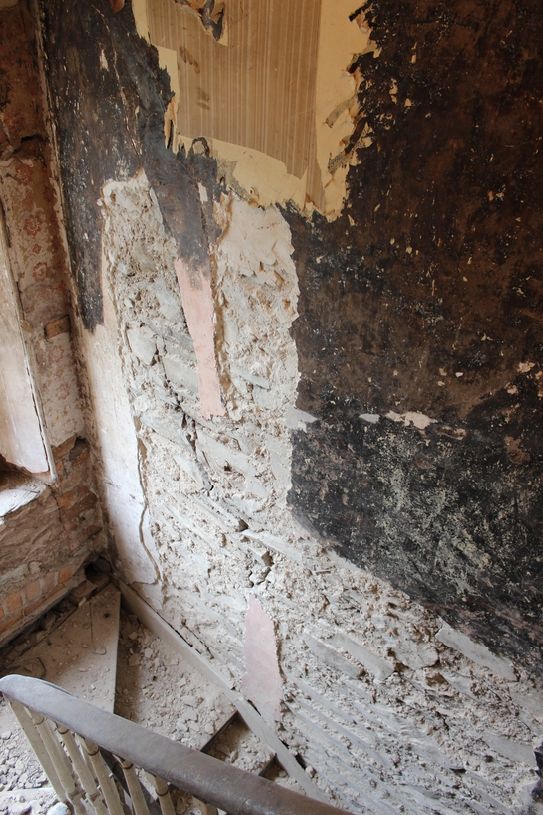
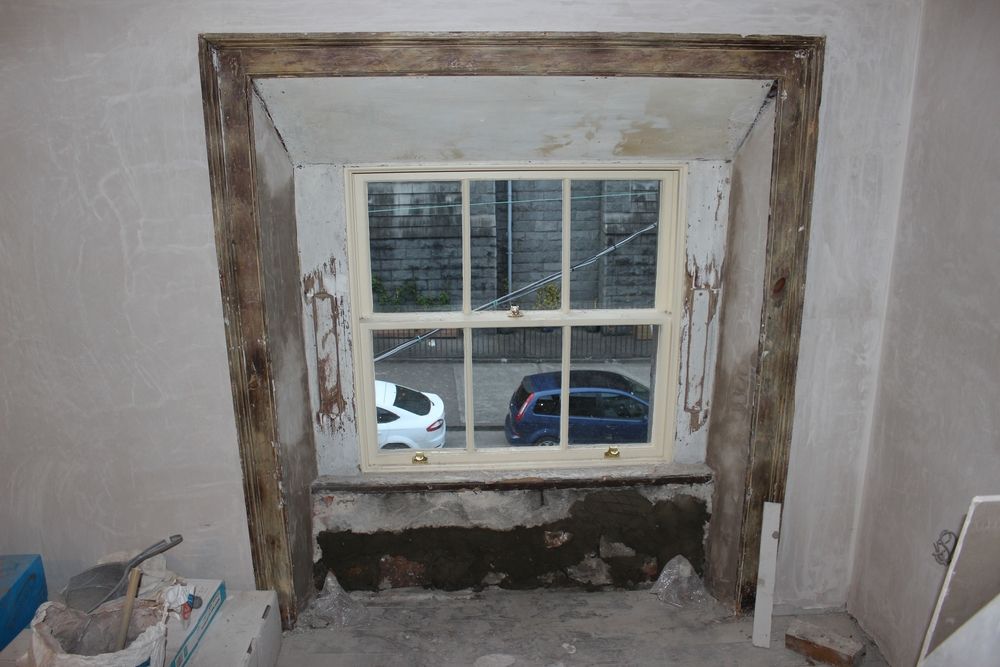
Once the wood and plaster had been removed from the windows, the reveals and under the windows was all plastered (the poor lighting makes it look rough, when in fact it's perfectly smooth):


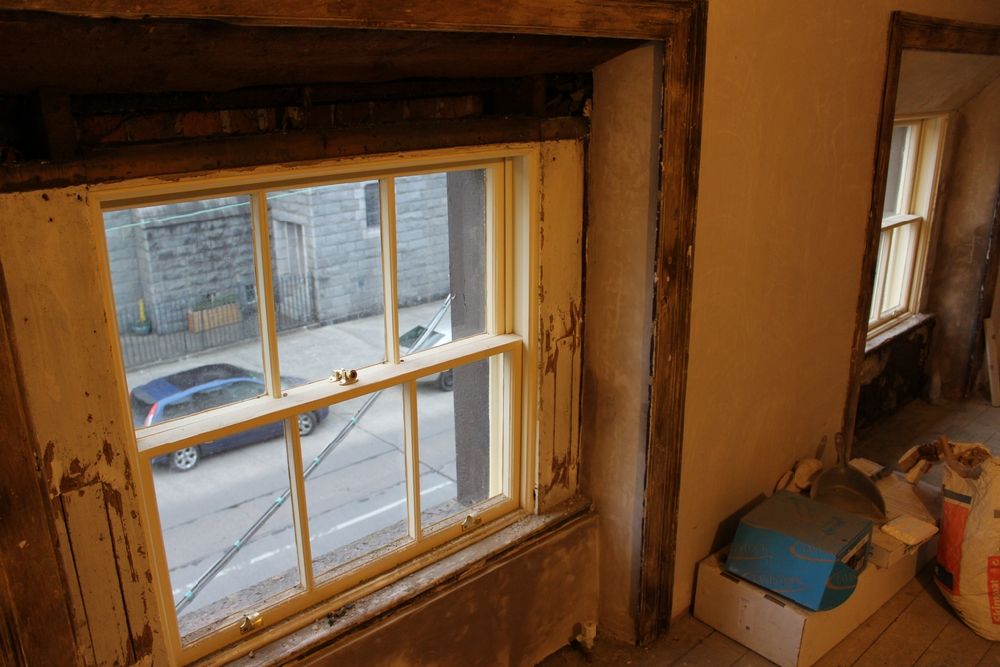
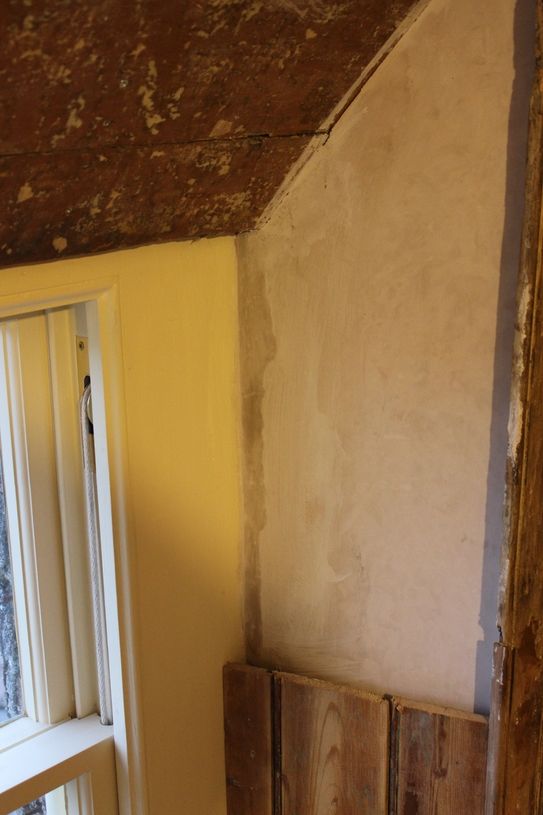
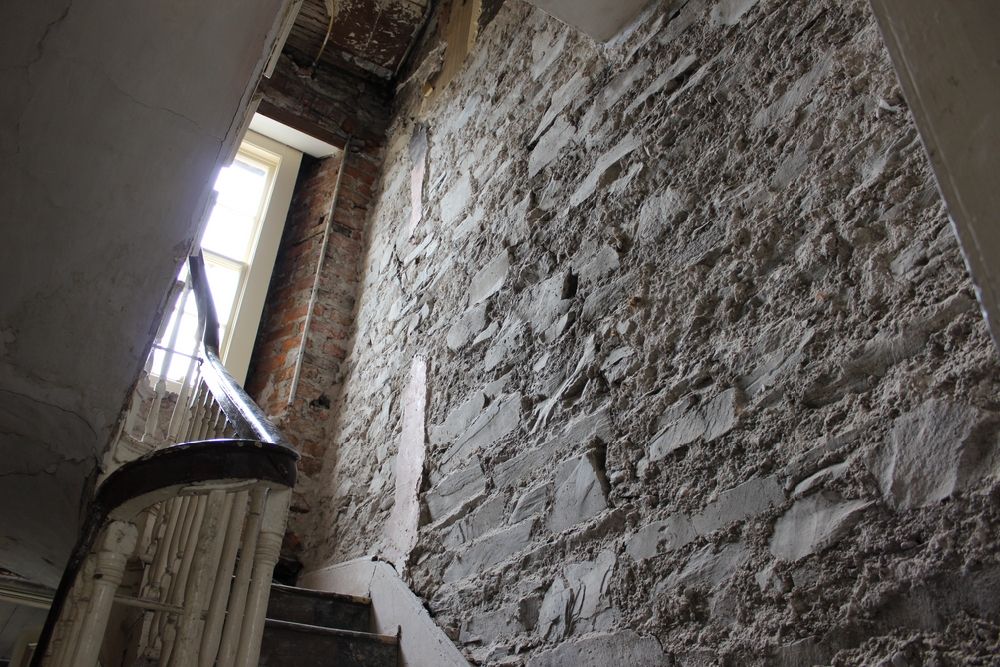
Under the right hand window needed to be filled as so much lime mortar and small bits of rubble fell out when the plaster came off, it has yet to be plastered:


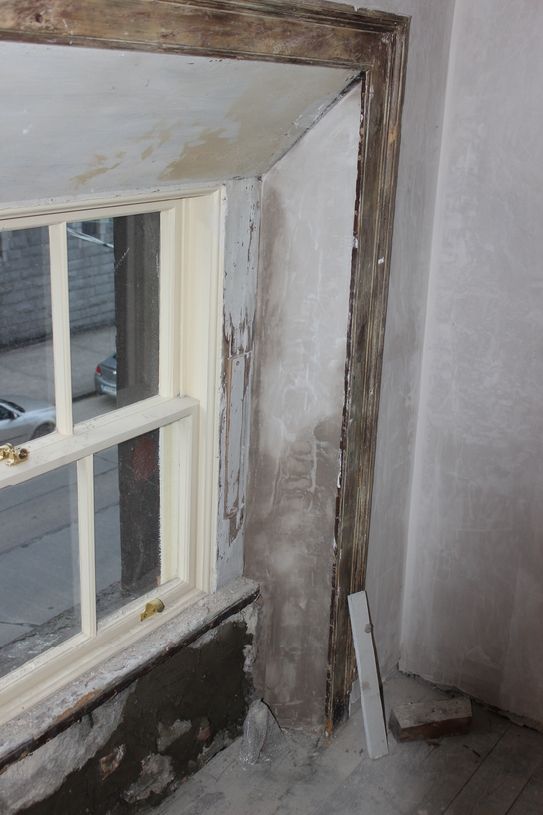
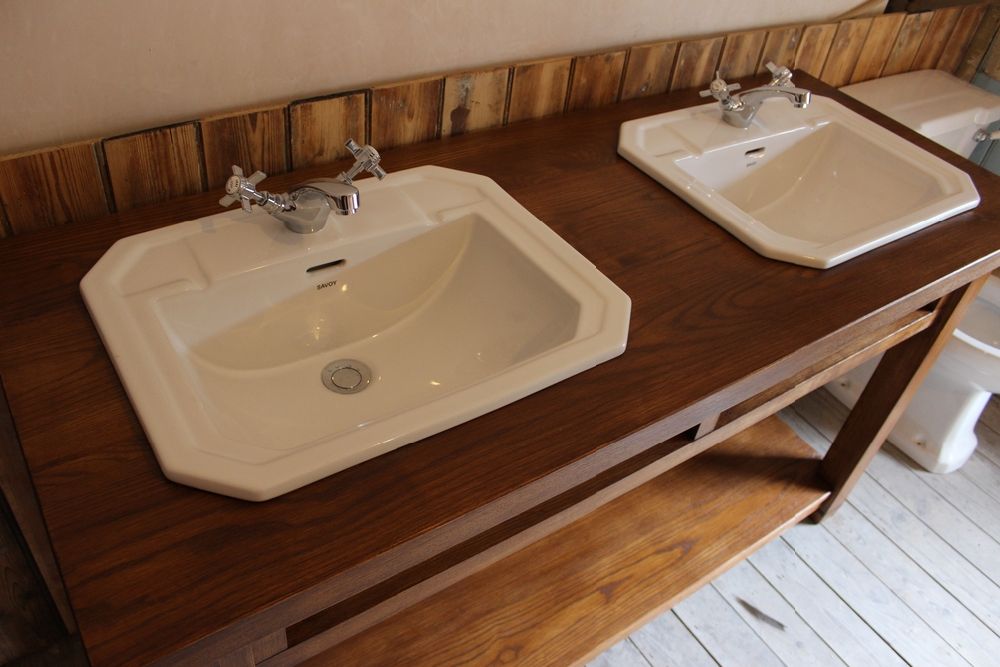
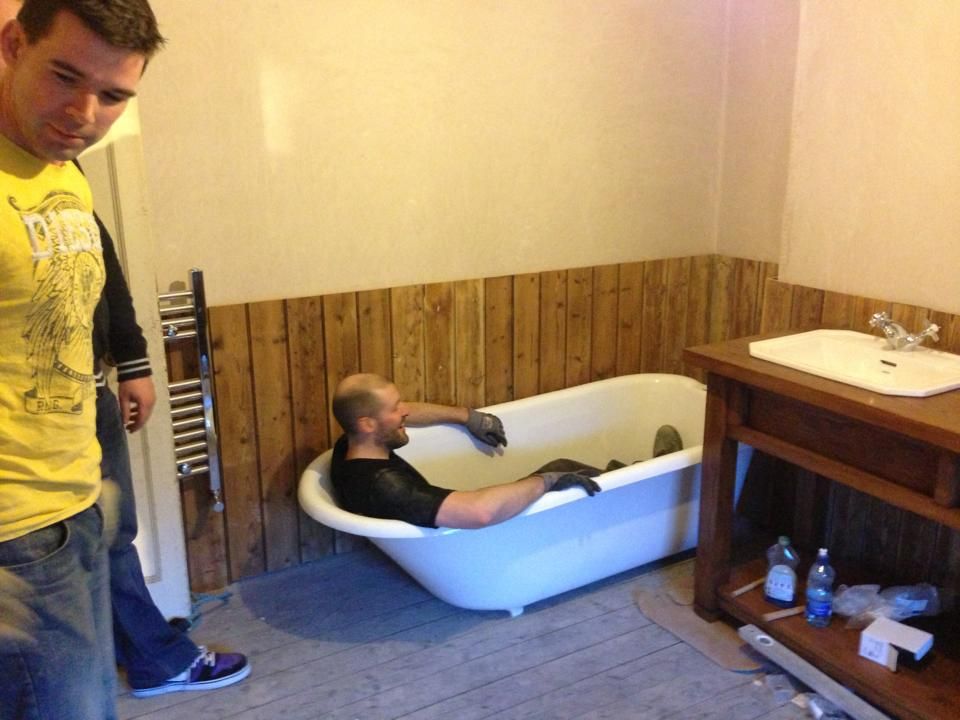
The bathroom reveals were also attended to, as the area where the reveals meet the window sides was cracked and disjointed due to the install. They are now perfectly smooth with a straight edge:


Thursday 16 May 2013

Bathroom Updates

So the custom made counter for the basins was brought in today, the first real piece of furniture in the house. It's been plumbed and roughly positioned:


Both the sinks and the taps came from Bathstore.co.uk.


The plumbing from underneath which can't be seen from the door, yet is still to be tidied up a little:


Toilet in position (waste to be repositioned lower and boards stripped back):


The shower has been plumbed also:


The shower tray in position:


The plumbing underneath the floor of the bathroom, including hot and cold water, radiator and waste pipework:


The waste lines leaving the house, still to be connected:


A small update on the staircase walls, most of the plaster has now been removed, exposing the only original ceiling in the house. It's in really poor condition due to water ingress.:


All plaster removed from the outside wall:


And finally, the bath arrived on the top floor today! Using a rented ginny wheel, 20 metres of rope and the hard work of six men, all 170kg of it was dragged, lifted and hoisted onto the top floor.
The ginny wheel was hung from one of the two purlin beams in the attic, where a hole was punched through the attic staircase ceiling and the rope passed down to the ground floor, down the centre of the stairs. Here it was looped through the plughole and tied around the end of the bath.

Throughout the process, varying numbers of men on the top floor pulled on the rope to take some of the weight of the bath, whilst everyone else lifted and pushed the bath up the stairs. Cardboard and ratchet straps were wrapped around it to protect it and to give somewhere to grab onto. Overall it was a great success and only took about 40 minutes once we started. No damage to the bath, people, walls or stairs.

The ginny wheel chained to the purlin beam:


Getting the bath up the first flight of stairs was the most difficult as the rope was at a poor angle to offer any addition lifting force. It slid up though relatively easily on it's cardboard covered side:


The rope attached to the bath:


The various ratchet straps and cardboard protection which worked extremely well:


The feet are still to be installed which will of course raise the bath up.


Thanks to all involved in the lift, including neighbours!


Friday 3 May 2013

Floor Reinforcement & Plaster Removal

As I mentioned in the last update, the steel T-beam was to be installed into/underneath the top bedroom floor. Here it is in place:


The same horizontally spanning joists that the beam sits under were cut into to allow the upper T-section of the steel beam to slot into place. The chimney breast side had brick removed and was then rebuilt. The same was done on the other side of the room, except this was an external wall so had large pieces of stone removed which was then rebuilt with brick.


Some of the stone that was removed from the outside wall:


The underside of the floor will now be levelled out with plywood to tie the ceiling together, but even as is, the huge amount of deflection in the centre of the floor is now gone and there is virtually no bounce. Once the floor is plyed, it should be rock solid. A huge success.


I also started removing some of the plaster from the stairway walls today. All original plaster will be kept throughout the house where possible, however around the stairs it needs to be removed to attend to the structural issues in this corner of the house, including the large crack that traverses the entire outside right-hand wall and the bowing brickwork on internal walls. Below you can see the crack in the outside wall:


The pink areas are a concrete render that was used at some stage to bind the crack. It will need to be taken off with a hammer drill.


The opposite wall, with bowing brickwork:


The resulting mess:


And lastly, I completely forgot about the original window architrave that was removed from the new bathroom before it was plastered. I spent about 2 hours very gently stripping it back to the bare wood as it was quite fragile in parts. I also had to fabricate a small filler section as someone had chopped a square out of it at some stage over the years:


Some unavoidable damaged to a dry-rotted section:


The small insert which will be filled and sanded:


Filled, awaiting sanding:


Back in place: