The skip arrived today, 12 cubic yards with lockable lid, a must on a main street in the middle of town. Had the space reserved the night before (space was widened after this picture!).
Arrived three hours late, but within 6 hours I had it single handedly two thirds full, not bad! The entire return was emptied of its carpet and other rubbish, as well as all rubble, ceilings etc.
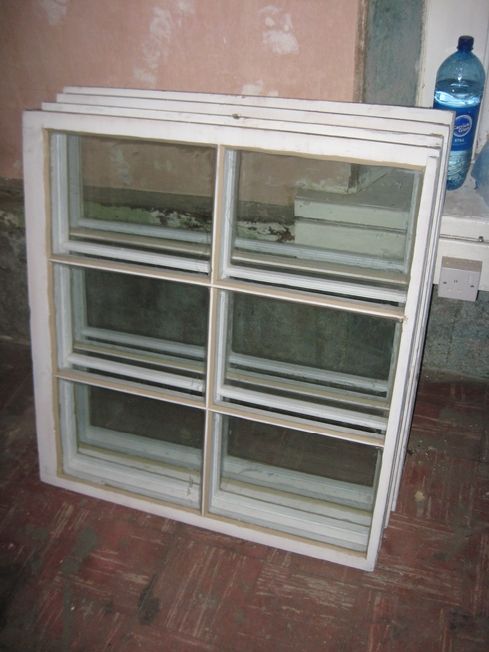
So Pat Lynch showed up today with most of the newly refurbished sashes. However most of the frames and weight/pulleys need to be repaired before they can be installed. Here are some of the sashes with just an undercoat and putty still visible. Note the reinstatement of the glazing bars (wondows were previously one over one):
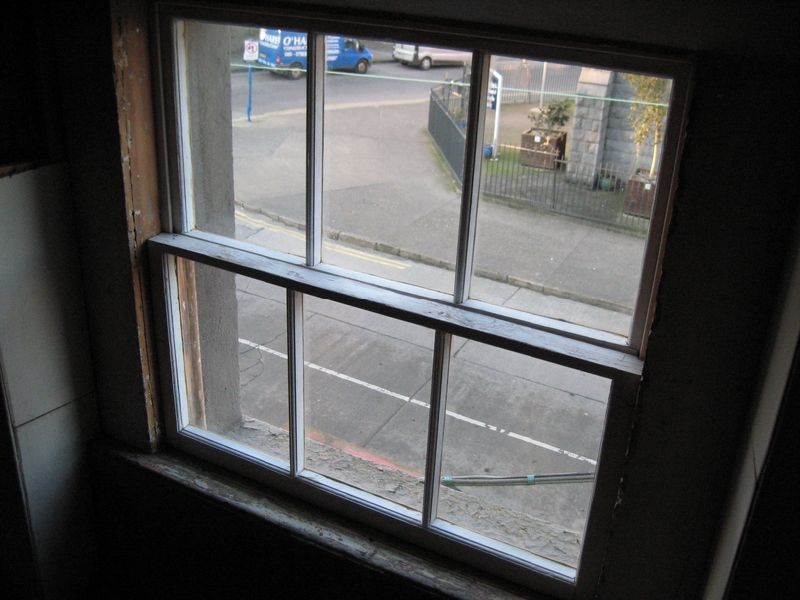
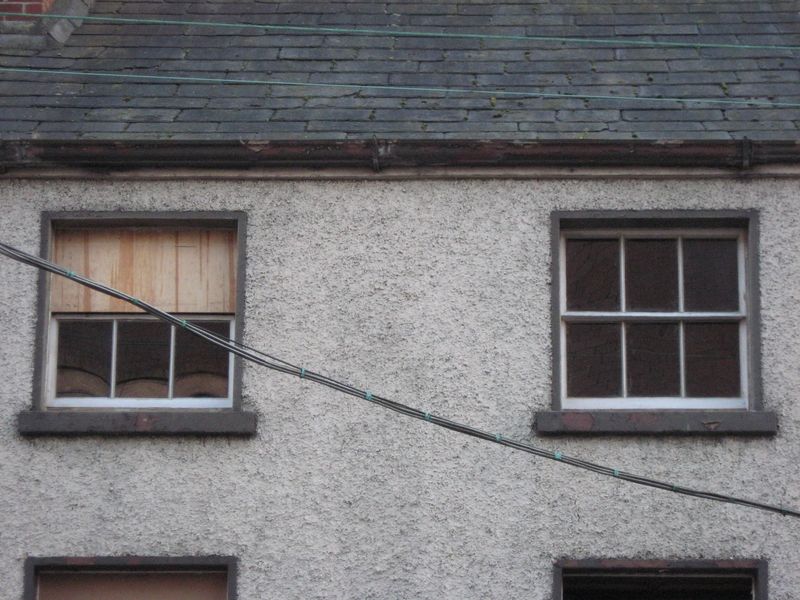
Top floor sashes temporarily held in place:
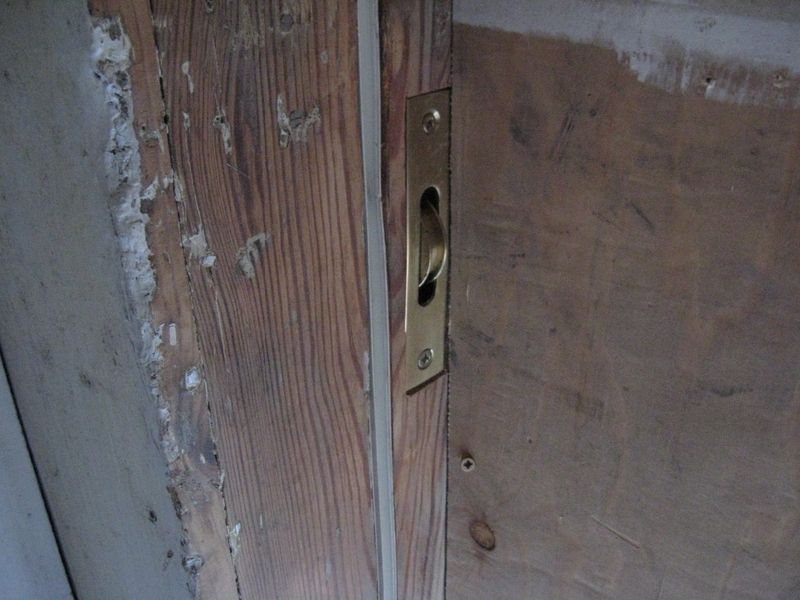
One of the new window pulleys installed, with stripped back frame:
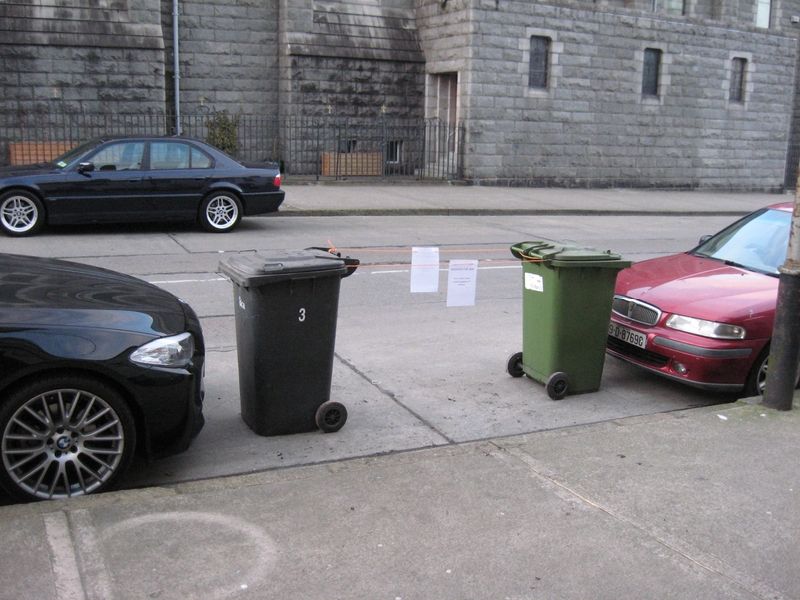
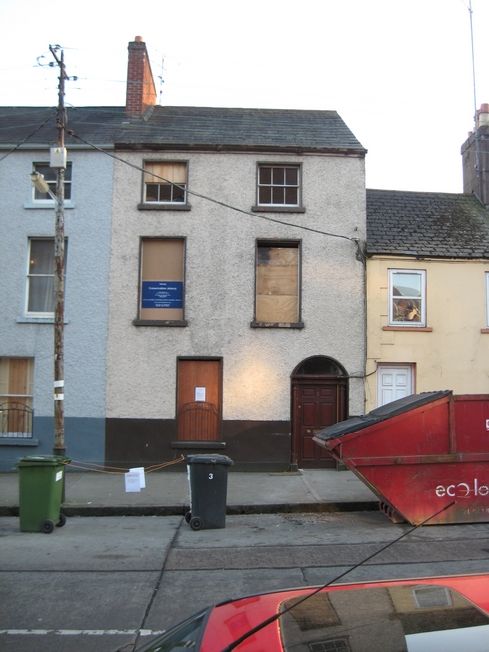
The current view from outside:
The rest of the front windows will be finished over the coming two weeks.
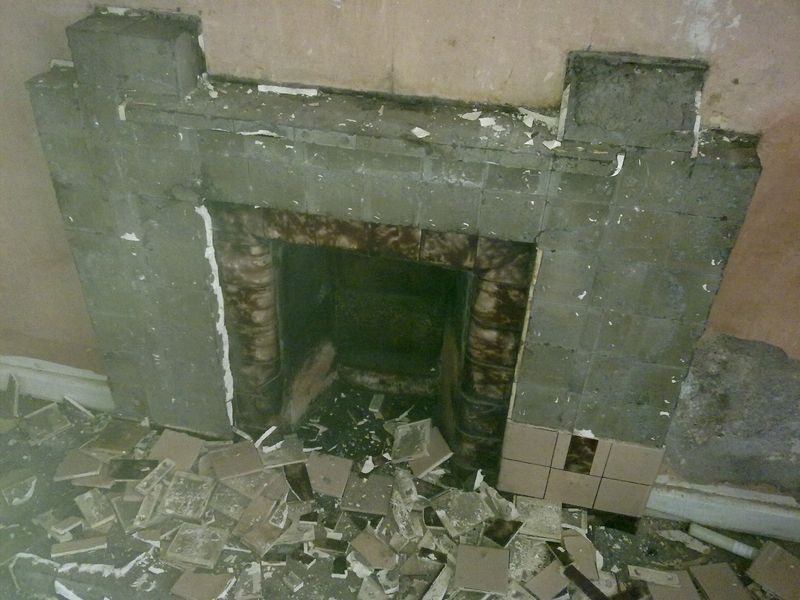
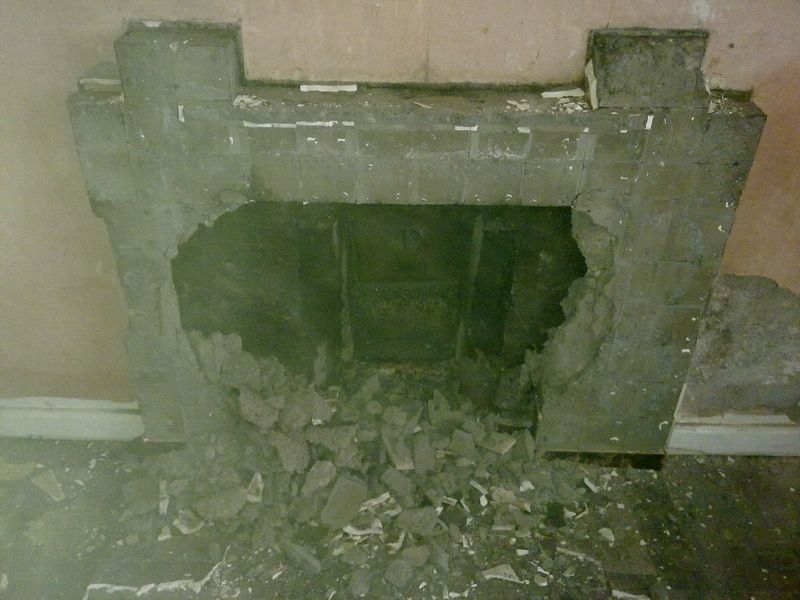
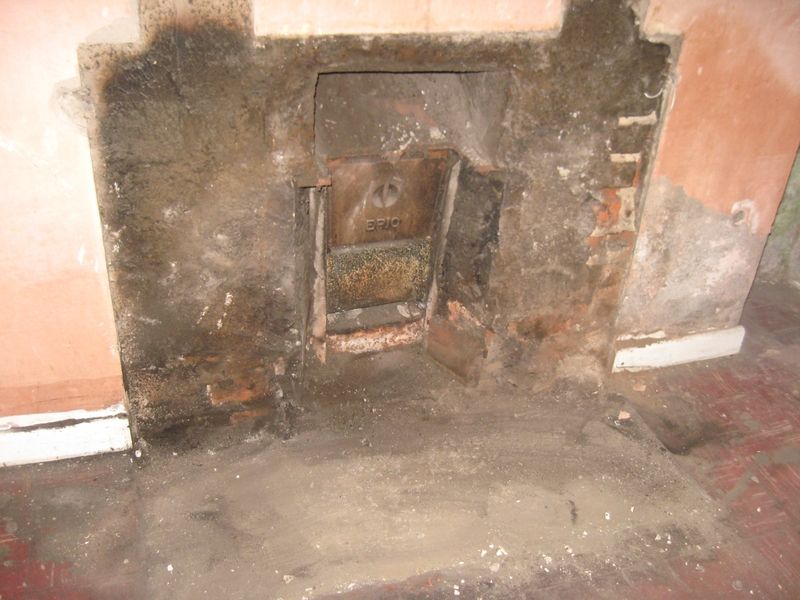
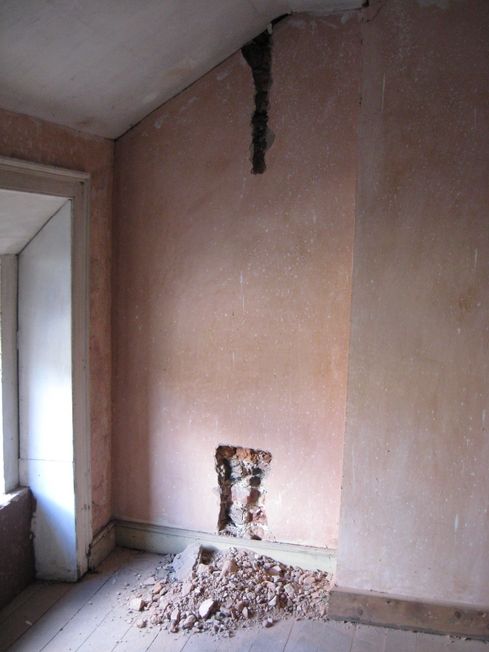
I had fun last week smashing up this fireplace. Quite the eyesore so it felt good hitting it with a sledge. It produced quite a bit of rubble, but was gone in about an hour. The kitchen sink will be more than likely placed here. As it was:
The mains water enters through the mews at the end of the garden. The stopcock is located on Yorke street, behind the mews, in the path.
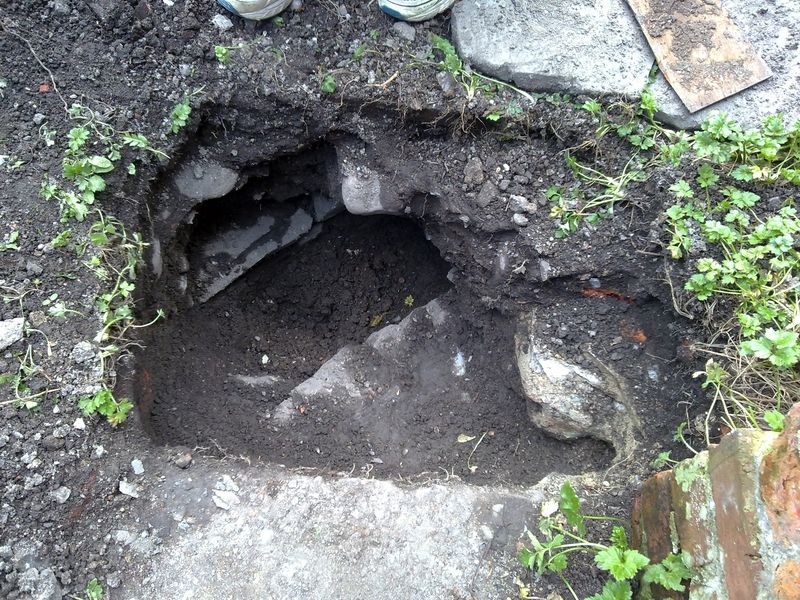
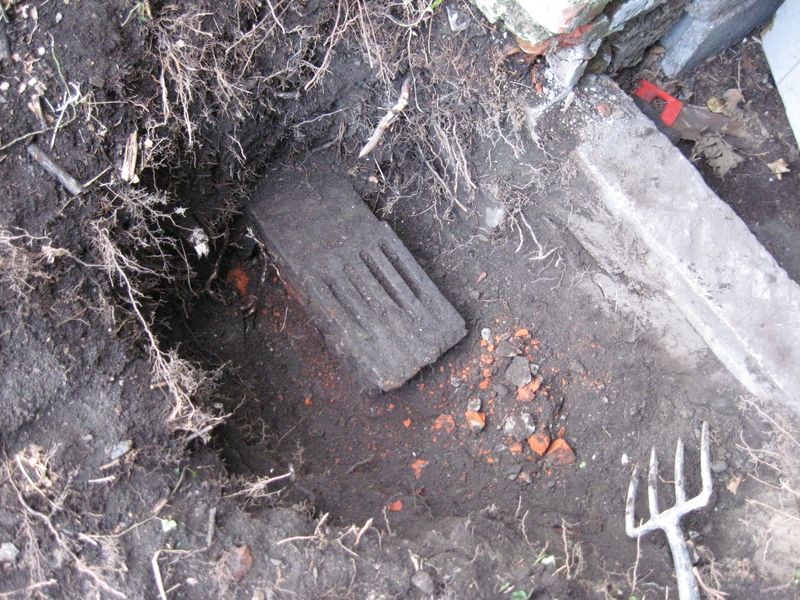
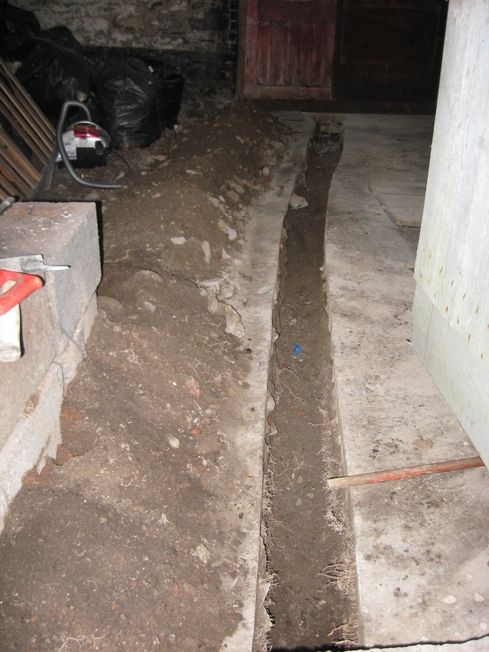
A hole was dug just past the return of the house, to located the original pipe. We found it and as expected it was lead. Whilst digging, we came across this old drain/sewer:
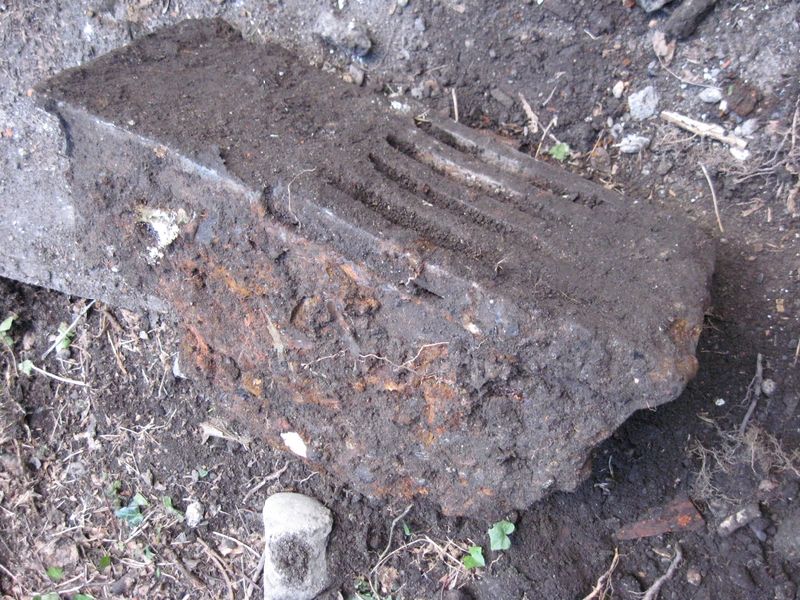
It certainly wasn't in use as the channel was full of soil, but the design was interesting; made from slate and roofed with granite rocks. You can see the corner of the return in the picture, the water pipe was found to the left of the drain as seen here:
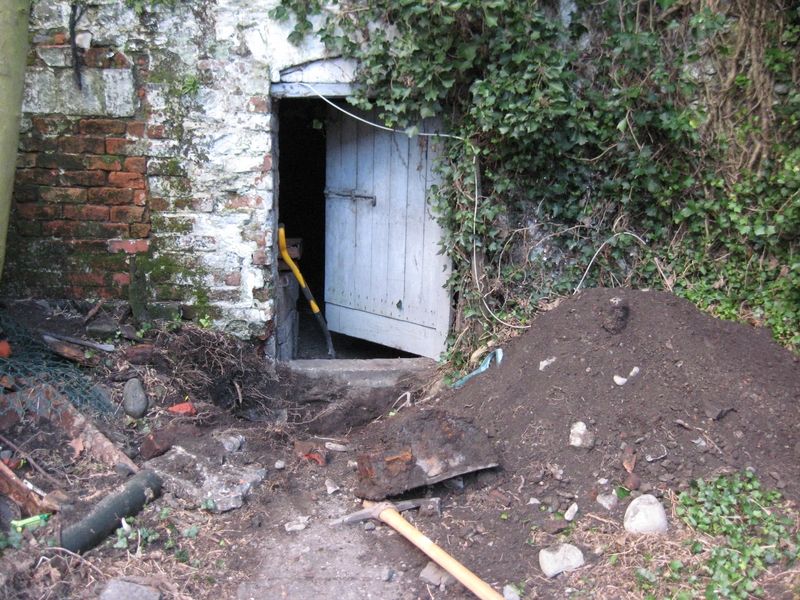
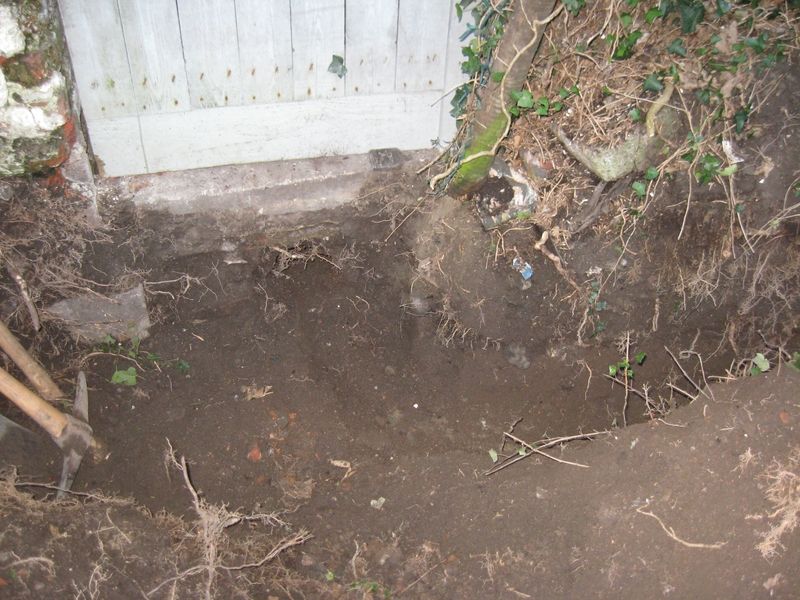
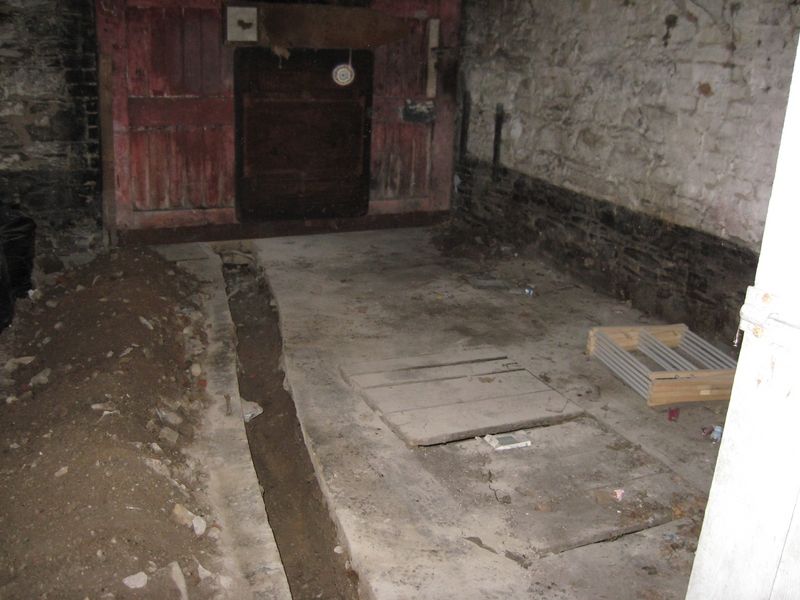
Based upon the location of the pipe, we began digging by the door of the mews at the opposite end of the garden, in an effort to locate where the water pipe entered the garden and to save us having to dig the entire centre of the garden up (which has evidence of a cobblestown pathway some 18" below the surface).
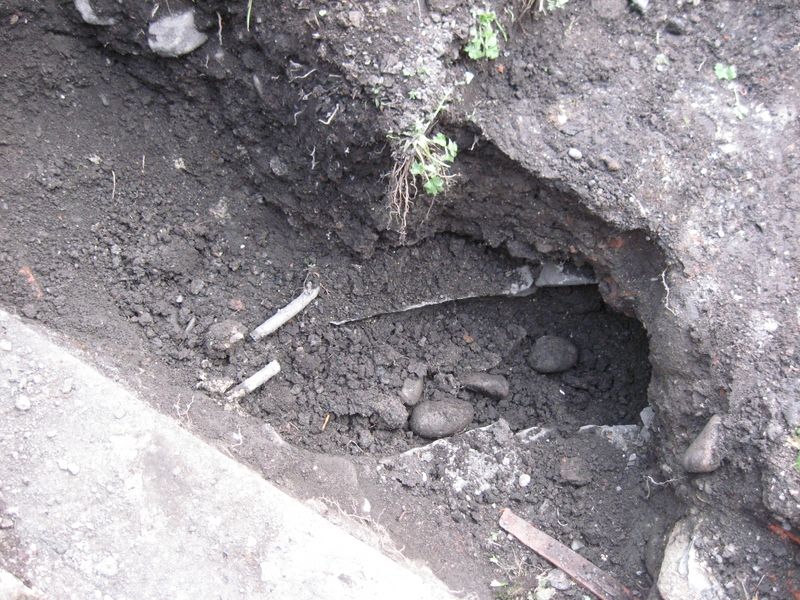
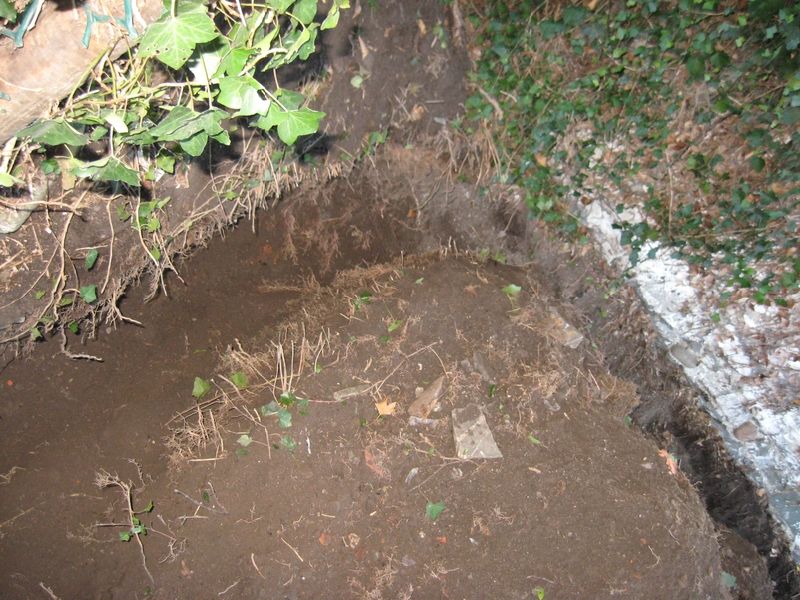
The hole became deeper and wider, deeper and wider and after several combined hours of searching there was no water pipe to be found, despite the hole at the opposite end being directly in line with where it should be:
Even after removing this colossal drain, there was still no sign of the water pipe, some 28"-30" down:
After digging a test hole about a quarter way up the garden, it transpired the pipe runs all over the place; the builders must have simply laid it where it fell.
So upon re-evaluating, it was decided to dig a new trench around the garden for a new pipe:
Patrick got the unenviable task of cutting through the mews floor, leading to the stop cock:
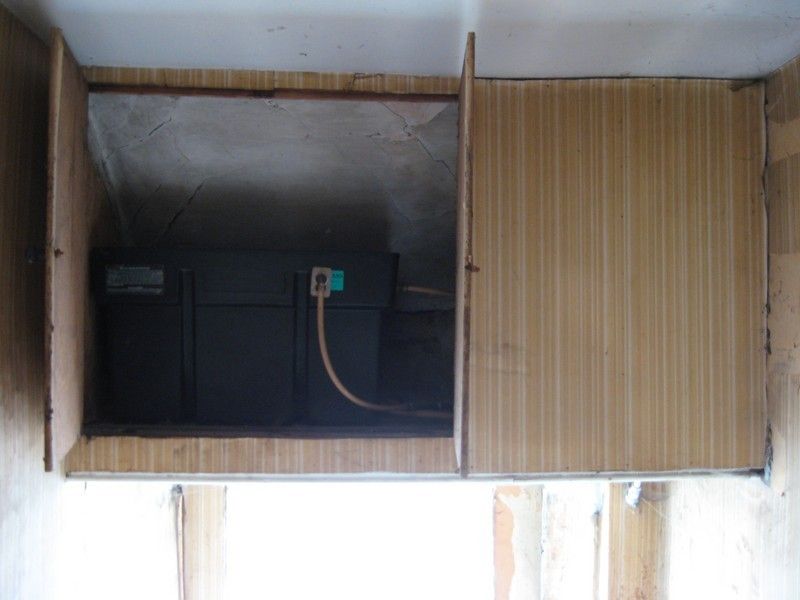
This was the location of the water tank before it was removed, at the very top of the staircase:
Below is it removed. It sat upon a steel girder, embedded in both sides of the hall walls:
Lead pipework that leads to the water cylinder below:
The only, single piece of original ceiling in the house in the picture below, which was sitting above the water tank. The lead piping leading through the ceiling actually leaves through the roof and acts as an overflow for the back-boiler system (from the ground floor rear room fireplace).
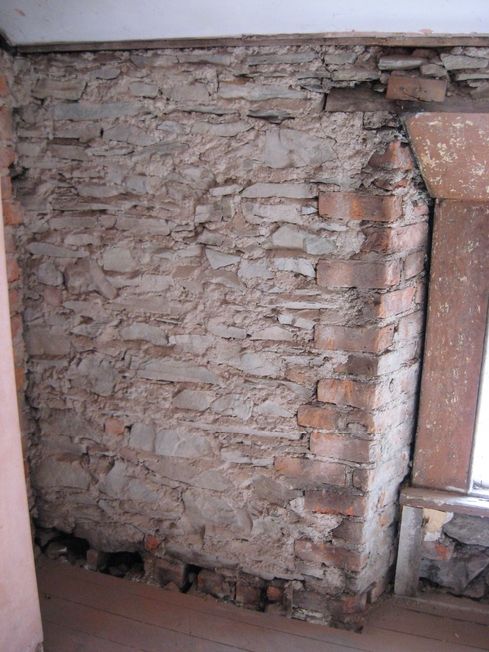
Work is progressing from the top (second) floor down; hence the removal of of the first floor ceiling to allow a plumbing and electrical install. So work has started on the top floor internal walls. This entire floor of the house is plastered with gypsum plaster; no original plaster survives which makes work/repair much easier.
As a bathroom is being installed in the top floor rear room, 35mm insulated vapour board has been specced for the outside wall. Vapour board will also be installed on the remaining areas of the room where there is no concrete-mix plaster on the wall (i.e. pourous surfaces, either side of the chimney breast and the ceiling).
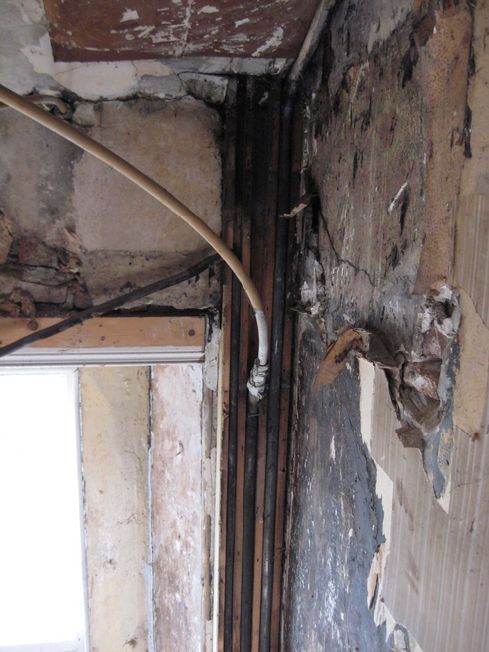
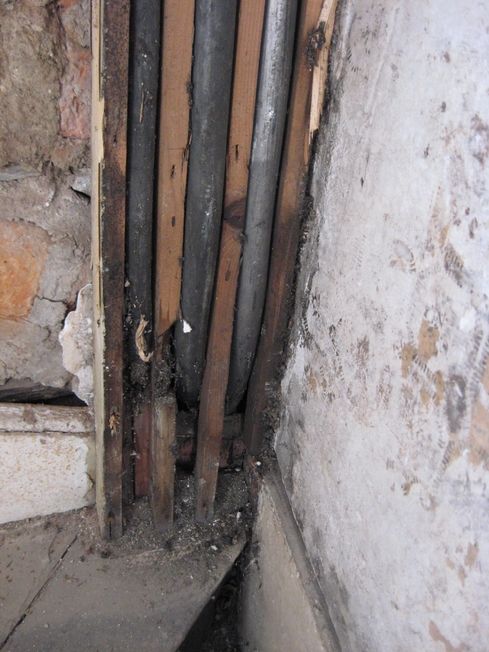
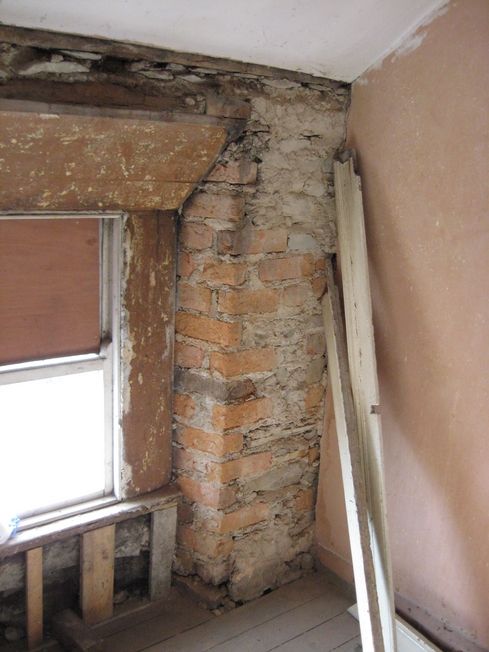
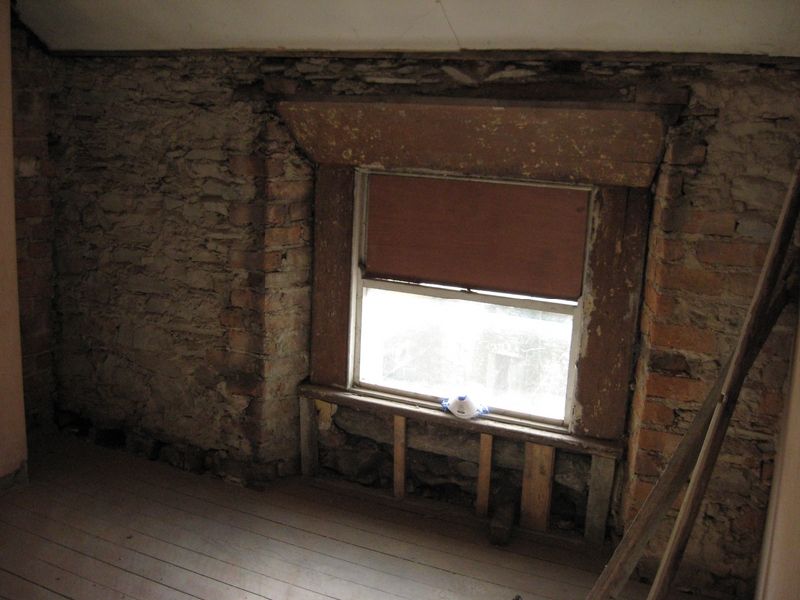
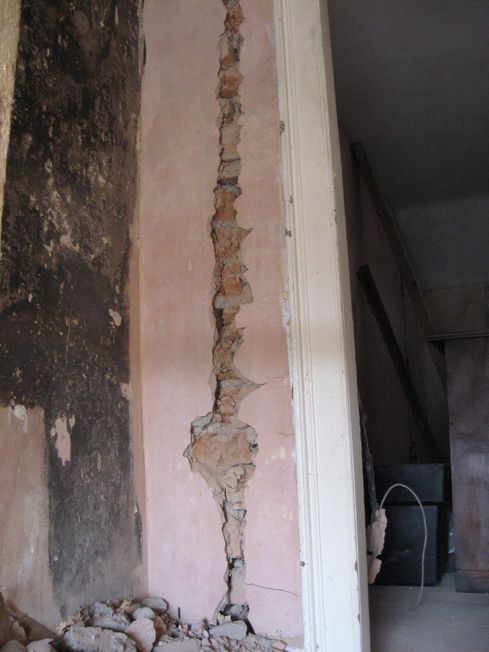
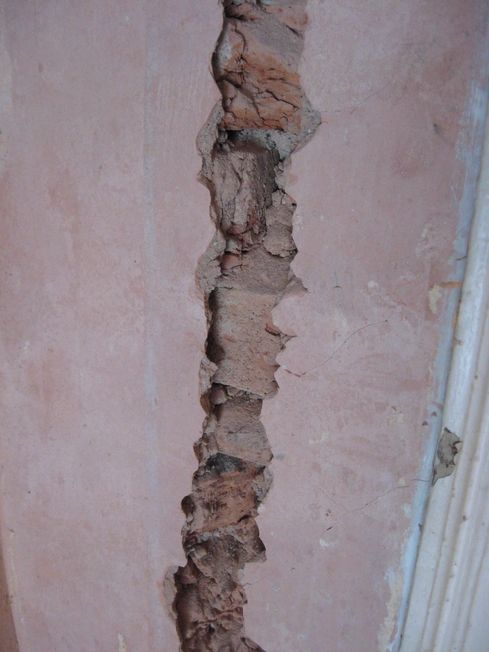
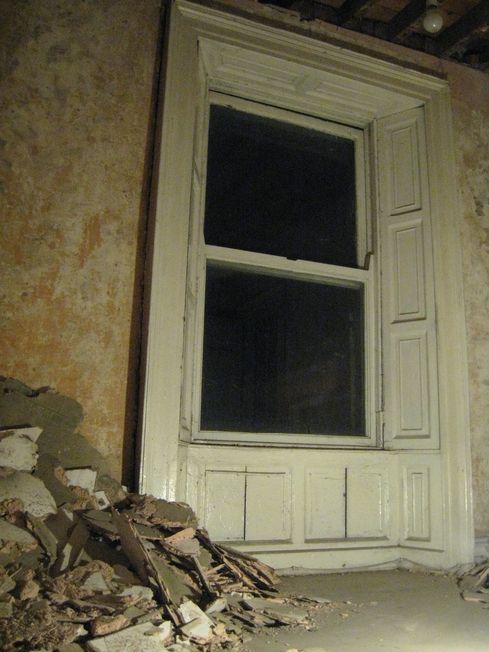
Plaster was removed carefully from the outside wall, exposing the the brick and stonework:
The surrounding architrave was carefully removed (it came apart in sections) for re-installation later:
The damp on the wall on the right side of the window is as a result of a blocked gutter directly above (not visible).
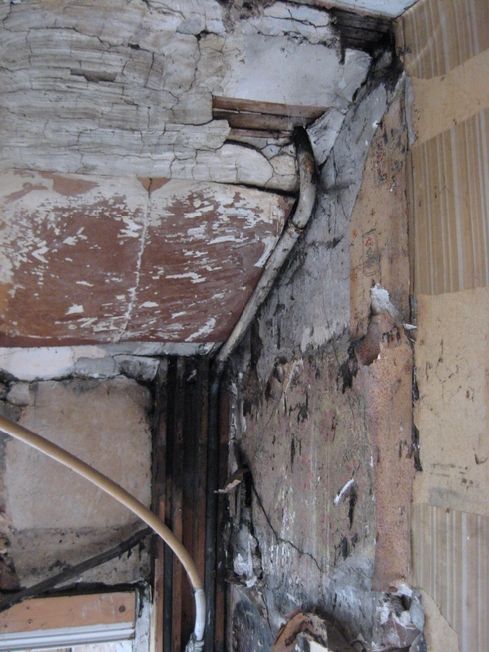
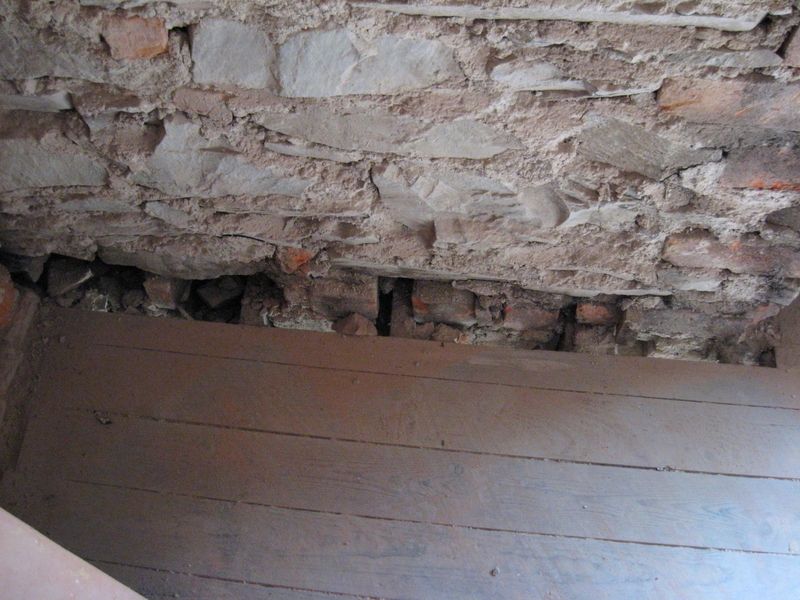
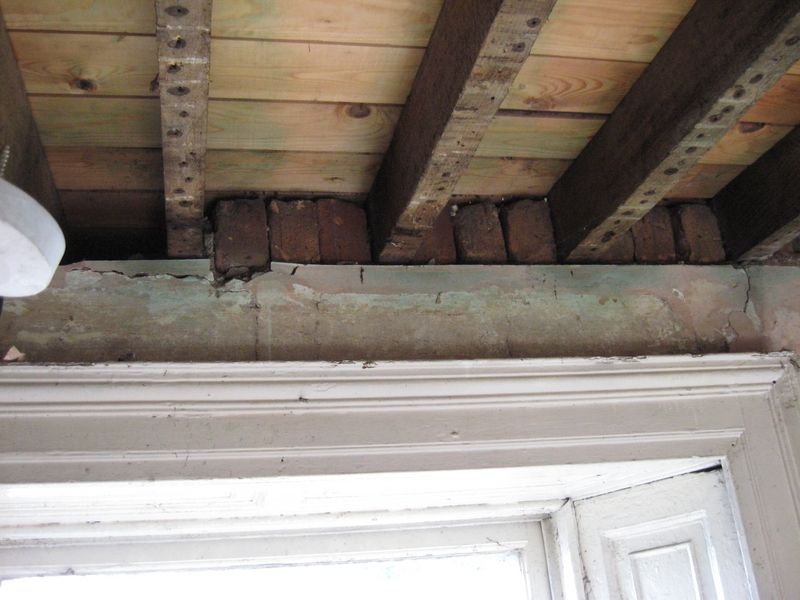
Where the floor joists enter the wall:
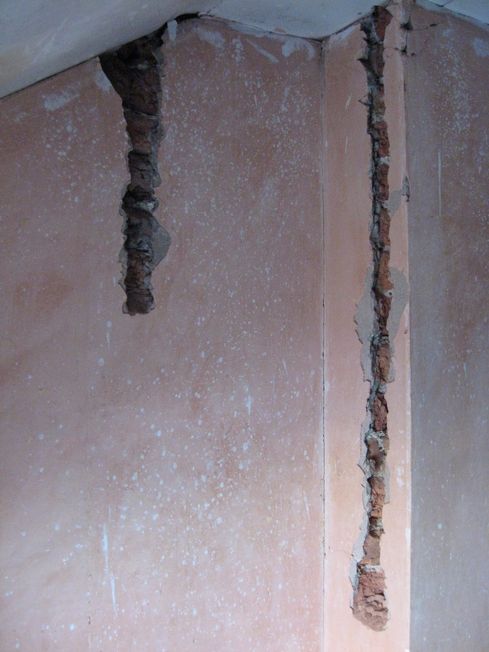
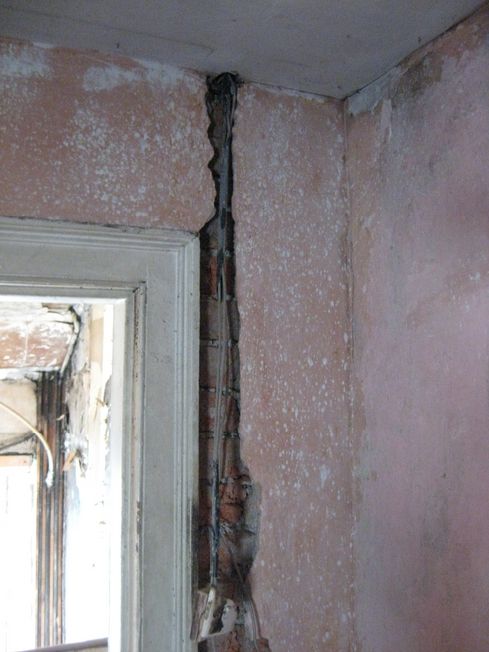
A few days ago, the walls were also routed for electric and CAT 6 installation. Above the basin area in the bathroom:
Front room (master bedroom), either side of the bed:
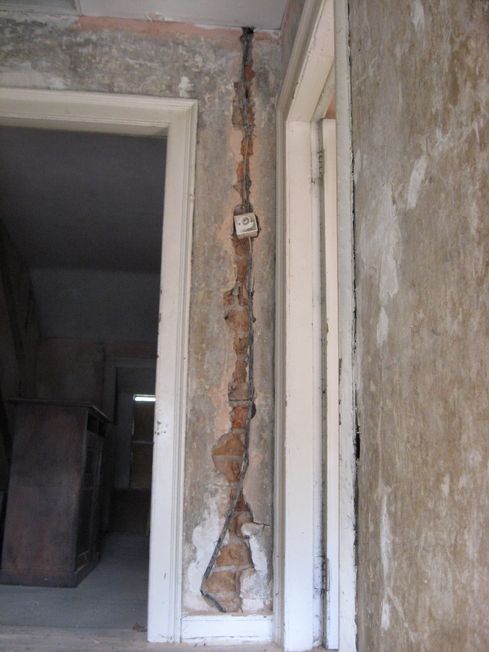
Out on the hallway:
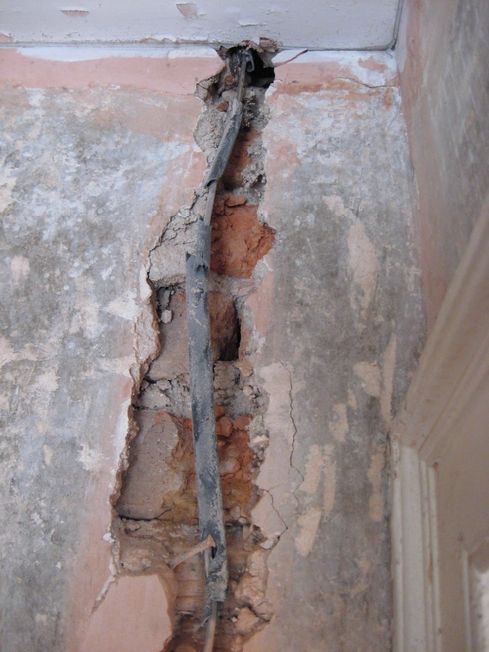
Old install:
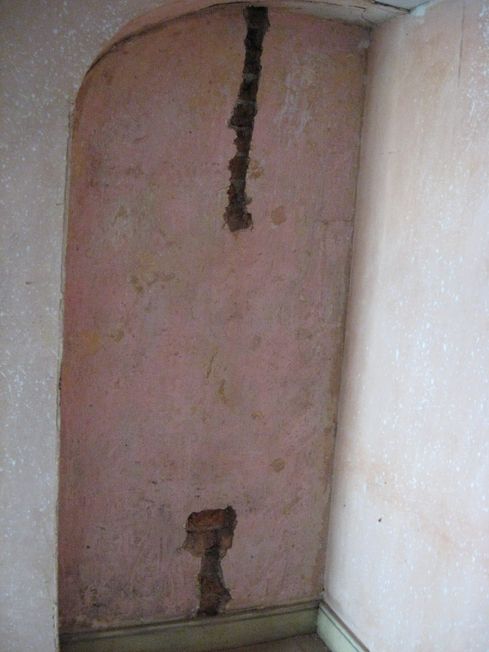
Here you can see a wooden cross piece in the centre of the wall:
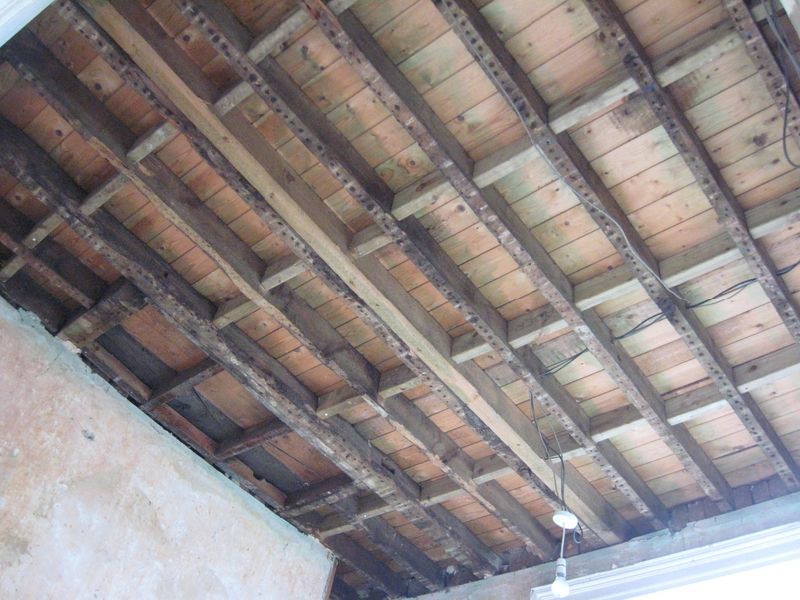
So some of the ceilings were removed last week. There are no original ceilings in the house so they can be removed with no problems.The first to come out was the first floor rear room:
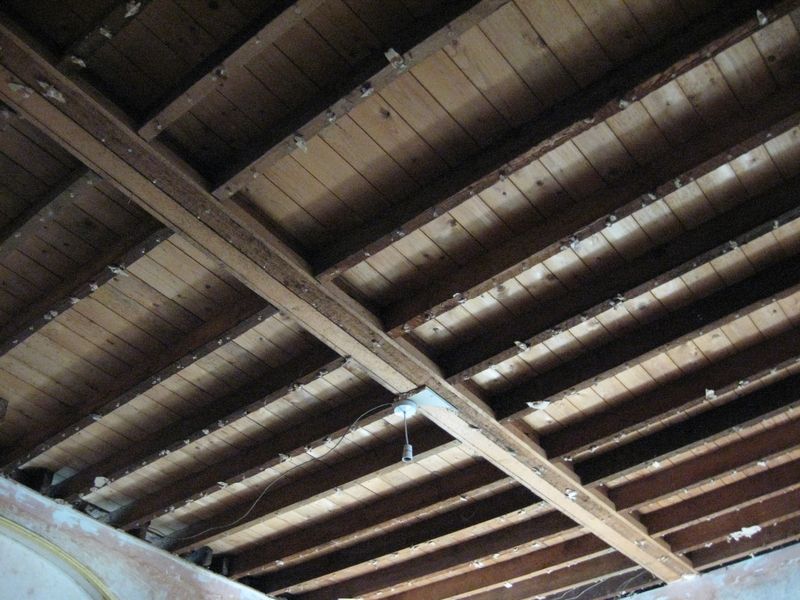
The joists are in very good condition, however do have some signs of woodworm so were treated accordingly:
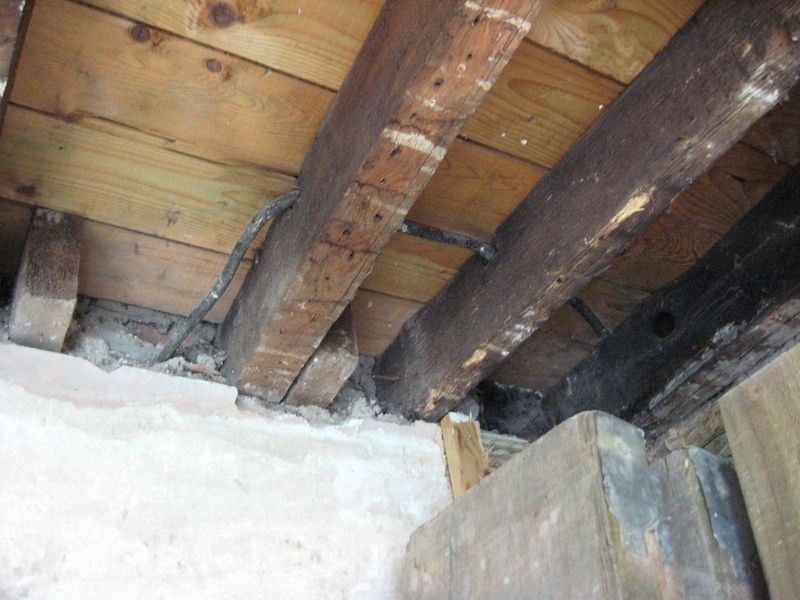
An interesting pattern of joists against the chimney breast. The floor above never had a fireplace installed, however the builders provided additional strengthening in this area to allow for the installation of one. In the end, the owners/builders must have decided against one:
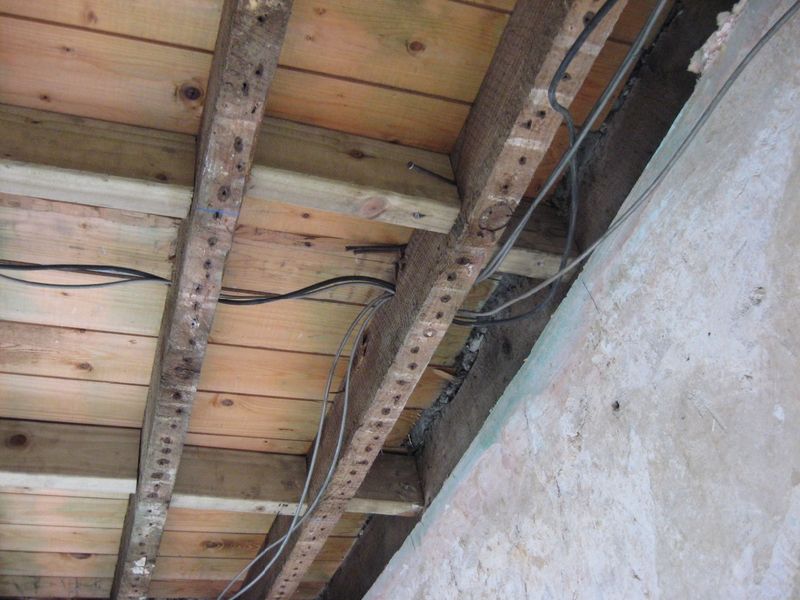
Where the joists enter the outside (rear) wall:
Old electrical layout:
Possible remnants of a previous gas lighting install. I haven't investigated the path of this piping so I could be wrong. It's located between the front room and the rear room:
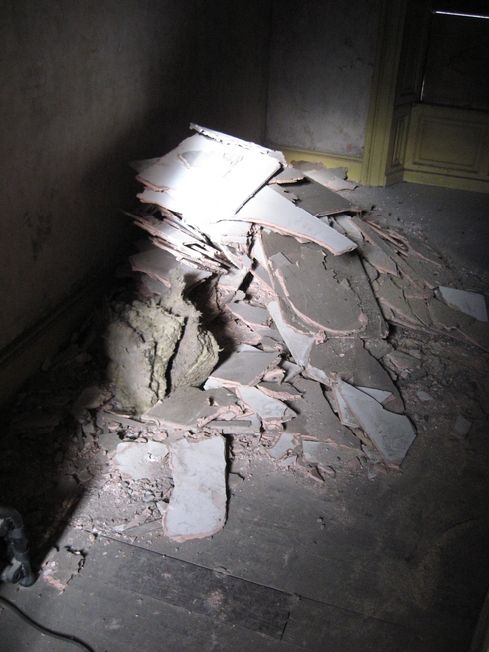
Some of the ceiling rubble:
Moving onto the first floor front room (to become the living room), the ceiling came down in much the same way as the rear room. I started out being quite rough with the ceiling removal as seen in the first video, but then got the technique down and created less mess, as in the second video:
Here you can clearly see the sagging of the ceiling in the centre along the horizontal joists (two pinned together). Despite the other joists not even running completely from front to back, the overall large span of the floor has still caused it to drop down four to five inches in the centre of the floor. This is to be corrected over the coming days:
The joists in the front room are in excellent shape, as are the floorboards once again.
The resulting rubble:
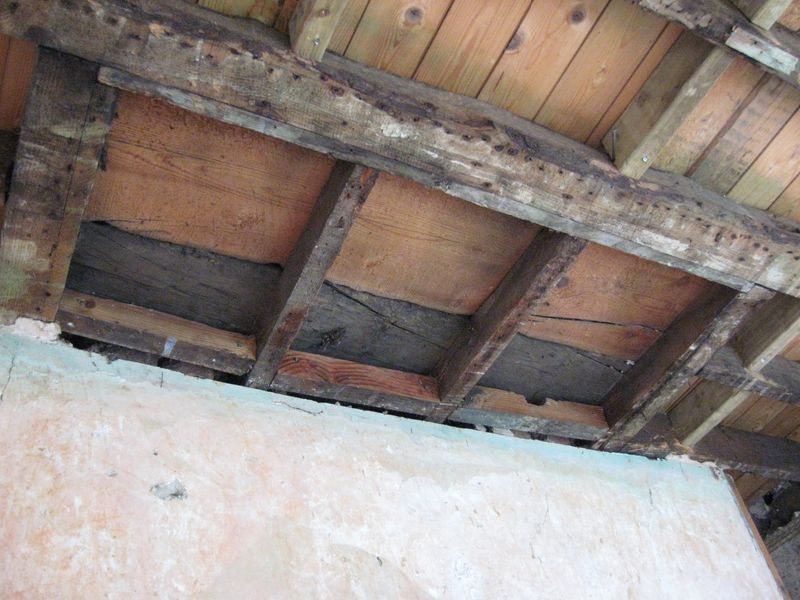
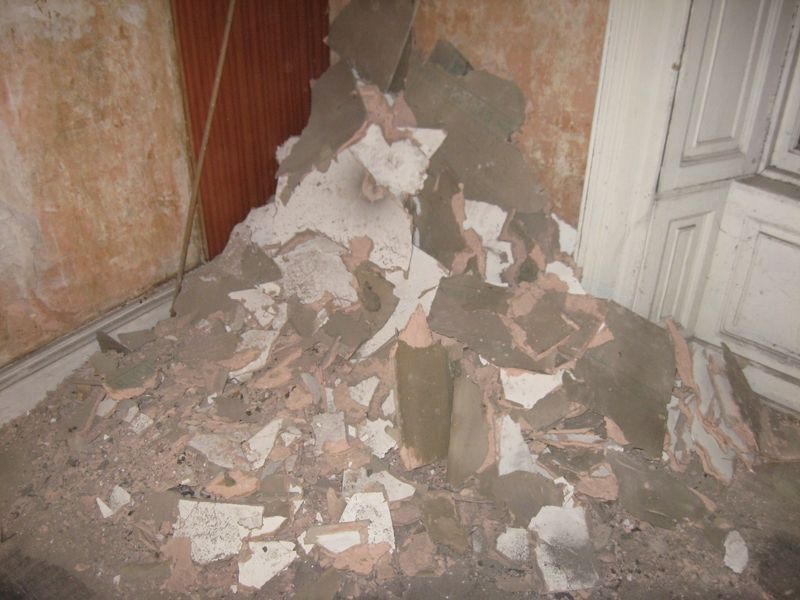
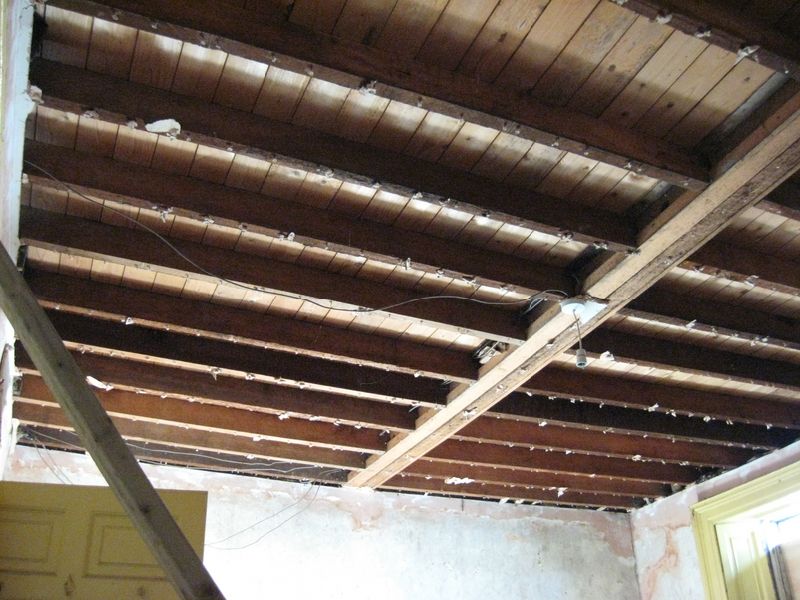
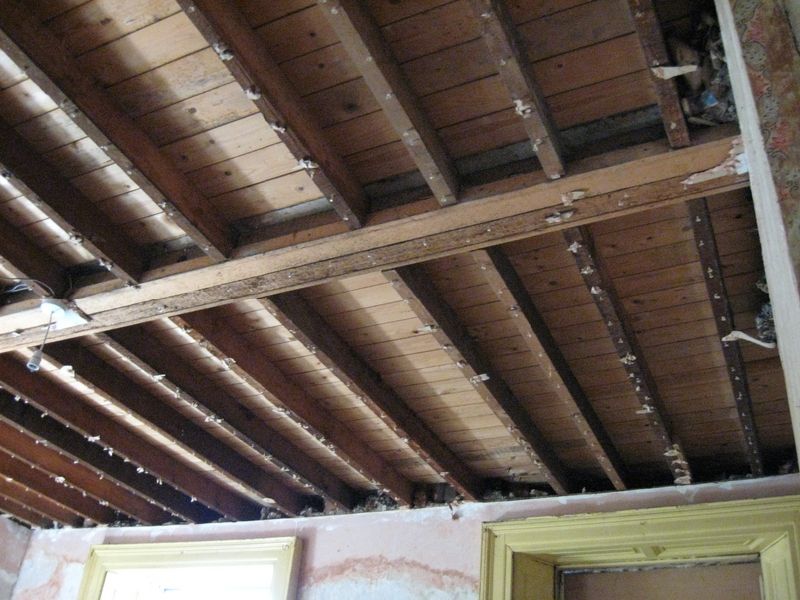
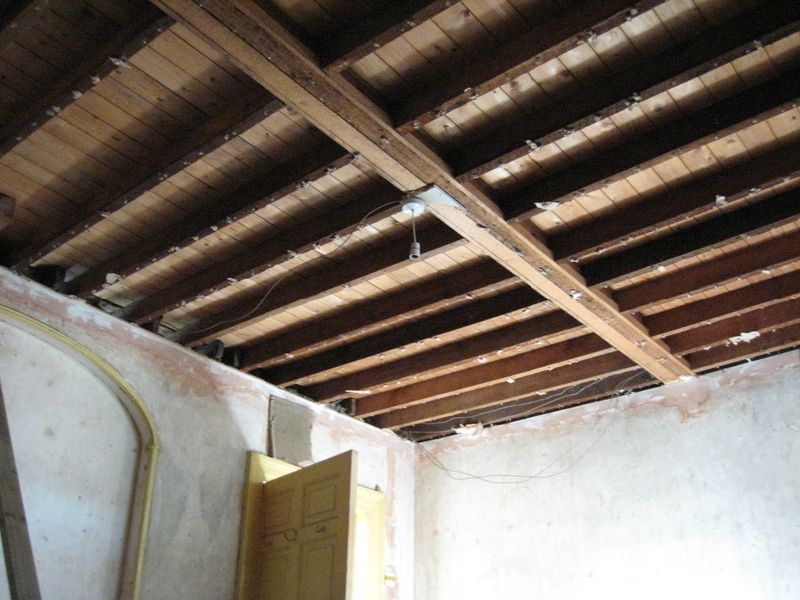
Today, I also managed to get the ceiling downstairs in the return removed:
Much the same story as the other floors, however some rotting of floorboards has occurred no doubt due to water leaking from the bathroom above over the years. The removed ceiling was also damp and soft in some areas. Some new floorboards will have to be installed also due to the plumbing of the bath above, as seen here (you can see the bath through the hole):